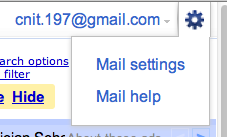
At the uper right of the window, click the gear, and click "Mail Settings", as shown below:
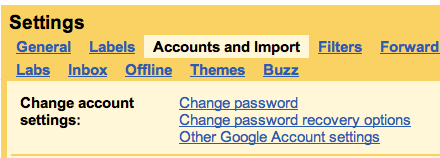
On the next page, at the top, click "Accounts and Import".
Near the top, click "Other Google account settings", as shown below on this page.
On the next page, click "Using 2-step verification", as shown below:
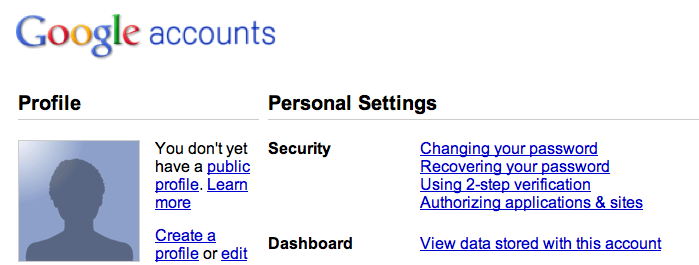
Log in when you are prompted to.
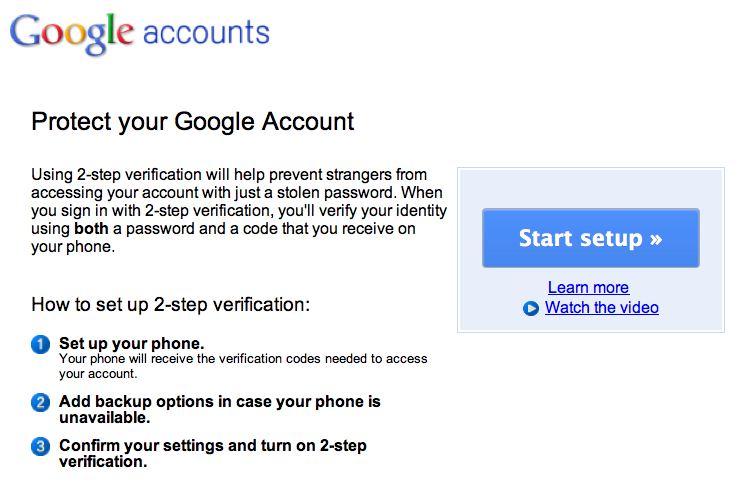
On the next page, click the blue "Start setup" button, as shown below:
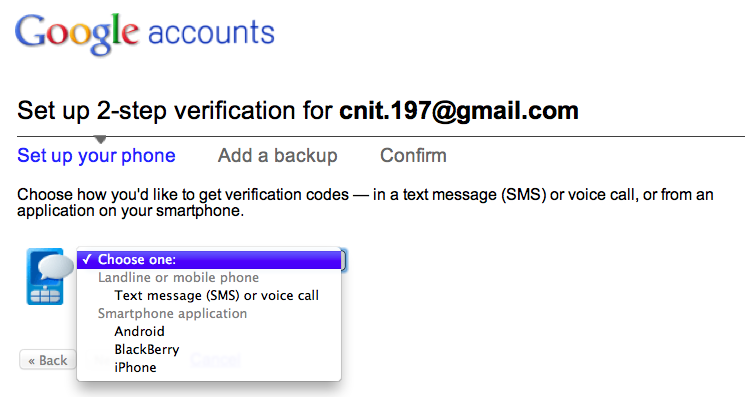
Choose how you want to get the codes. There are several options for different types of phones, as shown below:
When your phone is set up, click Next.
On the next page, click Next.
A set of "Printable Backup Codes" is shown. Save these somewhere you can find them later. Then check the box at the bottom of the page and click Next.
The next page allows you to set up a second method of getting codes. Enter a second phone number and click Next.
At the next page, click the large blue "Turn on 2-step verification" button.
A pop-up box appears. Click OK.
The Gmail login page appears. Type in your email address and password and click the "Sign in" button.
A page appears asking you to enter your code, as shown below. Get it from your phone and enter it. Click the Verify button.

You should see a message saying "2-step verification is ON", as shown below:
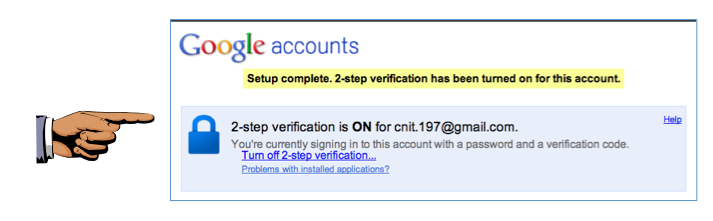
Save this screen shot with a filename of Proj 5 from Your Name.
Email the image to cnit.122sam@gmail.com with a subject of "Project 5 from YOUR NAME".