Go to this URL:
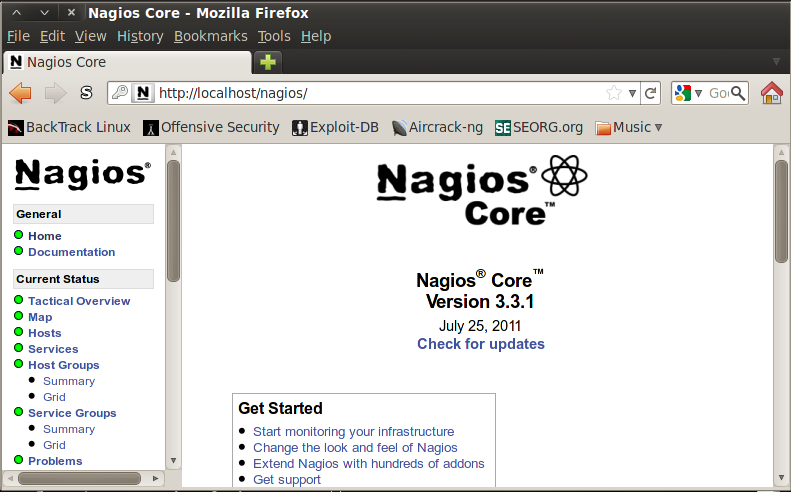
http://localhost/nagios/
Log in with the username nagiosadmin and a password of nagios
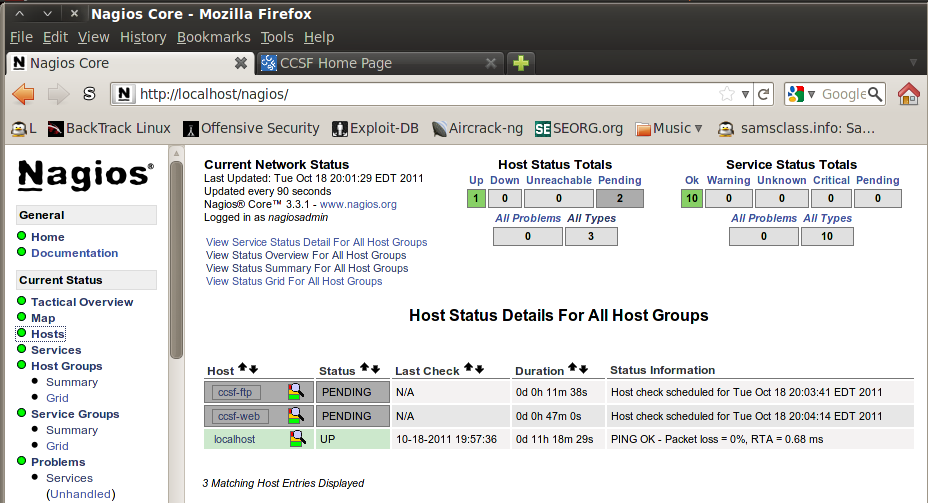
You should see the Nagios web administration interface, as shown below:
TROUBLESHOOTING:If your Web administration interface doesn't load, open the URL localhost to see what is listening on port 80. It should show an Apache default page.
This command may also be helpful to see what process is listening on port 80:
lsof -i :80My installation failed to start because I have nginx configured to start, and that stopped apache from starting.
These commands fixed that problem:
service nginx stop/etc/init.d/apache2 restart
/etc/init.d/nagios restart
nano /usr/local/nagios/etc/objects/remote.cfg
In nano, enter this configuration file:
define host{


	use		generic-host		; Inherit default values from a template


	host_name		ccsf-web


	address		147.144.1.212


	max_check_attempts      10


	}


define service{


	use		generic-service		; Inherit default values from a template


	host_name		ccsf-web


	service_description	HTTP


	check_command	check_http


	}
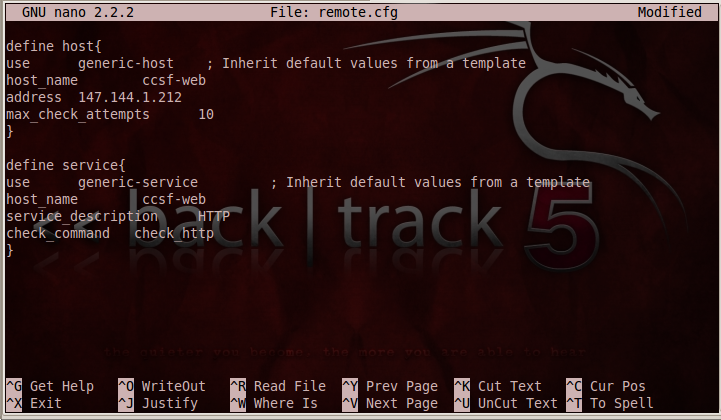
Save the file with Ctrl+X, Y, Enter.
nano /usr/local/nagios/etc/nagios.cfg
# Definitions for monitoring the local (Linux) host

cfg_file=/usr/local/nagios/etc/objects/localhost.cfg
# Definitions for monitoring a remote host

cfg_file=/usr/local/nagios/etc/objects/remote.cfg
Your file should look like the image below:
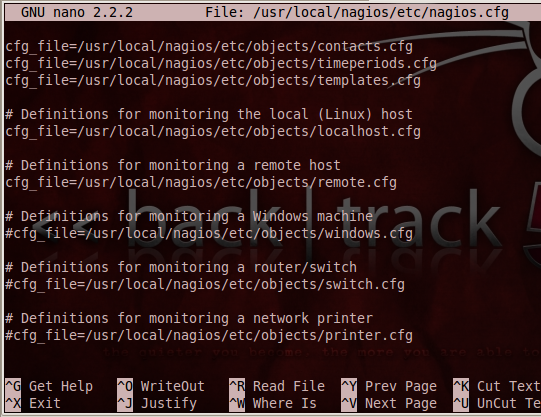
Save the file with Ctrl+X, Y, Enter.
/usr/local/nagios/bin/nagios -v /usr/local/nagios/etc/nagios.cfg
If you get errors, check your configuration files for errors.
/etc/init.d/nagios restart
You should see an entry for ccsf-web, as shown below:

The status shows PENDING.
In the Host column, click ccsf-web.
On the next page, click "View Status Detail For This Host".
The "Service" should say HTTP and the "Status" should be OK, as shown below:
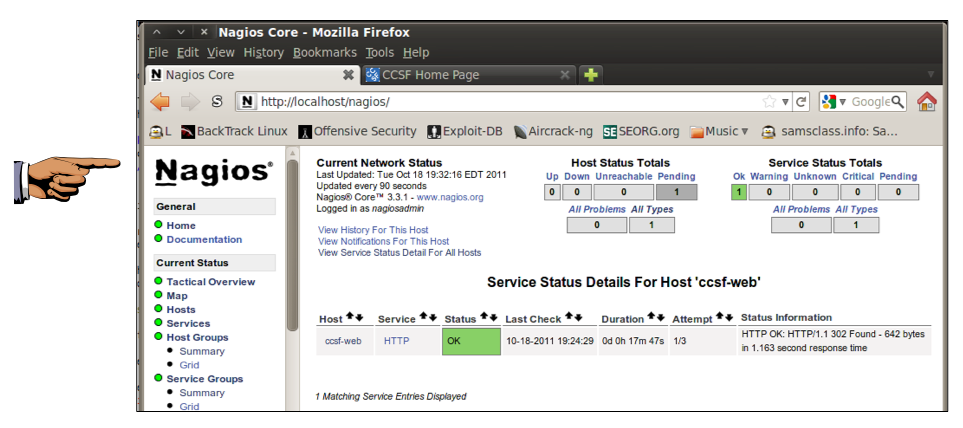
Save a screen capture with a filename of "Proj 11a from YOUR NAME".
To see how to do that, look at this tutorial:
http://nagios.sourceforge.net/docs/3_0/monitoring-publicservices.html
I am not giving you exact steps, but here are the things you must do:
define host block to
/usr/local/nagios/etc/objects/remote.cfg
for the ccsf-ftp host.
define service block to
/usr/local/nagios/etc/objects/remote.cfg
for the ccsf-ftp host, based on the example in the
tutorial mentioned above.
Click the ccsf-ftp link. You will see a message saying "This host has not yet been checked, so status information is not available."
Just ignore that message-it's lying.
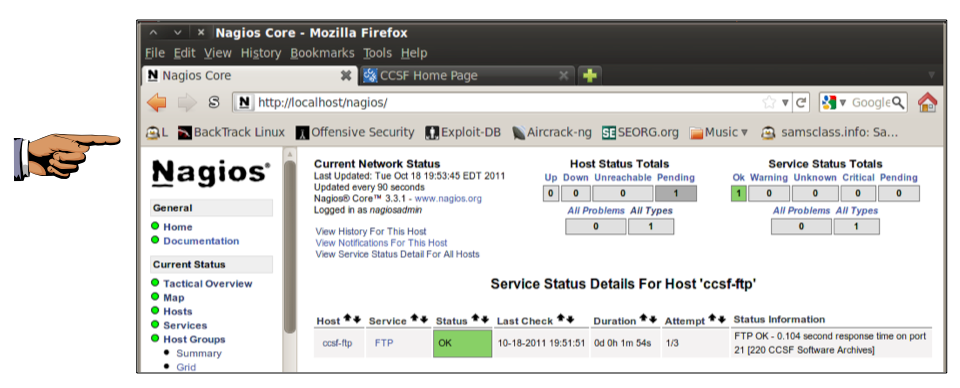
Click the "View Status Detail For This Host" link.
The "Service" should say FTP and the "Status" should be OK, as shown below.
You may gave to wait a few minutes for the check to complete.
Save a screen capture with a filename of "Proj 11b from YOUR NAME".
Email the images to cnit.122sam@gmail.com with a subject of "Project 11 from YOUR NAME".
http://homepage.mac.com/duling/halfdozen/Nagios-Howto-p1.html
Last modified 10-18-11 5 pm