
They are less pretty and harder to use, but you can't beat the price.
In the Linux VM, on the desktop, double-click the LXTerminal icon.
In the Terminal window, execute the commands below.
They download the file, extract it, rename it to remove the .001 file extension, and calculate the MD5 hash of the evidence disk.
apt-get update

apt-get install curl -y

cd

mkdir anon

cd anon

curl https://samsclass.info/121/proj/anon-dd.zip > anon-dd.zip

unzip anon-dd.zip

cd dd

mv anon1.dd.001 anon1.dd

md5sum anon1.dd
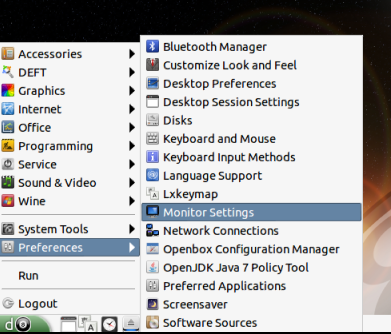
From the Deft desktop, click d, Preferences, "Monitor Settings", as shown below.
Adjust to resolution to a higher value, such as 1280x1024, as shown below. Then click Save.

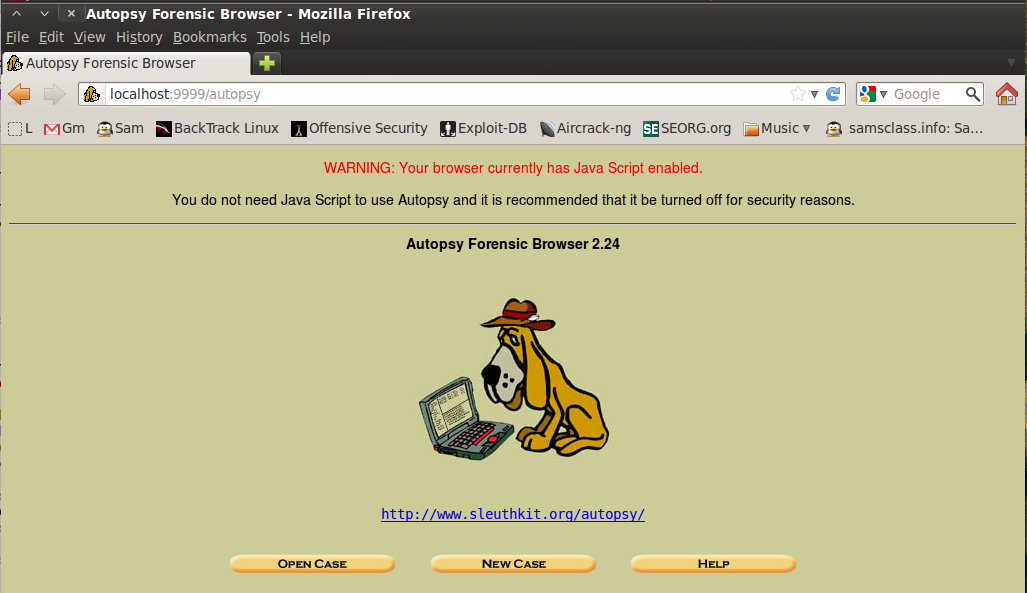
Autopsy opens, as shown below on this page. You will see a warning that Javascript is enabled. You can just ignore it.
Fill in the form as shown below, replacing "Your-Name" with your own name. Don't use any spaes.
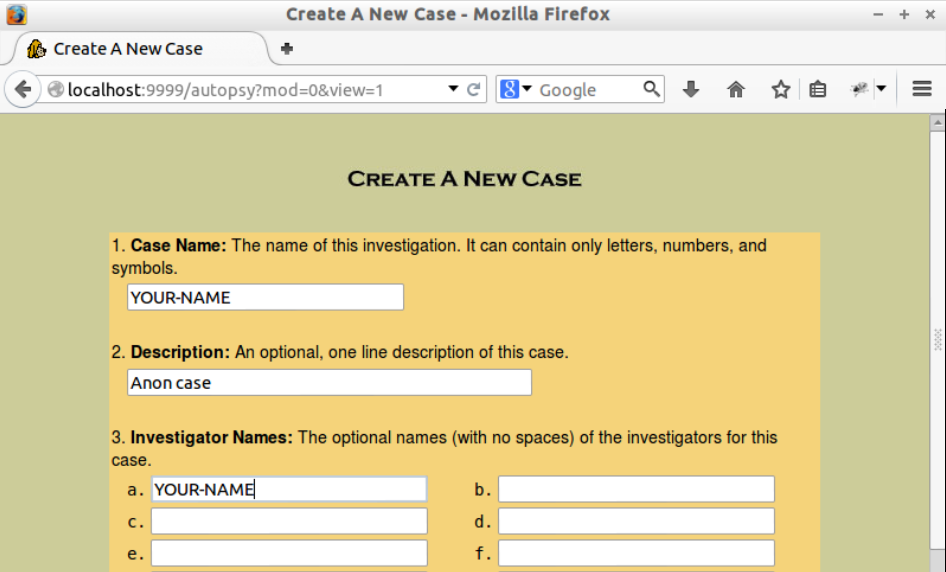
Click the "New Case" button.
In the "Creating Case" window, click the "Add Host" button.
In the "Add a New Host" window, accept the default options and click the "Add Host" button.
In the "Adding host" window, click the "Add Image" button.
In the next window, click the "Add Image File" button.
In the "Add a New Image" window, enter in these options, as shown below on this page:
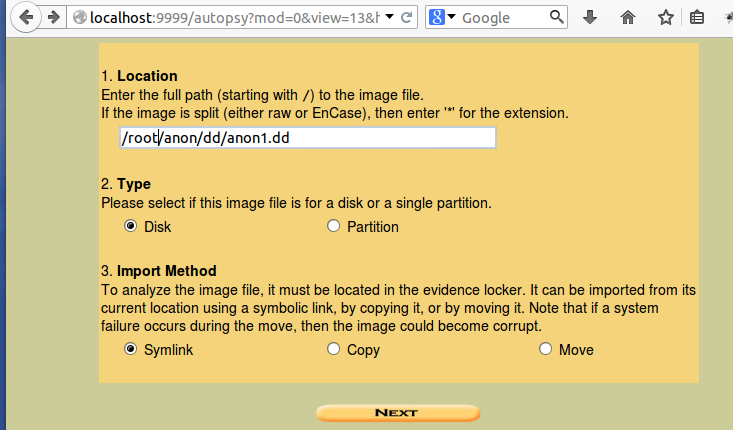
Click Next.
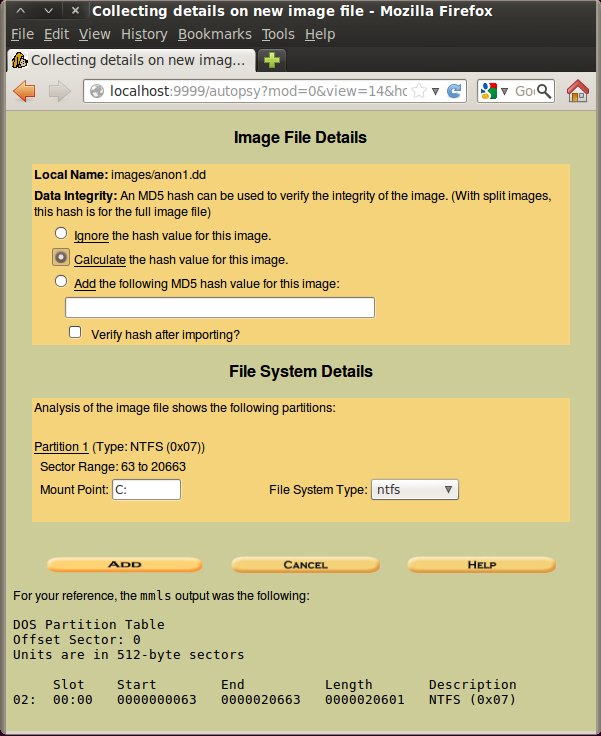
In the "Image File Details" section, click the "Calculate the hash value for this image" button, as shown below. Click Add.
The next screen shows the MD5 hash, ending in 4419, as shown below on this page.
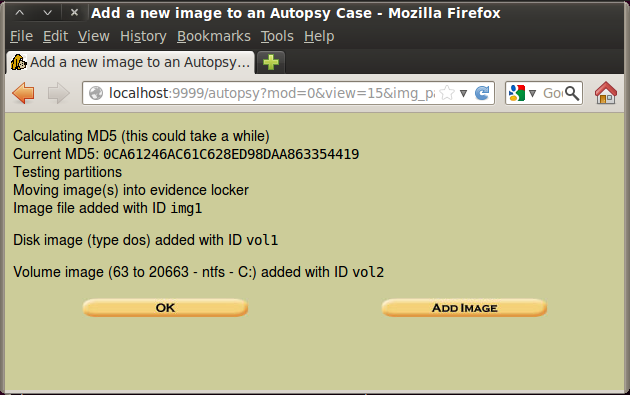
Click OK.
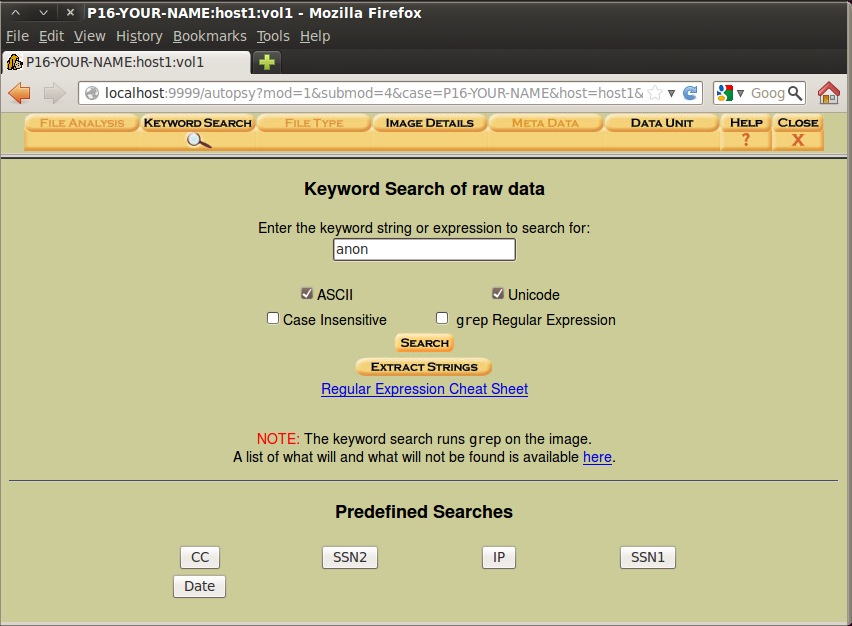
In the next window, click the "Keyword Search" tab.
In the search box, type anon as shown below. Click the Search button.
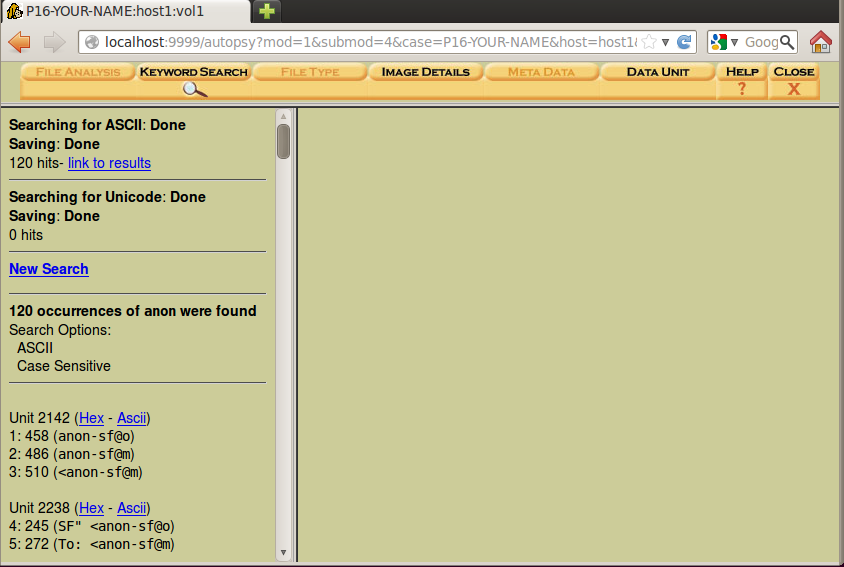
Notice how clumsy this is--you need to use the mouse to click each item; they aren't grouped into the 22 files for you the way FTK did, and the preview is poorly formatted so you can only see a small part of a horizontal line.
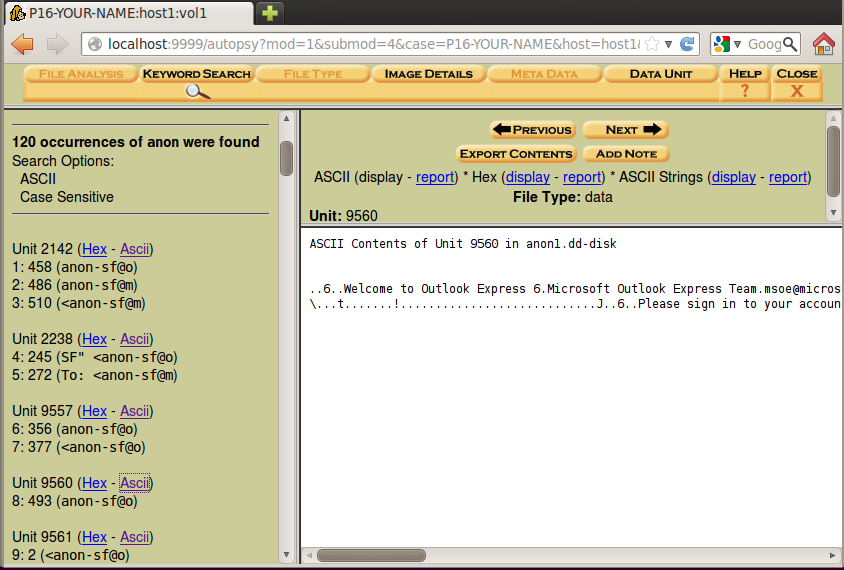
Even with those inconveniences, you should be able to find the incriminating email message you found in the FTK project--clear evidence of a crime.
When you find an incriminating email message, save a screen image.
Click in the host system, on the taskbar. Capture the whole desktop with the PrintScrn button.
YOU MUST SUBMIT A WHOLE-DESKTOP IMAGE FOR FULL CREDIT.
Save the image with the filename "Your Name Proj X5a".
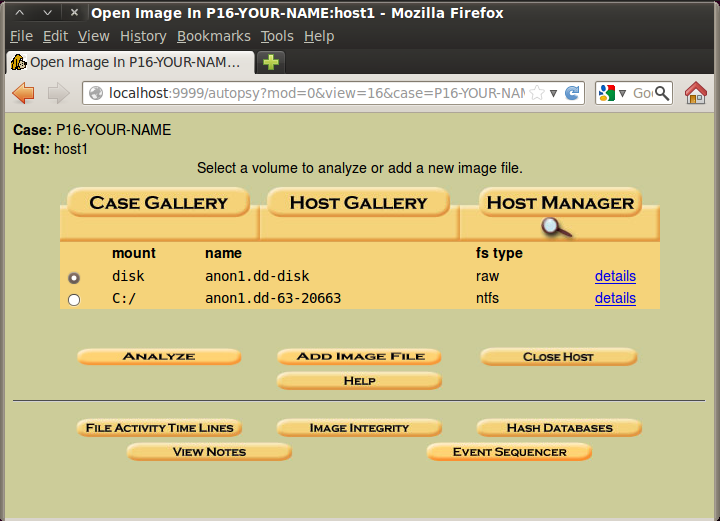
In the Case Gallery page, click C:\, as shown below:
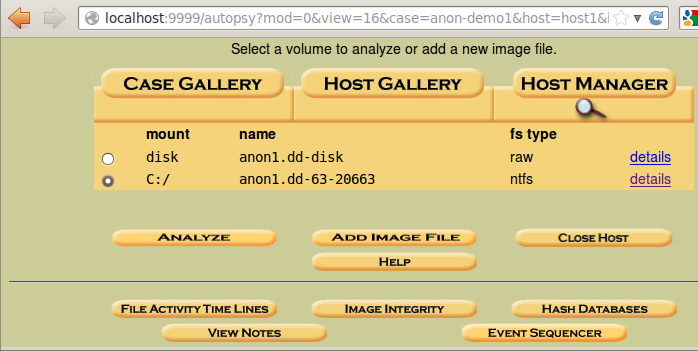
At the lower left, click the Analyze button.
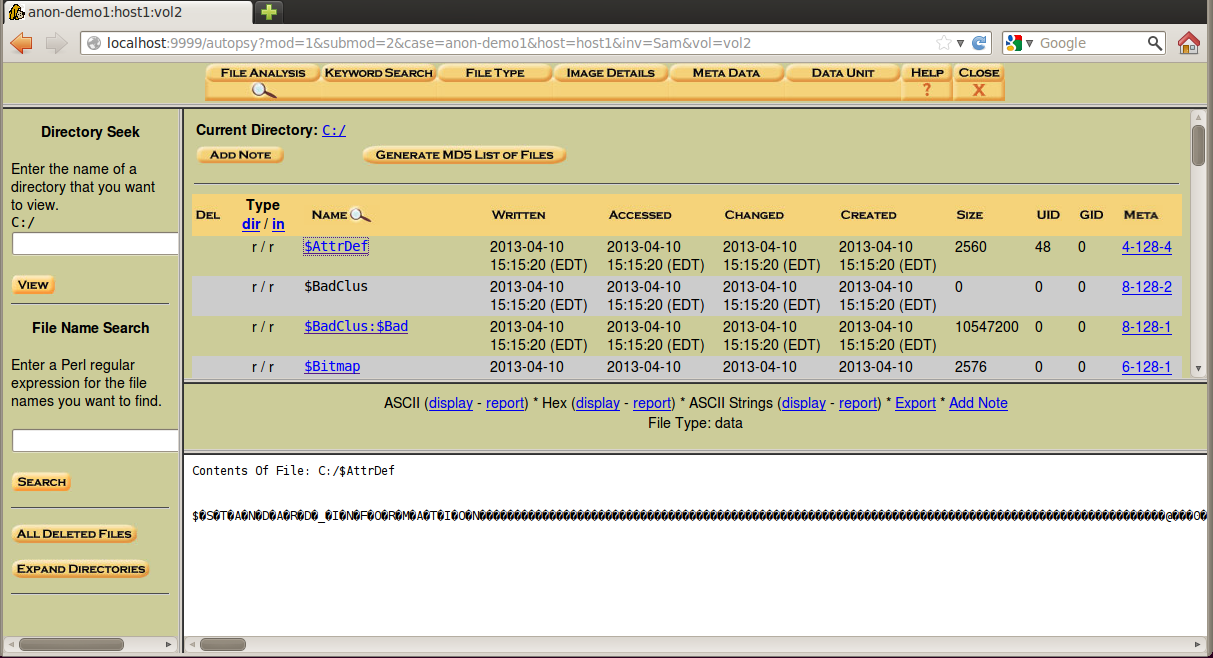
At the top left of the next screen, click the "File Analysis" button.
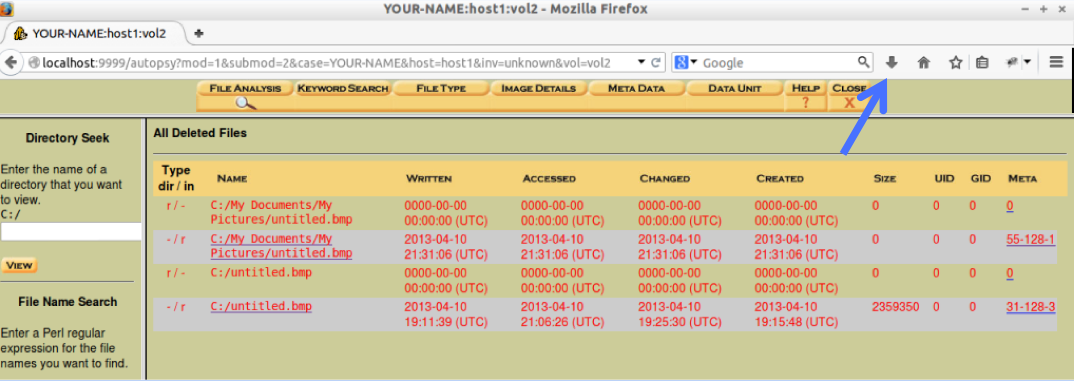
A list of files appears, as shown below.
Notice the four timestamps on each file: Written, Accessed, Changed, and Created. This is a strong point of Autopsy: it finds all four timestamps, while FTK finds only three of them.
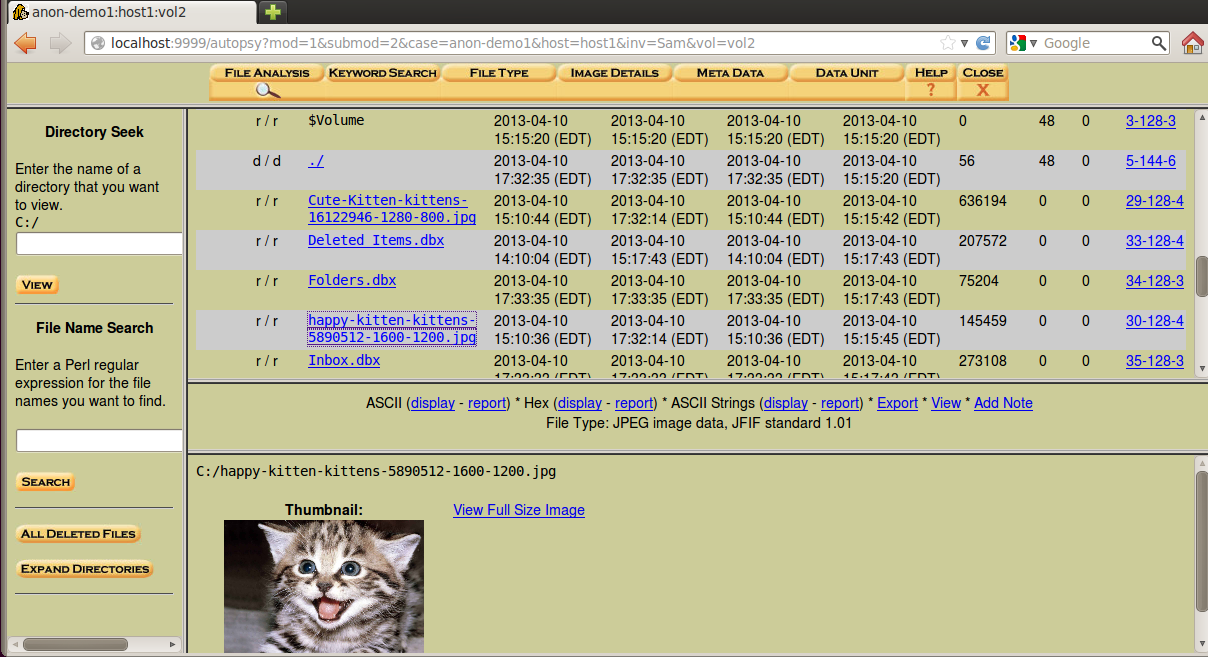
Try searching through the files for images. Unfortunately, Sleuthkit doesn't gather all the images together to make this easy the way FTK does.
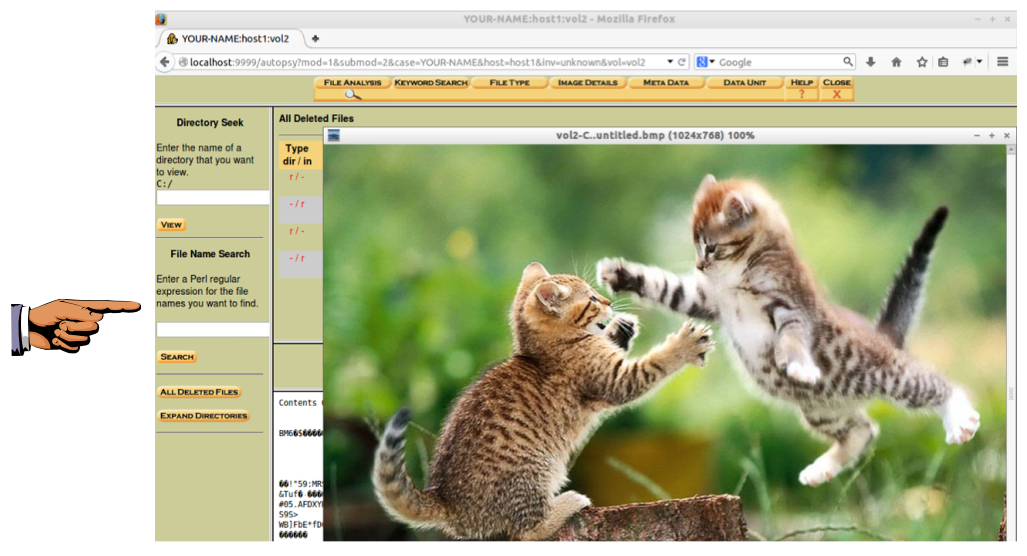
You should be able to find the kitten image shown below.
Four filenames appear, but three of them have size zero. There are images in this data file showing Guy Fawkes masks, but although FTK found them, Sleuthkit did not.
In the upper pane, click the last item "C:/untitled.bmp".
The lower pane shows the Contents of the file in unreadable ASCII, as shown below.
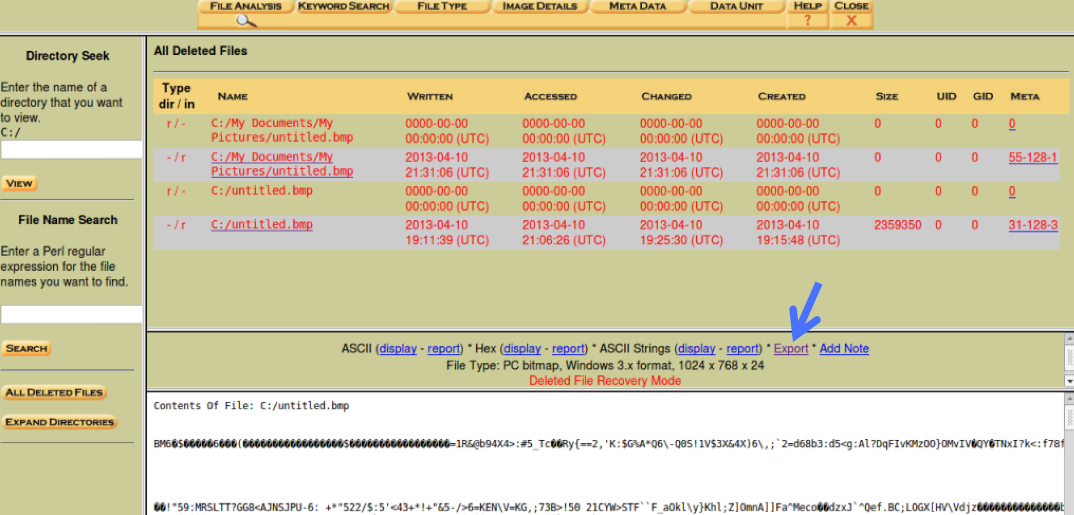
To recover the deleted file, in the center right, click the blue Export link, indicated by the blue arrow in the image above.
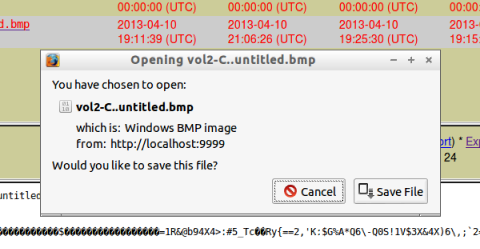
A box pops up, as shown below.
Click "Save File".
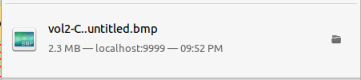
In Firefox, in the top right, click the downloads arrow, indicated by the blue arrow in the image below.
In the list of downloads, click on vol2-C.untitled.bmp, as shown below.
A photo with two kittens appears, as shown below.
Click in the host system, on the taskbar. Capture the whole desktop with the PrintScrn button.
YOU MUST SUBMIT A WHOLE-DESKTOP IMAGE FOR FULL CREDIT.
Save the image with the filename "Your Name Proj X5b".