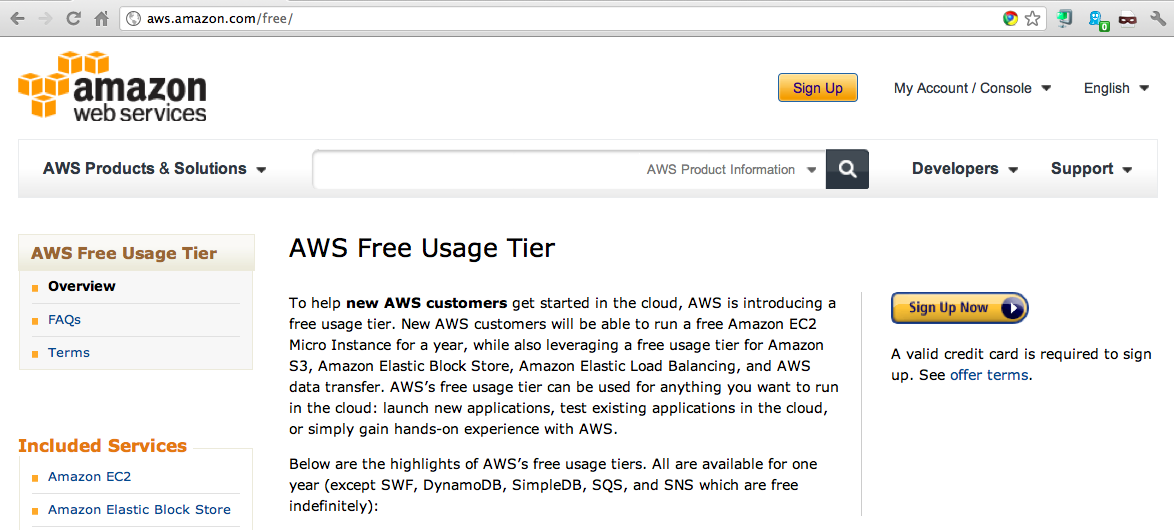
Click the "Sign Up Now" button.
Sign in with your existing Amazon.com account, or create a new account by following the on-screen directions.
Fill in your real contact information, and real credit card information (make sure you are using a trustworthy Internet connection, and NOT the machines in S214).
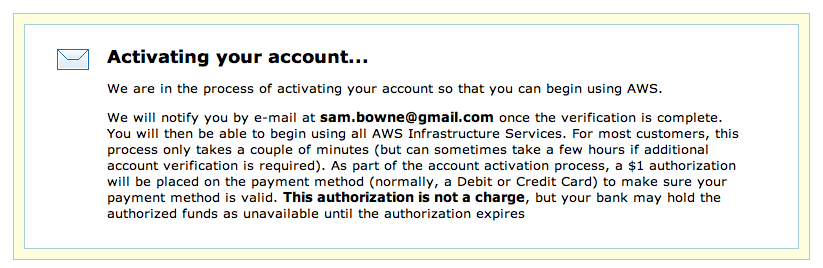
You will have to answer a phone call an verify your identity. After you complete that process, you will see the message below.
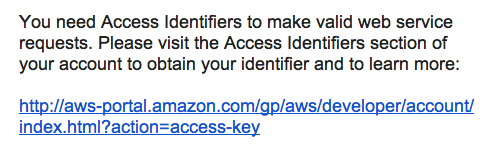
Check your email and find the message with a Subject of "Welcome to Amazon Web Services". Click the link in that message, as shown below, to configure your "access identifiers".
Sign in if you are prompted to. Scroll down and find your "Access Key ID" and "Secret Access Key", as shown below:

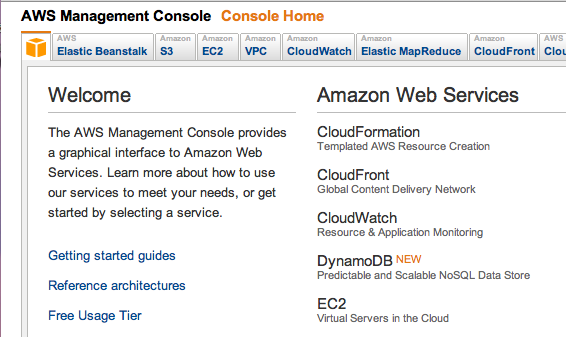
On the left side, click "AWS Management Console". Read through the options.

Click the "Sign in to the AWS Console" button.
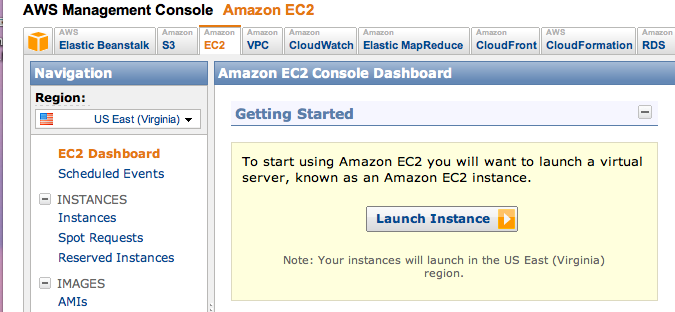
Click EC2.
In the "Getting Started" box, click the "Launch Instance" button.
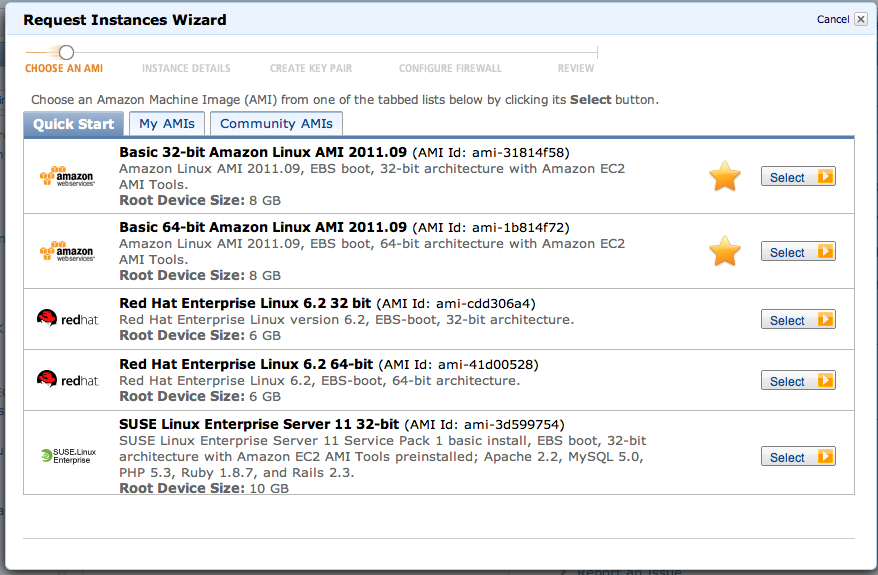
In the "Create a New Instance" box, accept the default selection of "Classic Wizard" and click the "Continue" button.
In the "Request Instances Wizard" box, on the "Basic 32-bit Amazon Linux" row, click the "Select" button.
The next page asks about "Number of Instances" and "Availability Zone". Accept the default selections and click the "Continue" button.
The next page asks about "Advanced Instance Options". Accept the default selections and click the "Continue" button.
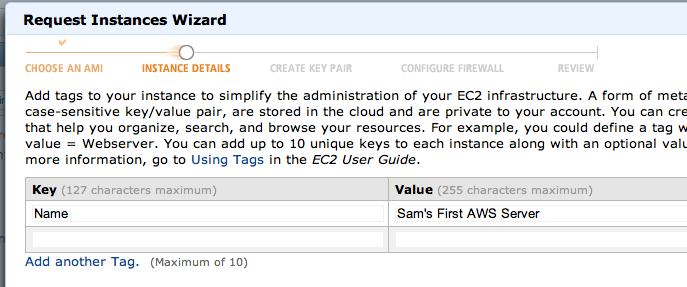
The next page asks for Key-Value Pairs. Enter a Key of "Name" and a value with your name in it, as shown below. Click the "Continue" button.
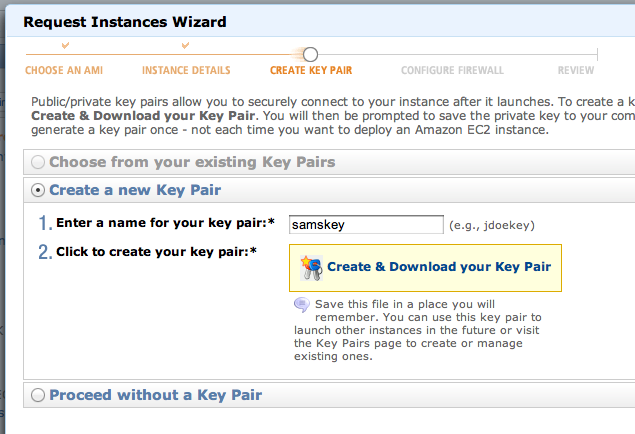
In the next page, enter an appropriate name for your key pair, as shown below. Click the "Create & Download your Key Pair" button.
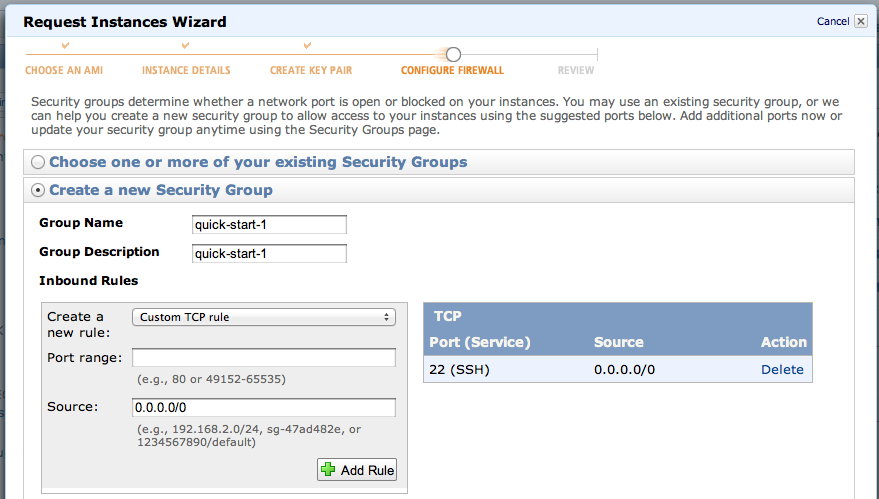
The next page allows you to create security groups. That's good idea for security, but at the moment we are deliberately creating a somewhat insecure server, so just accept the default selections and click the "Continue" button.
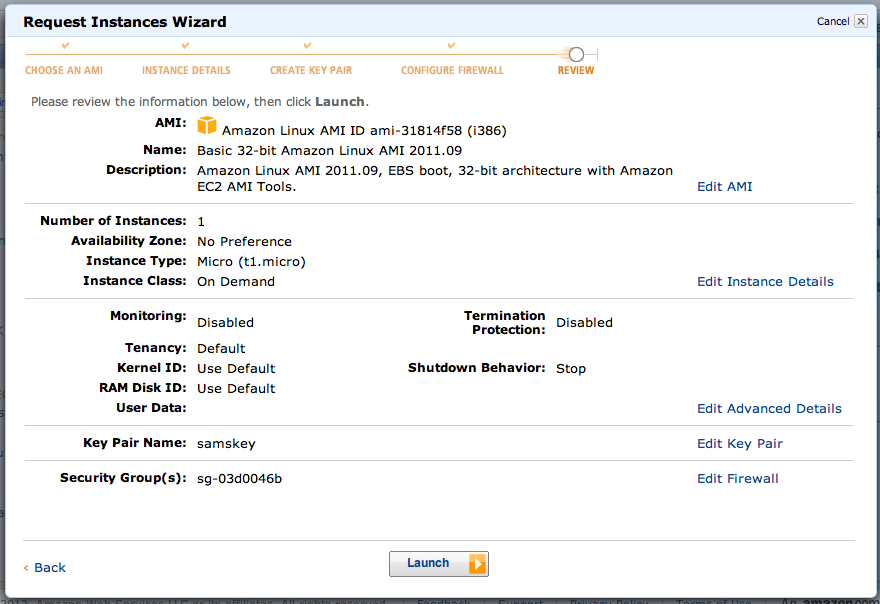
Click the "Launch" button.
The next page says "Your instances are now launching.". Click the "View your instances on the Instances page" link.
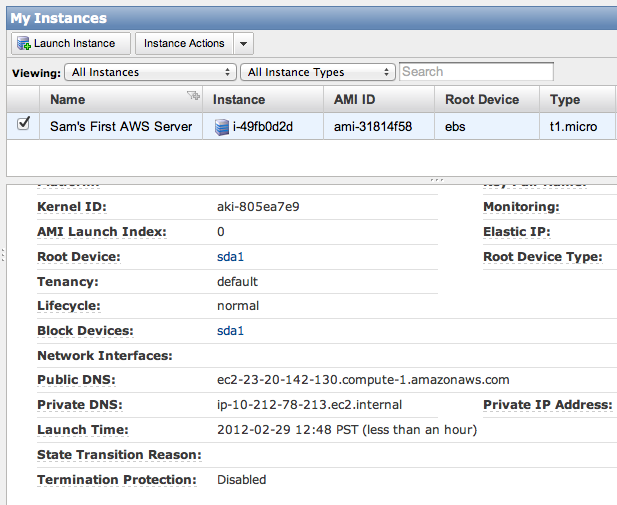
In the upper pane of the "My Instances" page, click the check box. In the lower pane, scroll down to find your "Public DNS" name, as shown below on this page.
On the Mac, in a Terminal window, enter this line, inserting the correct path to your keyfile, and your correct AWS Instance DNS name:
ssh -i Downloads/samskey.pem root@ec2-23-20-142-130.compute-1.amazonaws.com
When you see a question "Are you sure you want to continue connecting?", type "yes" and press the Enter key.
When I did it, I got an error because the permissions were incorrect on my keyfile.
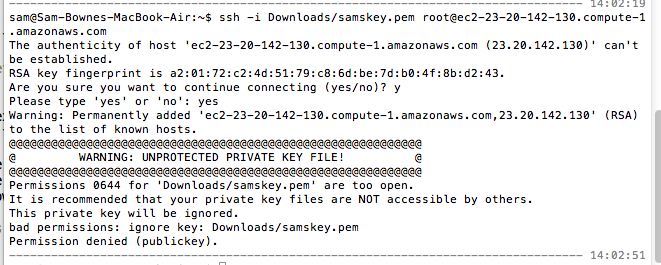
I fixed that with this command:
chmod 400 Downloads/samskey.pem
When I tried to get in again, I was denied because AWS no longer allows login as root.

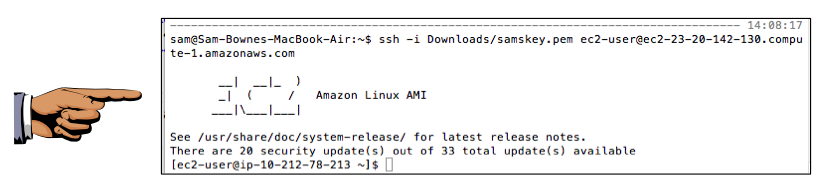
Use this command to get in, inserting the correct path to your keyfile, and your correct AWS Instance DNS name:
ssh -i Downloads/samskey.pem ec2-user@ec2-23-20-142-130.compute-1.amazonaws.com
You should now get a shell, as shown below:
sudo cp /etc/ssh/ssh_config /etc/ssh/ssh_config.bak

sudo nano /etc/ssh/ssh_config
Scroll to the bottom of the file and add this line, as shown below:
LogLevel VERBOSE
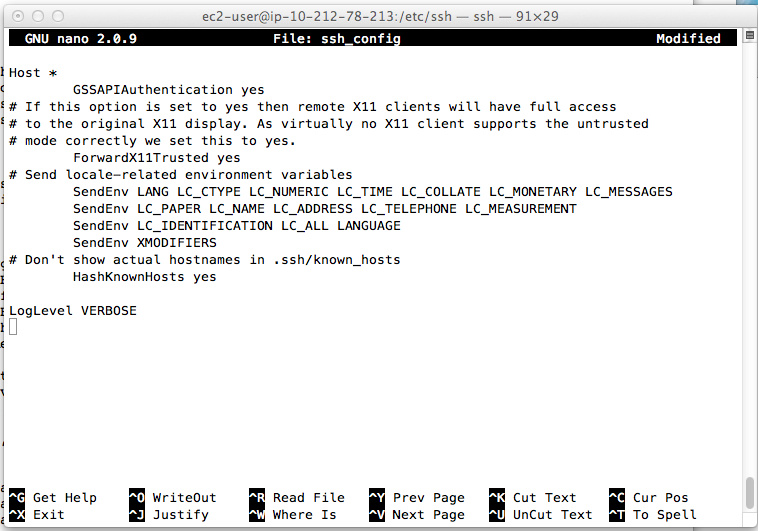
Press Ctrl+X, Y, Enter to save the file.
But in this project, it's interesting to allow it to see the attacks it will attract.
In the ssh session, execute these commands:
sudo cp /etc/ssh/sshd_config /etc/ssh/sshd_config.bak

sudo nano /etc/ssh/sshd_config
Scroll about 2 screens down and find the line that currently says:
PasswordAuthentication no
PasswordAuthentication yes

Press Ctrl+X, Y, Enter to save the file. Execute this command to restart sshd:
sudo /etc/init.d/sshd restart
Exit the SSH session.
Re-connect with ssh as you did before, and execute this command to see the recent lines of the log file:
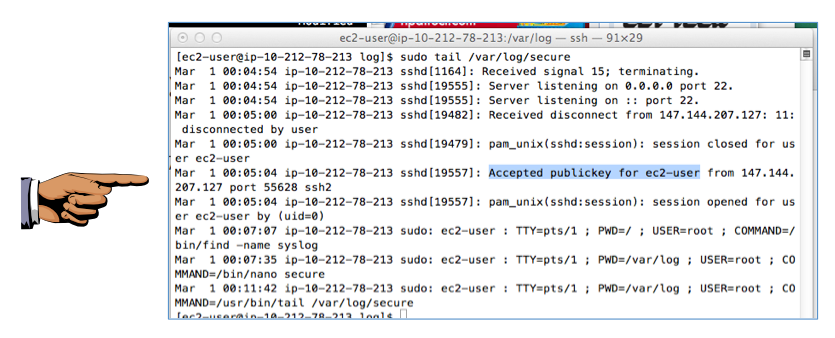
sudo tail /var/log/secure
You should see the message "Accepted publickey for ec2-user", as shown below: