CNIT 121 Project 18: Using EnCase (15 pts.)
What You Need for This Project
- A Windows computer, real or virtual
- The Encase Demo file (provided in class)
- The instructions below assume you are using Windows 7 as set up in the S214 lab.
Extracting the EnCase RAR File
Copy the encasedemo.rar file from the DVD to your computer.
Right-click the encasedemo.rar file and
click 7-zip, 'Extract to "encasedemo\"'.
If there is no 7-zip option, you need to do
wnload 7-zip from 7-zip.org and install it.
Launching the EnCaseDemo
Open the encasedemo file. Double-click EnCaseDemo.exe
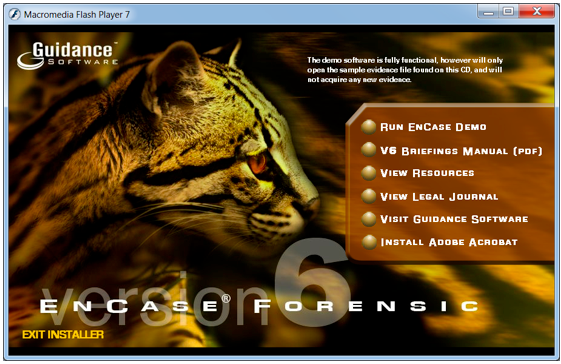
A decorative box appears, as shown below.
Click the yellow dot to the left of the words "Run EnCase Demo".
In the encasedemo folder, find the "Hunter XP.E01" file.
Drag it and drop it into the "EnCase Evaluation Version" window.
In the "Case Options" box, enter your name as the "Examiner Name"
and click "Finish".
If one or more boxes pops up asking to create folders, allow that.
In the encasedemo folder, find the "MS E-mail Files.E01"
file. Drag it and drop it into the "EnCase Evaluation Version" window.
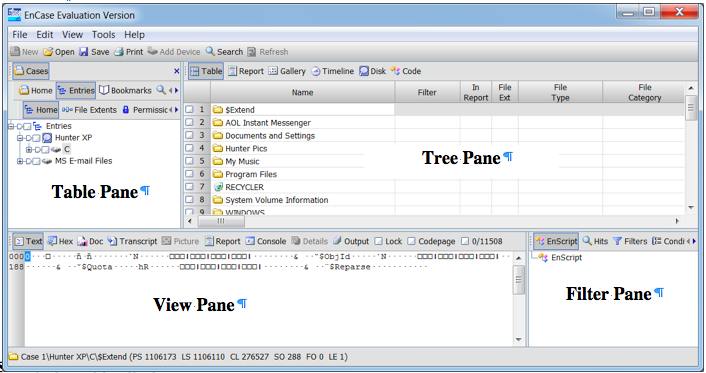
EnCase Layout
There are four panes in the EnCase main window:
- Table Pane - this is where you select the device or folder to examine
- Tree Pane - shows files and folders in the current directory
- View Pane - shows the current file or folder in Text, Hex, or many other views
- Filter Pane - shows results from a search or filter
Views in the Tree Pane
In the Table Pane, expand "Hunter XP"
and click C to select the C: drive.
The Tree Pane shows the files in the root of C:.
Scroll down and click boot.ini.
Try all the views in the Tree pane:
Table, Report, Gallery, Timeline, Disk, and Code.
Searching for Email
In the top center of the "EnCase Evaluation Version" window, click the
Search button.
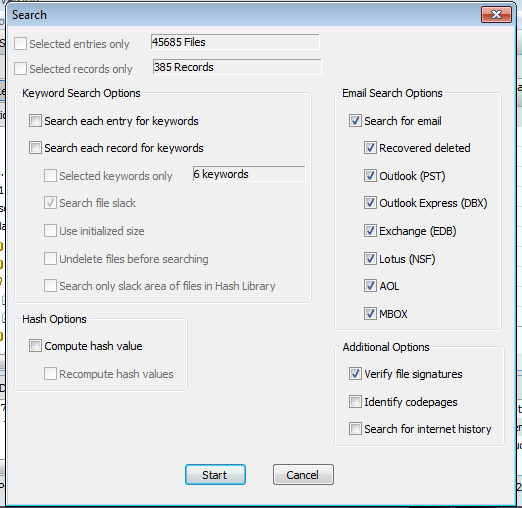
In the Search box, on the right side, click the
"Search for email" box,
and check all the types of email. On the
left side, clear all the check boxes,
as shown below.
The search should only take about two minutes.
Click the Start button.
The search runs, with two little progress bars showing in the lower right of the "EnCase Evaluation Version" window.
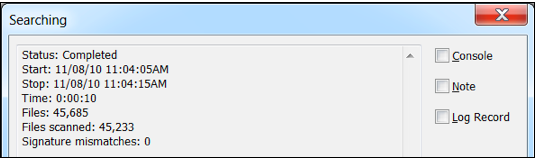
When the search completes, a box pops up saying "Completed" as shown below.
Click OK.
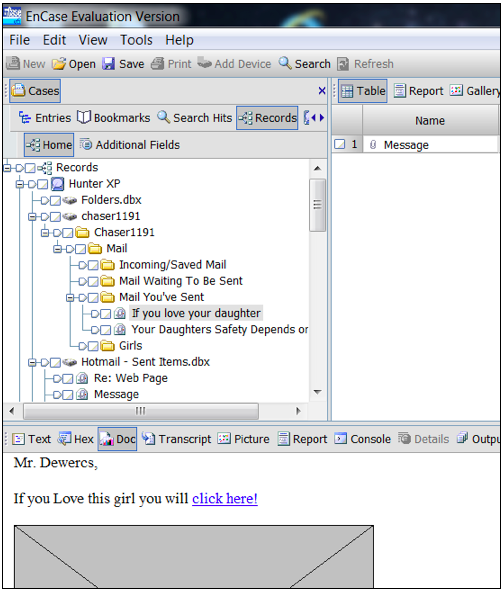
Viewing the Search Results
From the "EnCase Evaluation Version" menu bar, click
View, "Cases Sub-Tabs", Records.
You should see a tree of entries in the Table Pane. Use the keyboard down-arrow to look at each one and read the emails in the View Pane in the lower left. As you can see, this case involves a plot to kidnap a daughter.
Finding the License Plate Number
Search through the emails and find a photograph of a person (perhaps the intended victim) putting gas in a car. Find the license plate number of that car and write it down.
You will need to click the thumbnail to make it visible
at full size.
Searching the Internet History/Cache
In the top center of the "EnCase Evaluation Version" window,
click the Search button.
In the Search box, on the right side, clear the
"Search for email" box, as shown below.
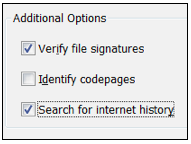
At the bottom, check the "Search for internet history" box.
Click the Start button.
When the Searching box pops up, saying "Completed", click OK.
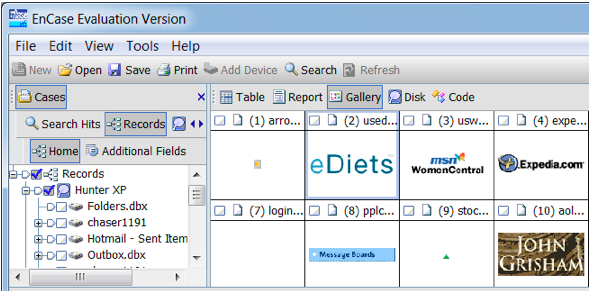
Viewing the Search Results
From the "EnCase Evaluation Version" menu bar,
click View, "Cases Sub-Tabs", Records.
In the Table Pane, expand "Hunter XP" and expand C.
Expand "Internet Explorer (Windows)".
Click Cache to select it.
In the Tree Pane, click Gallery.
A grid showing the images from the cache appears, as shown below.
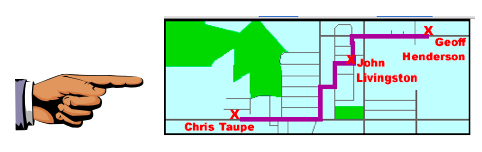
Finding the Map
Search through the images and find the map shown below.
When you find it, select this image in the Tree Pane and select
Picture in the View Pane, so you can see the small
version of the map in the Tree Pane and the full size map in the View Pane.
Saving a Screen Image
Make sure your screen shows the map image shown above.
Save a screen image it with the filename
"Your Name Proj 18".
Turning in your Project
Put the License Plate Number in the body of your email.
Email the JPEG image to me as an email attachment.
Send it to: cnit.121@gmail.com with a subject line of
"Proj 18 From Your Name", replacing Your Name
with your own first and last name. Send a Cc to yourself.
Last Modified: 4-27-13 9:39 am