
Click Start, right-click "My Computer", and click Manage.
You should see your second small disk labelled "Disk 1", as shown below.
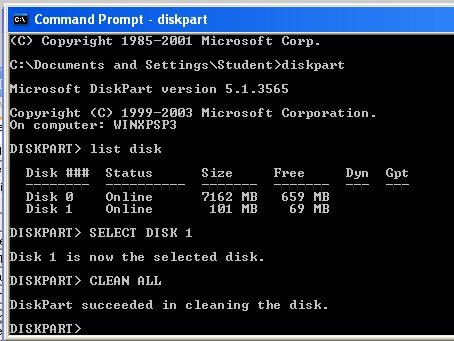
Click Start, Run. Type CMD and press Enter.
Execute these commands to clean your second disk. Be careful not to erase the wrong disk!
DISKPART

LIST DISK

SELECT DISK 1

CLEAN ALL
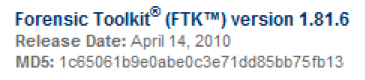
Download FTK from this link (50 MB):
http://samsclass.info/121/proj/FTK-Forensic_Toolkit-1.81.6.exe.7z
This is a 7-zip archive. If you don't have 7-zip, get it here:
Right-click the FTK-Forensic_Toolkit-1.81.6.exe.7z file and click 7-Zip, "Extract Here".
A file appears, named "FTK-Forensic_Toolkit-1.81.6.exe".
To test your file, you need Hashcalc. If you don't have Hashcalc, get it here:
http://www.slavasoft.com/hashcalc/
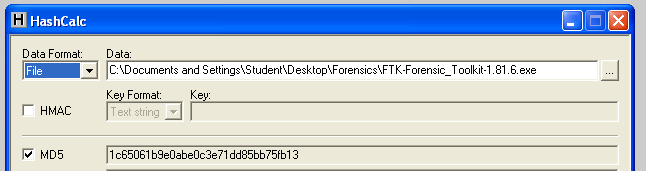
Open Hashcalc.
Drag the "FTK-Forensic_Toolkit-1.81.6.exe" file and drop it on the Hashcalc window.
You should see the correct hash value, ending in fb13, as shown below:
When you get an Error box saying "No security device was found...", click No.
When you get an Error box saying "The KFF Hash library file was not found...", click OK.
When a box pops up explaining the limitations of the demonstration version, click OK.
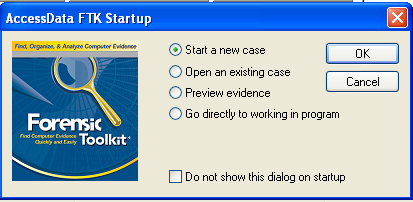
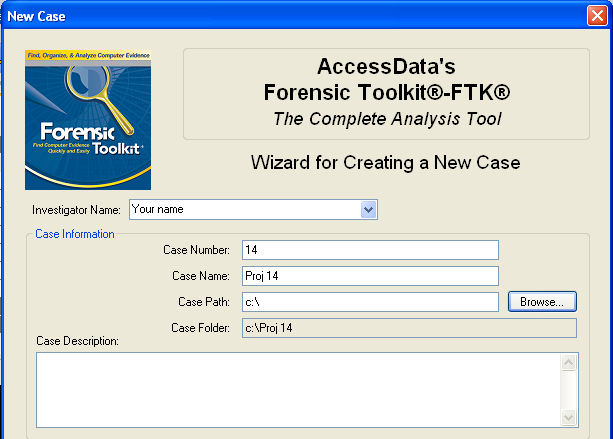
In the screen titled "Wizard for Creating a New Case", fill in the fields as shown below, replacing "Your Name" with your own name. Click Next.
In the screen titled "Forensic Examiner Information", leave the fields blank and click Next.
In the screen titled "Case Log Options", accept the default selections, which will log everything. Click Next.
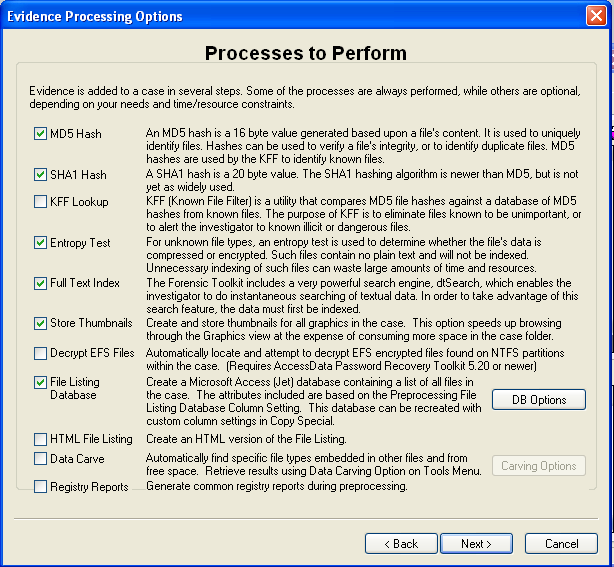
In the screen titled "Processes to Perform", deselect "KFF Lookup" and "Decrypt EFS Files", because those features won't work in the demo version, as shown below. Click Next.
In the screen titled "Refine Case-Default", accept the default of "Include All Items". Click Next.
In the screen titled "Refine Index -Default", accept the default options. Click Next.
Now you see the "Add Evidence" screen, as shown below.
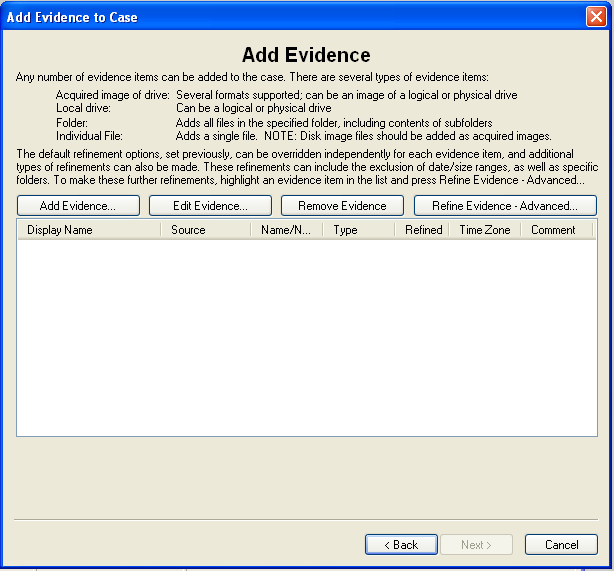
In the "Add Evidence to Case" box, select "Local Drive", and click Continue.
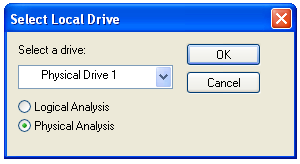
In the "Select Local Drive" box, click "Physical Analysis" and select the drive "Physical Drive 1", as shown below. Click OK.
In the "Evidence Information" box, click OK.
In the "Add Evidence" box, click Next.
In the "New Case Setup is Now Complete" box, click Finish.
A "Processing Files…" box appears. Wait till the processing completes--it won't take long if you have a small drive.
You should now see a screen like that shown below, showing "Evidence Items: 1" in the upper left portion of the window.
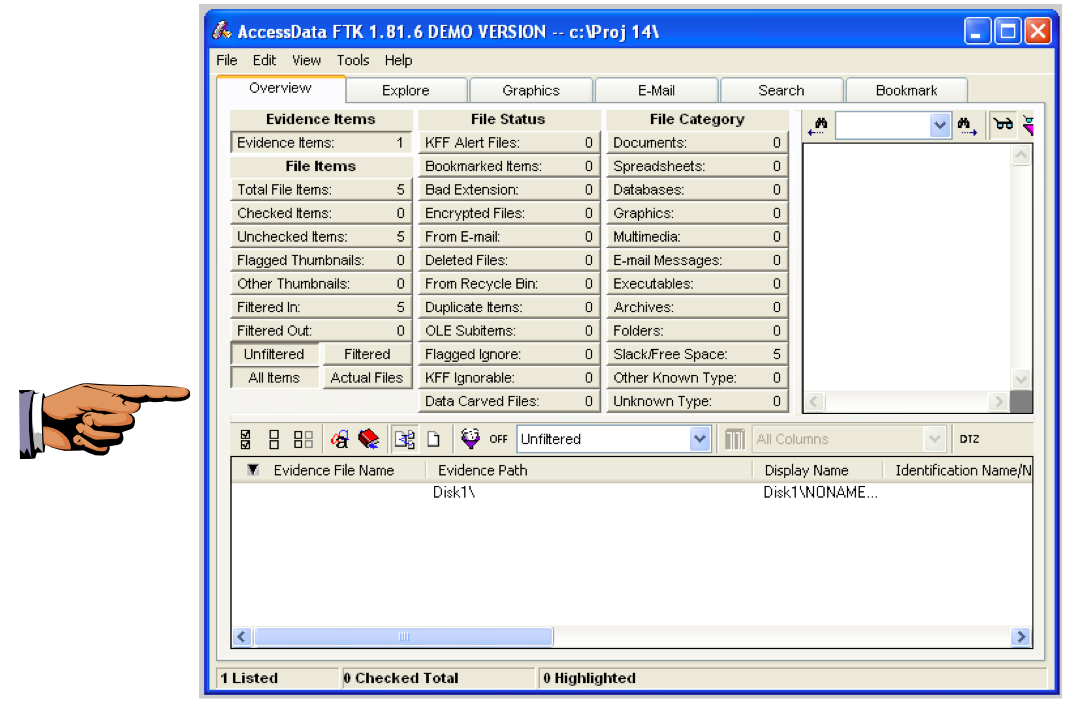
Capture the whole desktop with the PrntScn key.
YOU MUST TURN IN THE WHOLE DESKTOP TO GET FULL CREDIT!
Save the image with the filename "Your Name Proj 14".
To find out, click the "Total File Items:" button. The lower pane now shows five items, named "DriveFreeSpace1","DriveFreeSpace2","DriveFreeSpace3", etc.
In the bottom pane of the FTK window, click "DriveFreeSpace1". The upper right corner now shows a hexadecimal view of the bytes in that file, as shown below.
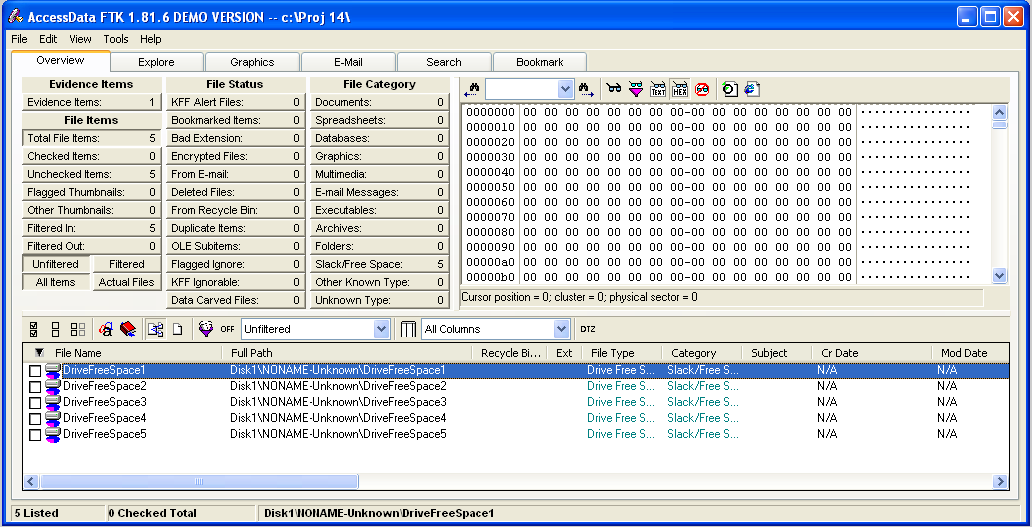
This is just like the HxD utility you used in a previous project. As you can see, the file is empty--it's not really a file at all, because it has no header or footer or file name or any data at all. FTK just breaks empty space up into chunks it calls 'Files" for handling.
To see that the disk is really empty, look at the "File Status" and "File Category" columns in the upper left portion of the FTK window. You can see that FTK was unable to find any usable data in any known format on this disk--it's clean.