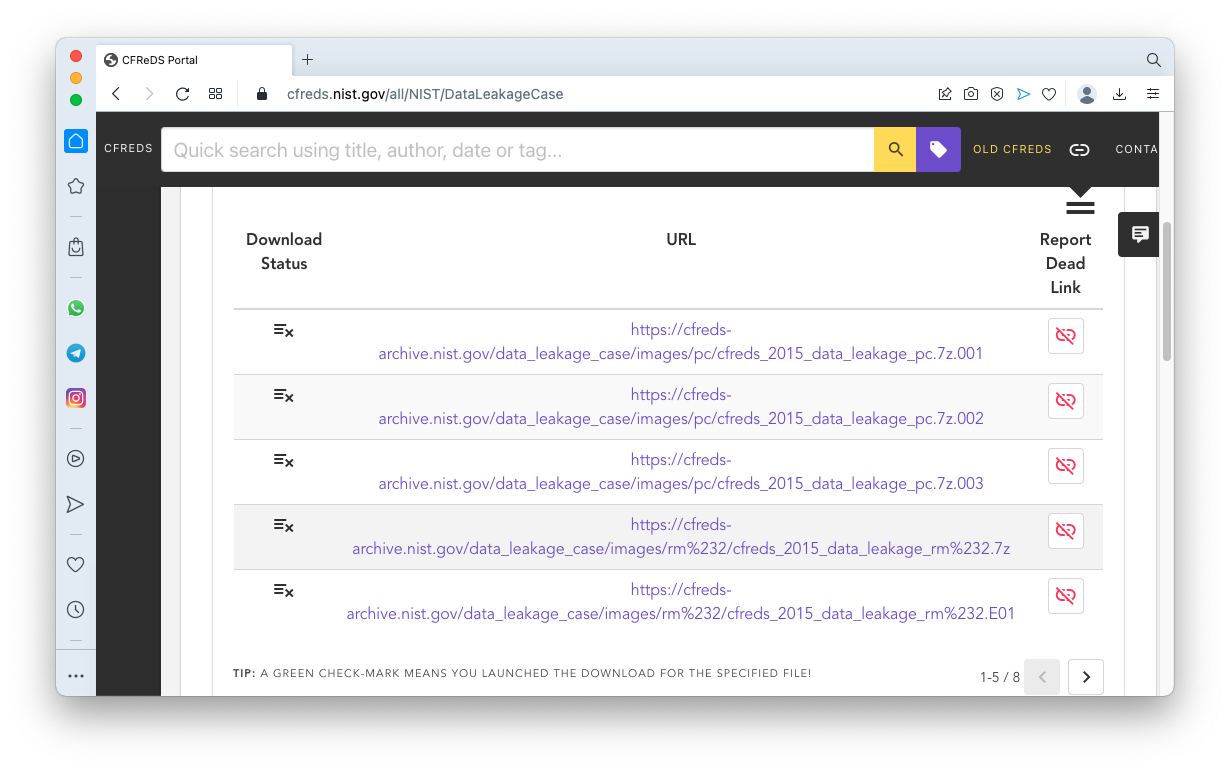
https://cfreds.nist.gov/all/NIST/DataLeakageCaseDownload the first three files, as shown below, with filenames ending in ".001", ".002", and ".003".
The files total approximately 5 GB in size, so the download may be slow.
This information may help to verify your downloads:
cfreds_2015_data_leakage_pc.7z.001 Size: 2,147,483,648 bytes MD5: c327db25292296ab10c2670b94ef28b5

cfreds_2015_data_leakage_pc.7z.002 Size: 2,147,483,648 bytes MD5: 8a5185144c7d38c111d5505e3018ba73

cfreds_2015_data_leakage_pc.7z.003 Size: 1,132,827,932 bytes MD5: e155d374d77643a9ff44a664d628bf87
https://7-zip.orgDownload and install 7-Zip.
When the extraction is done, you'll have a file named cfreds_2015_data_leakage_pc.dd that is approximately 21 GB in size.
F 221.1: Verifying the Hash (5 pts)
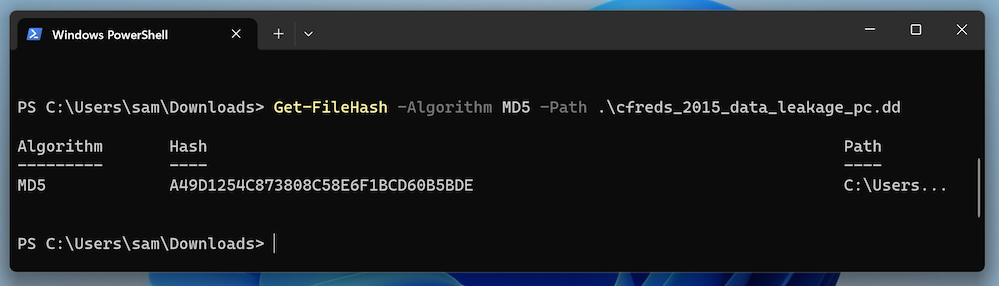
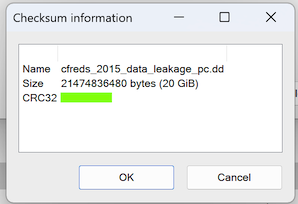
Open a PowerShell window and execute the commands, shown below.Verify that the MD5 value matches the value shown below. If it does not, re-download the evidence file.Right-click the cfreds_2015_data_leakage_pc.dd file and click "Show more options", 7-Zip, "CRC SHA", CRC32.
The flag is covered by a green rectangle in the image below.
Enter a Case Name of F221.
Click the Next button.
Click the Finish button.
At step 2. Select Data Source Type, click "Disk Image or VM File", as shown below.
Click the Next button.

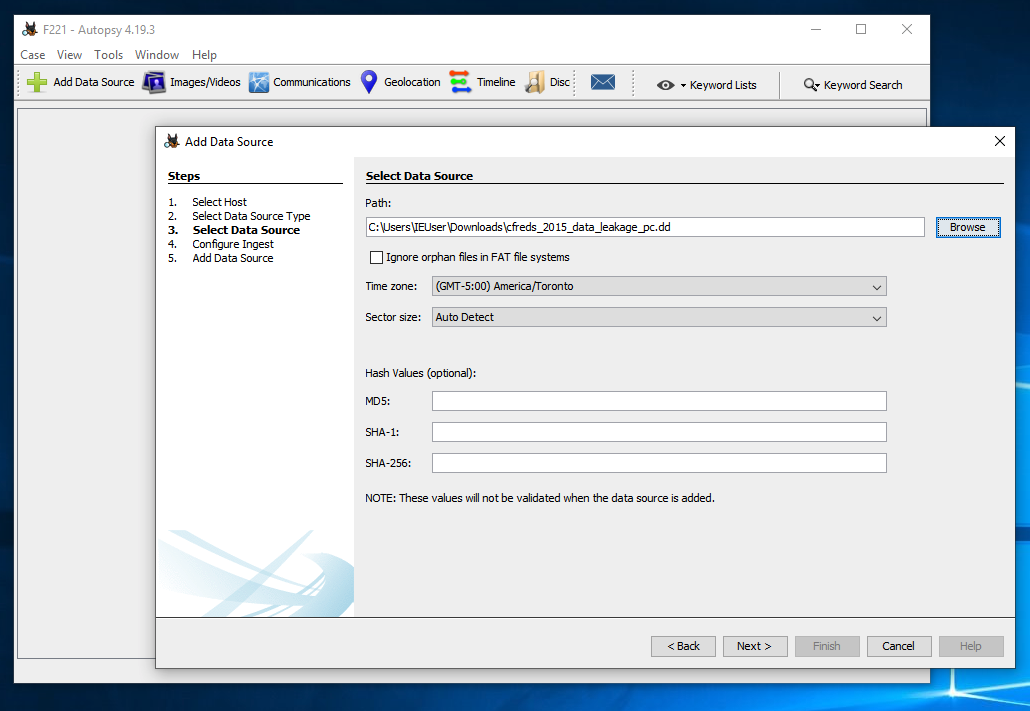
At step 3. Select Data Source, click the Browse button. Navigate to the cfreds_2015_data_leakage_pc.dd. Click it and click the Open button.
Change the Time Zone to "(GMT-5:00) America/Toronto". as shown below.
Click the Next button.
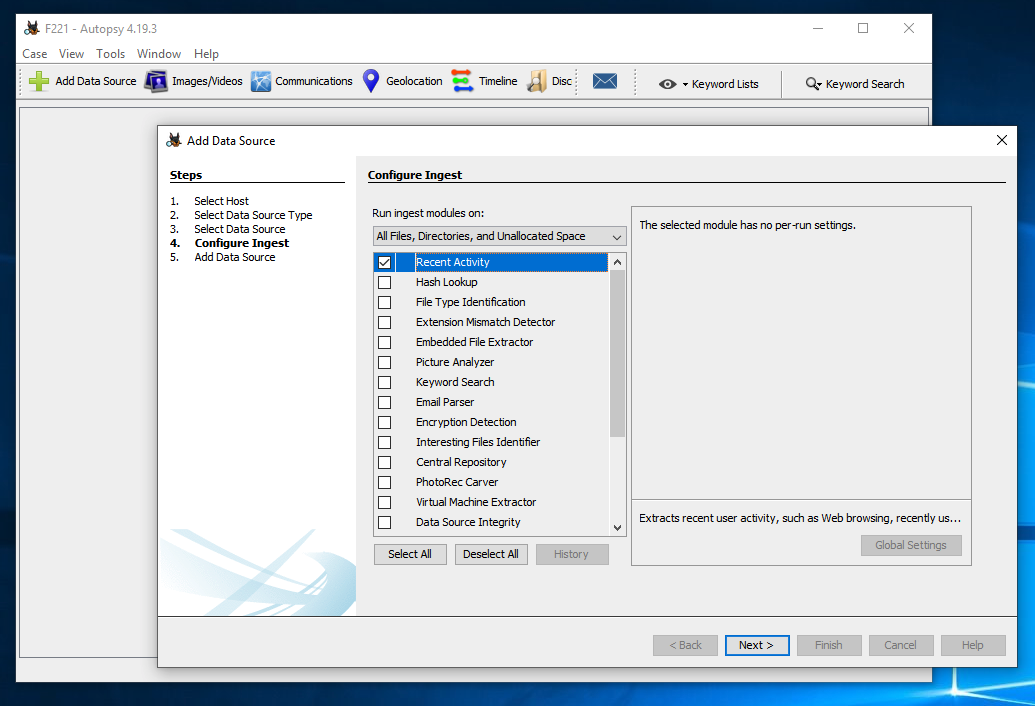
At step 4. Configure Ingest, clear all the check marks except "Recent Activity", as shown below.
Click the Next button.
It takes a minute or so to prepare the data.
At step 5. Add Data Source, click the Finish button.
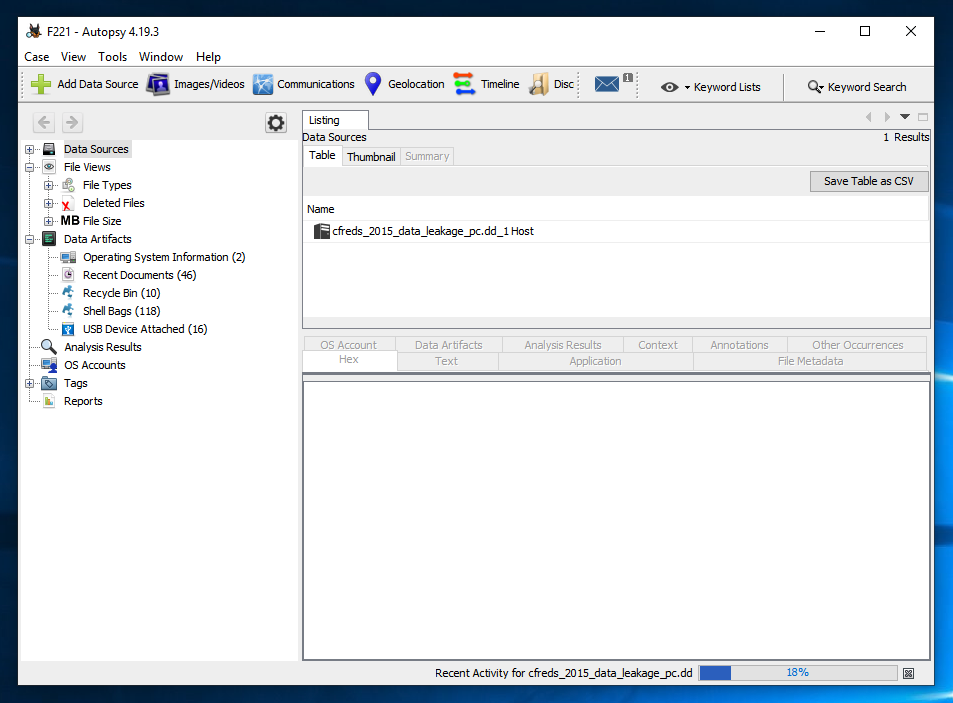
The progess of the processing is shown at the bottom right. In the image below, the processing is 18% done.
Wait until the processing is done.

Use the Artifacts to find the answers to the questions below.
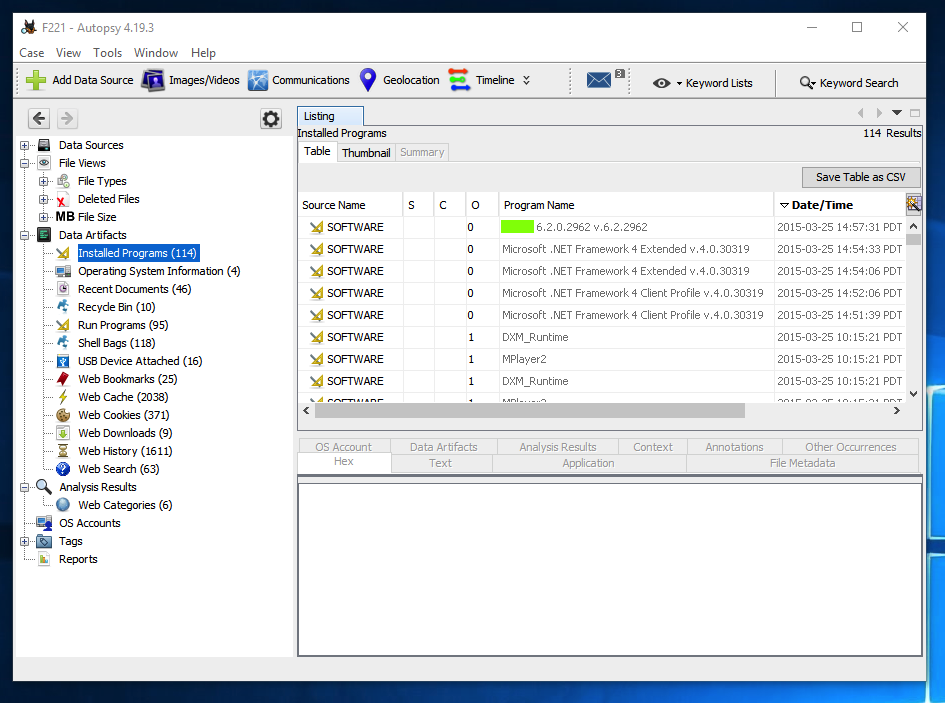
F 221.2: Most Recently Installed Program (5 pts)
What is the name of the most recently installed program?The flag is covered by a green rectangle in the image below.
F 221.3: Most Recent Document (5 pts)
What is the name of the most recently accessed document?The flag is covered by a green rectangle in the image below.
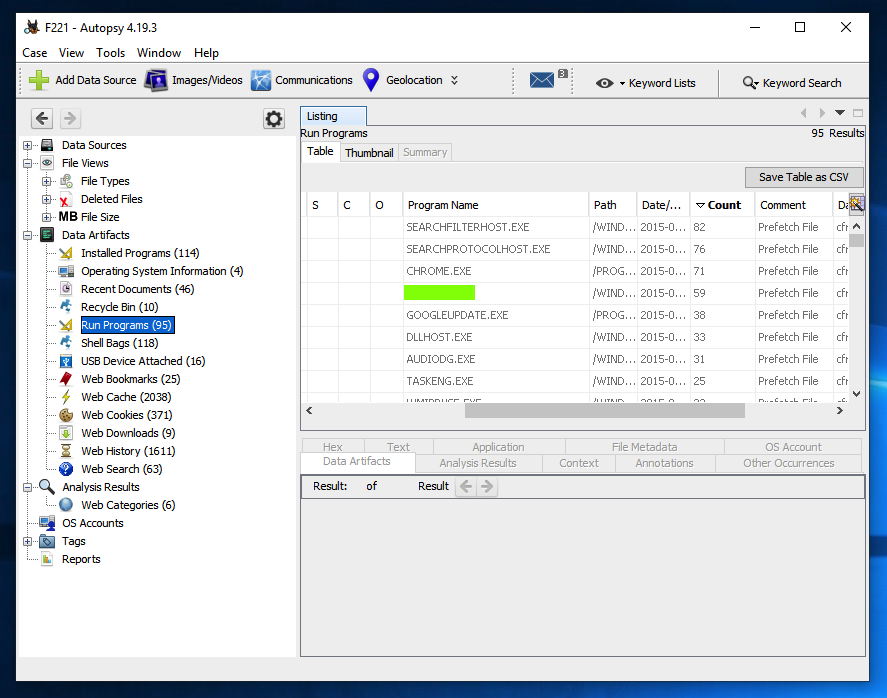
F 221.4: 59 Times (5 pts)
What program was run 59 times, as recorded in the Prefetch folder? (Autopsy calls this "Run Programs") What is the name of the most recently accessed document?The flag is covered by a green rectangle in the image below.
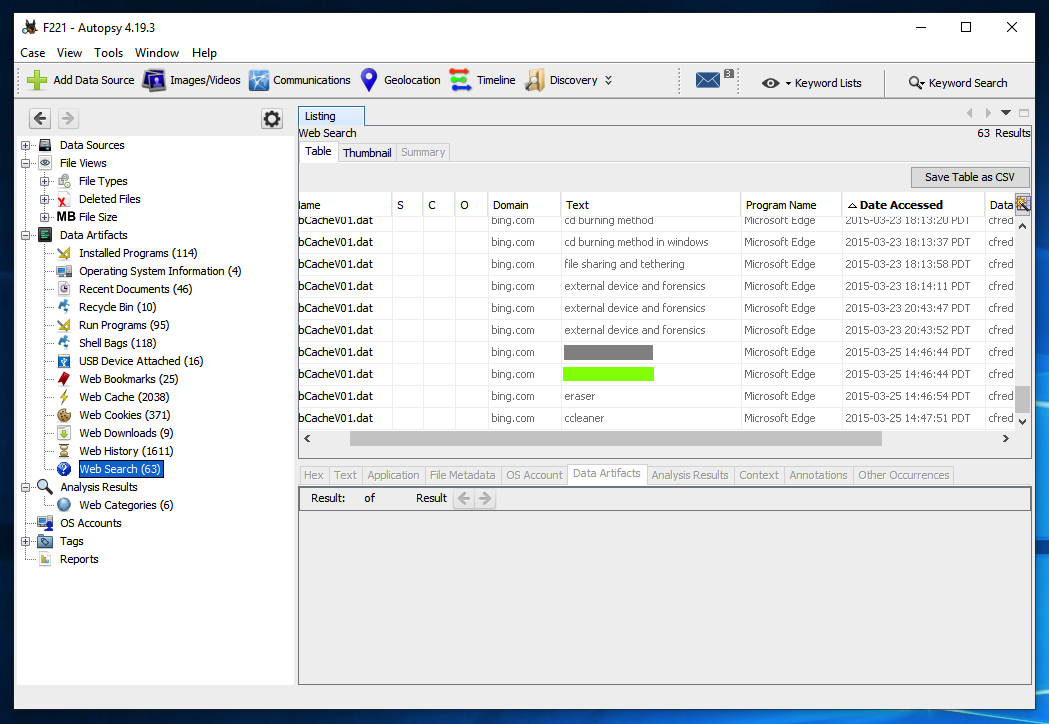
F 221.5: Search (5 pts)
What suspicious web search was performed, covered by a green rectangle in the image below?
Posted: 9-29-22
Image for flag 221.4 updated 10-28-22
Title changed and video added 3-20-23
Hashcalc replaced with 7-Zip and PowerShell 2-20-24
Hash of first file added 4-23-24