case1.zip (3.4 MB)
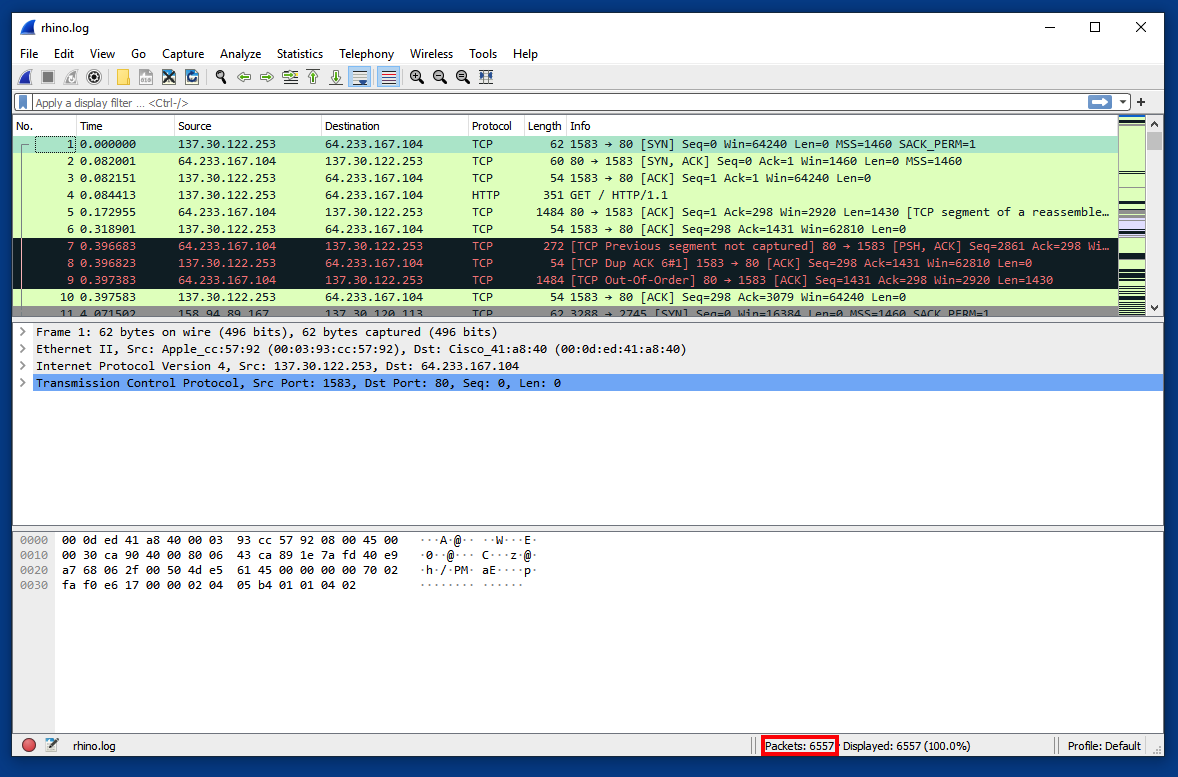
The file opens in Wireshark, as shown below.
At the lower right corner, notice that this file contains 6557 packets, outlined in red in the image below.
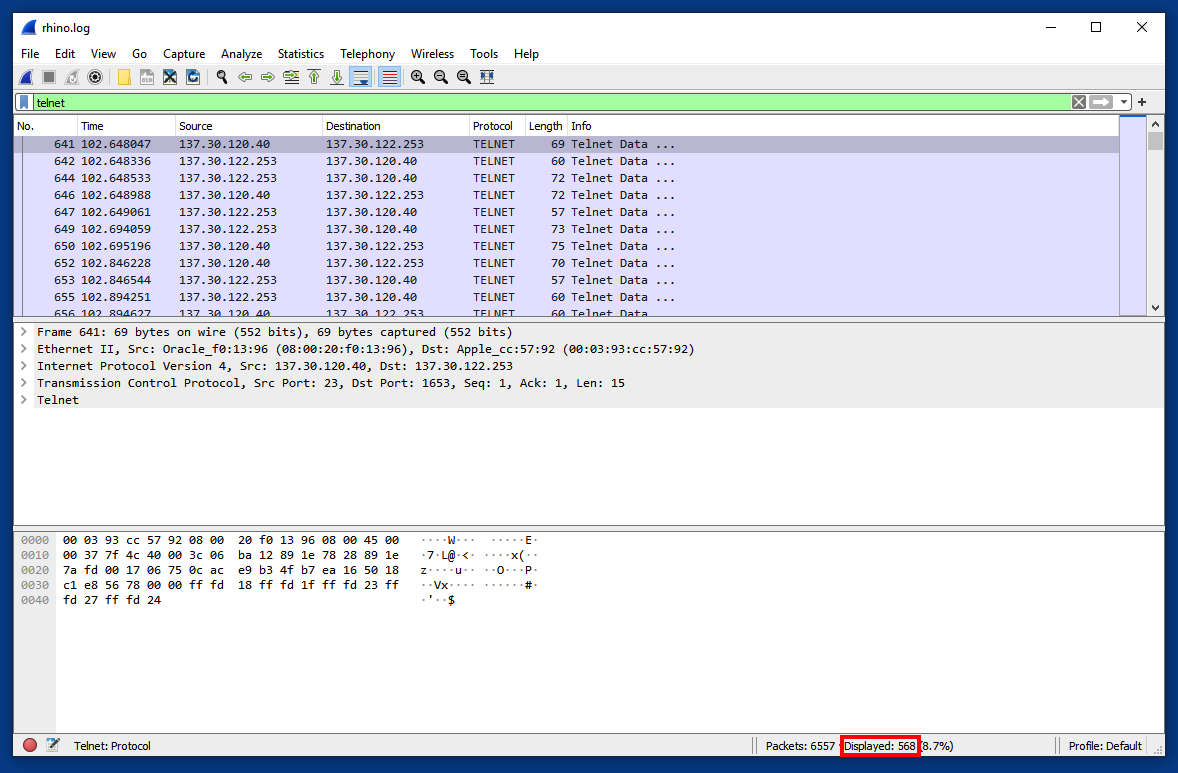
telnet
Press Enter to see the TELNET traffic, as shown below.At the lower right corner, notice that only 568 packets are displayed, outlined in red in the image below.
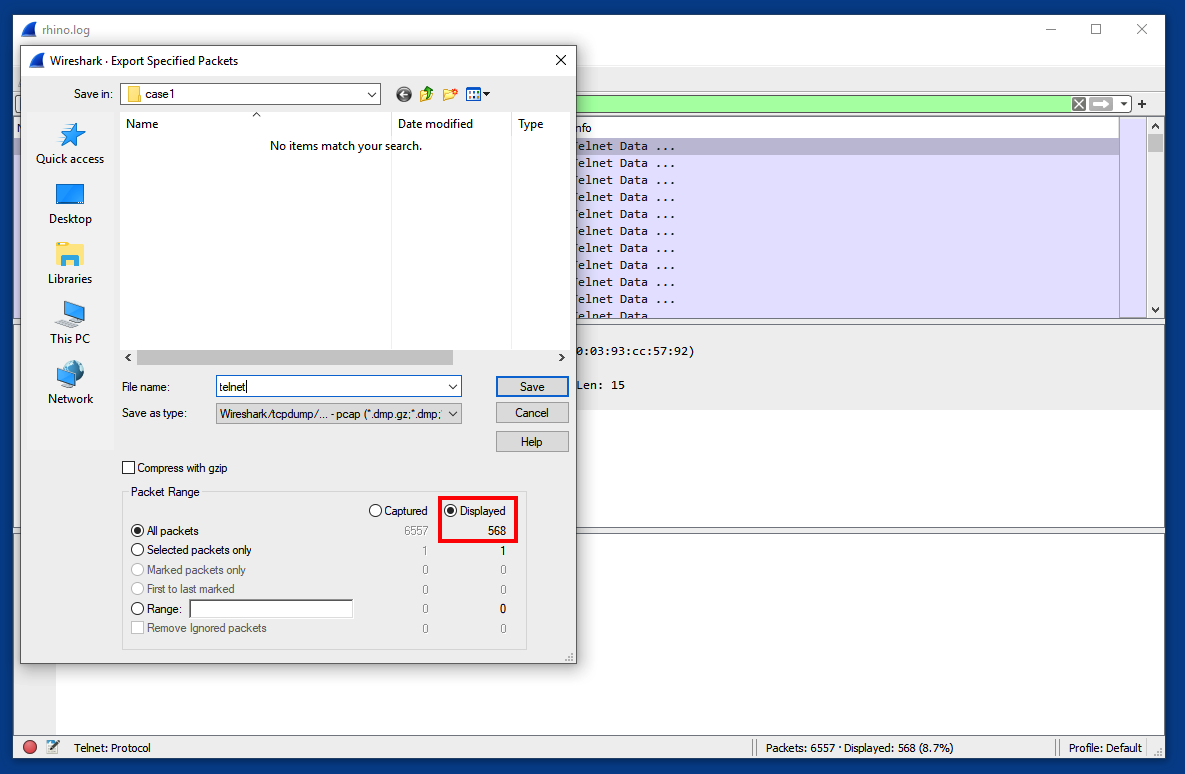
Click File, "Export Specified Packets". Save only the displayed packets, with a filename of telnet, as shown below.
Notice that only 568 of the packets are included, outlined in red in the image below.
Remove all text from the display filter bar at the top, and press Enter.
Click File, Open. Navigate to the telnet.pcap file and double-click it.
Right-click the first displayed packet and click Follow, "TCP Stream", as shown below.
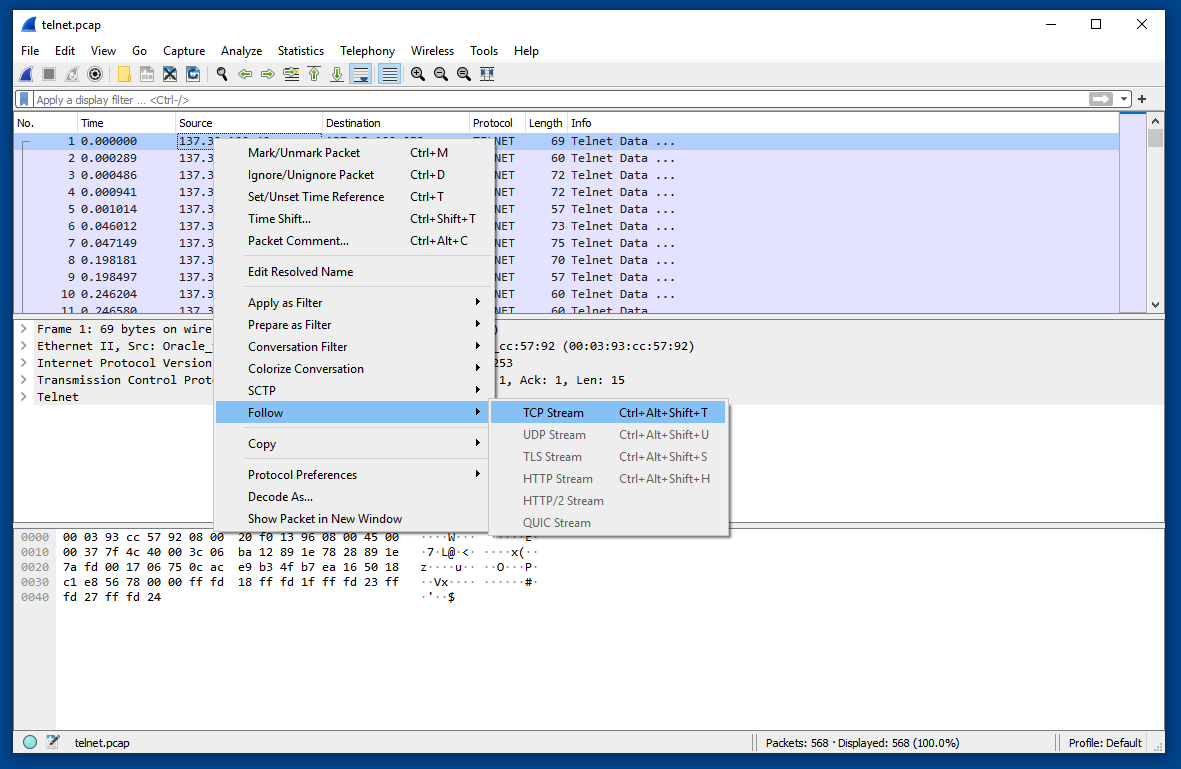
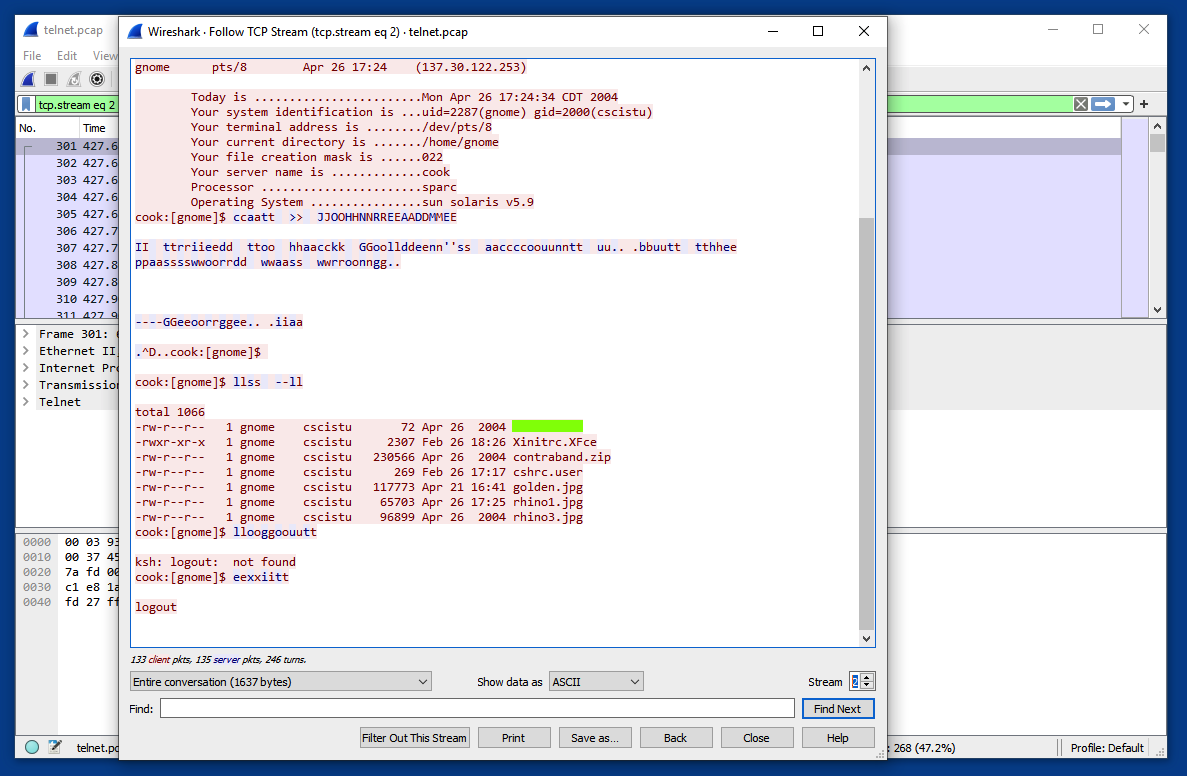
The data sent and received via TELNET appears in an easily-read format, as shown below.
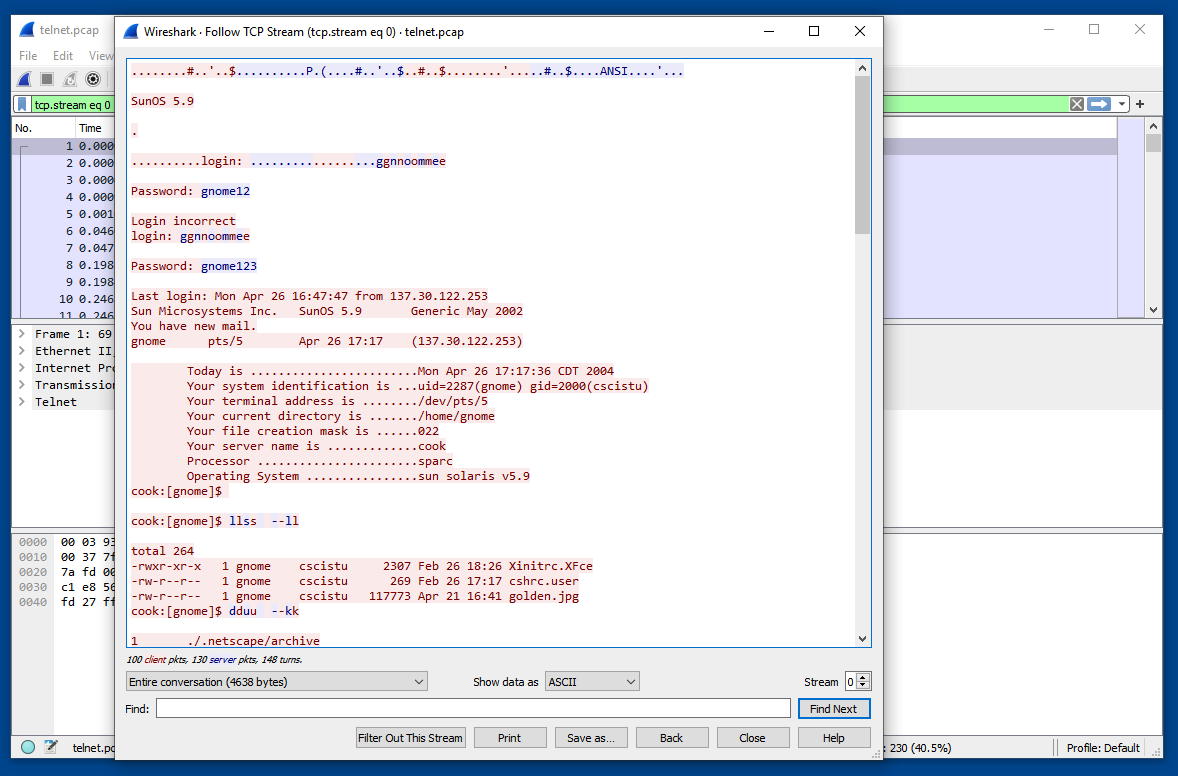
Read through the data. In this stream, the user logs, makes a few unsuccessful attempts to change a password, and logs out.
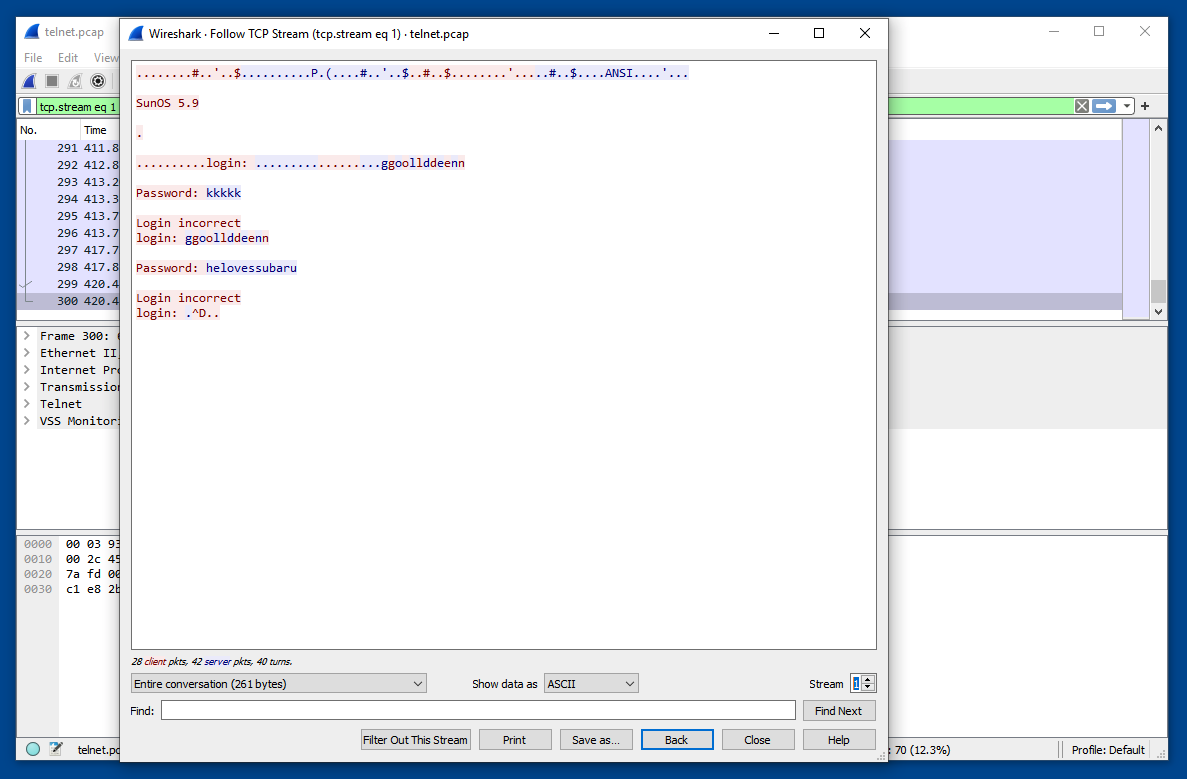
At the lower right of the "Follow TCP Stream" window, change the Stream number to 1, outlined in red in the image below.
F 202.1: Filename (5 pts)
The user leaves a message to John in a new file. That filename is the flag, covered by a green rectangle in the image below.
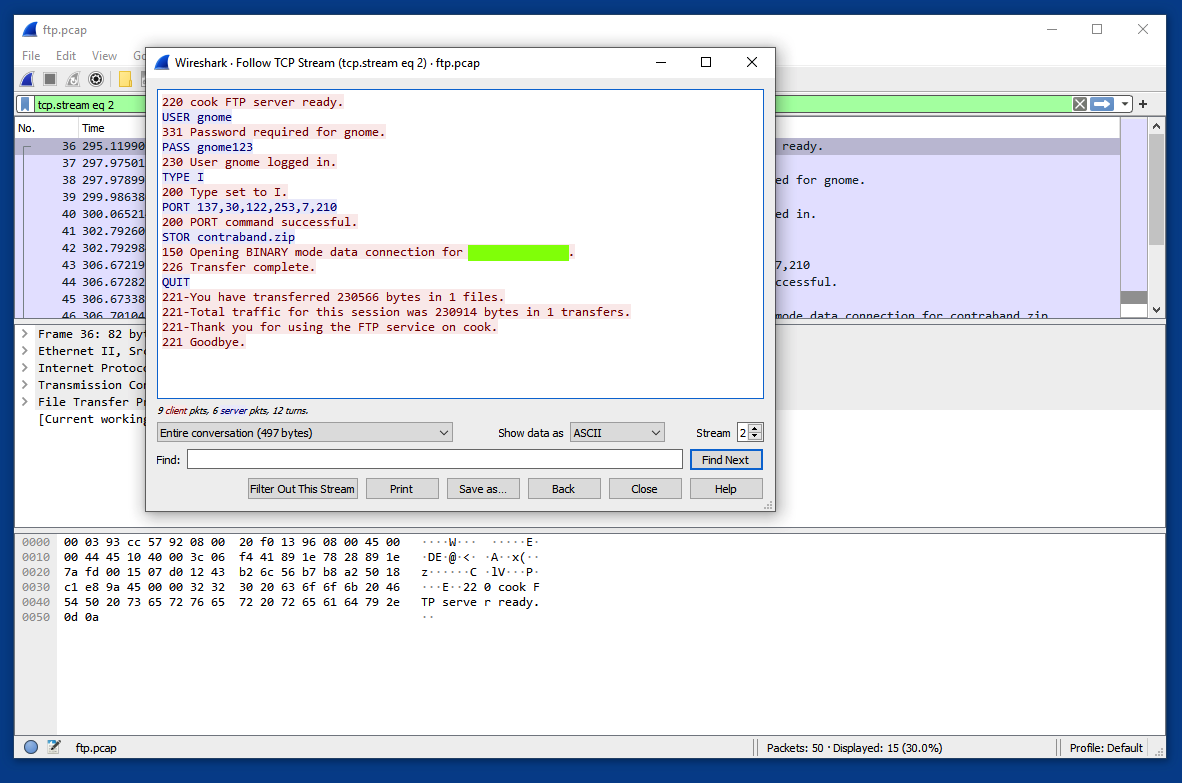
F 202.2: Filename (5 pts)
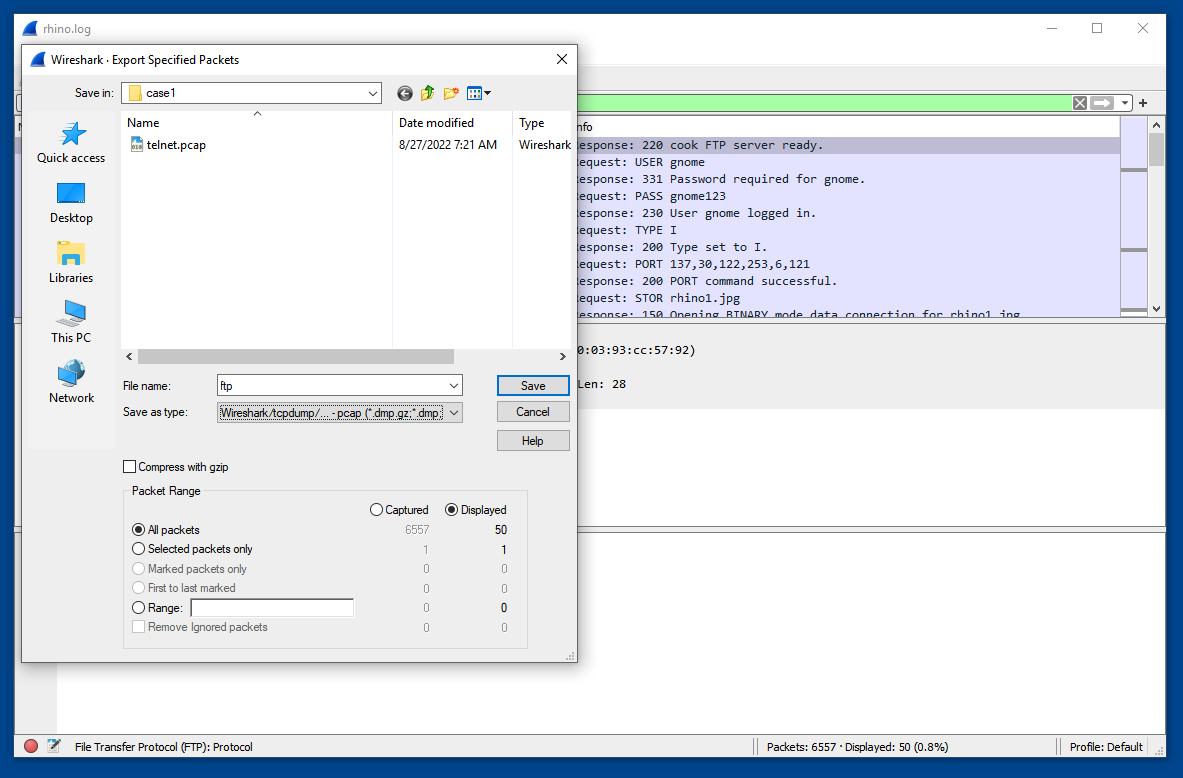
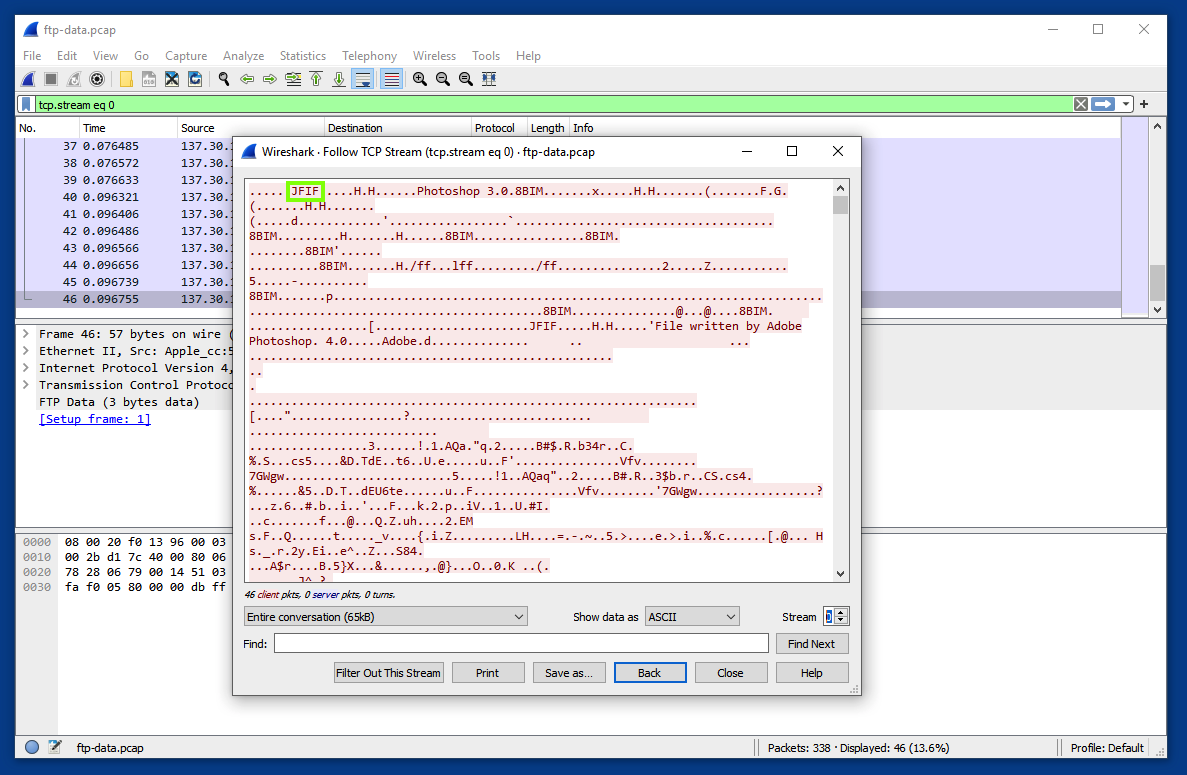
Repeat the process to analyze the FTP traffic.The user transfers three files. The filename of the third file is the flag, covered by a green rectangle in the image below.
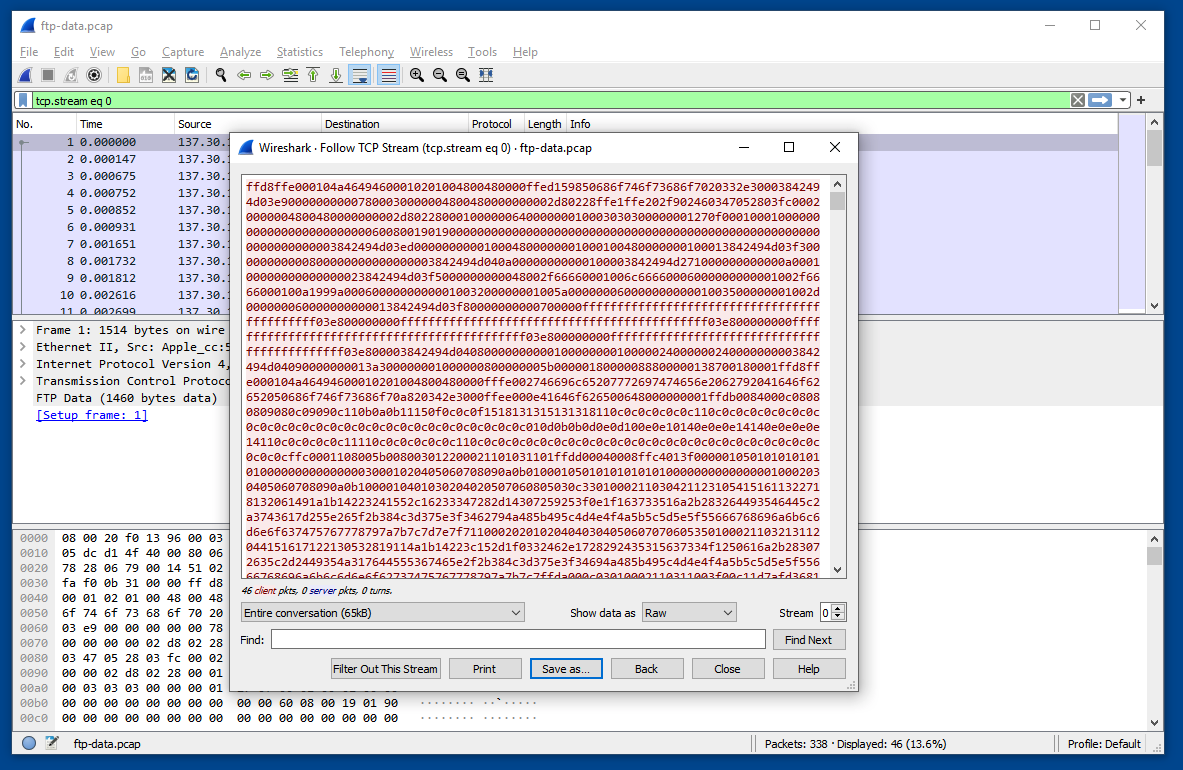
The TCP stream displays the binary data as ASCII characters. Notice the JFIF marker in the file header, indicating that this is a JPG image, outlined in green in the image below.
In the "Follow TCP Stream" box, change the "Show data as" selection to Raw, as shown below.
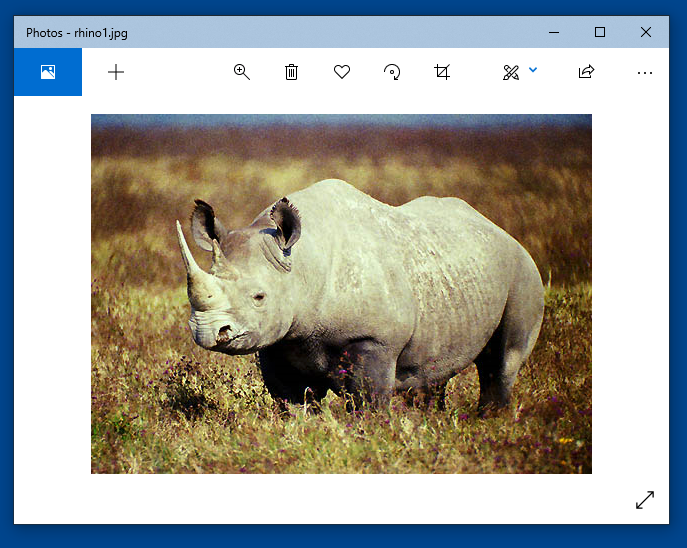
Click the "Save As..." button. Save the file as rhino1.jpg.
In Windows Explorer, navigate to the rhino1.jpg file and double-click it. Verify that it is a visible image, as shown below.
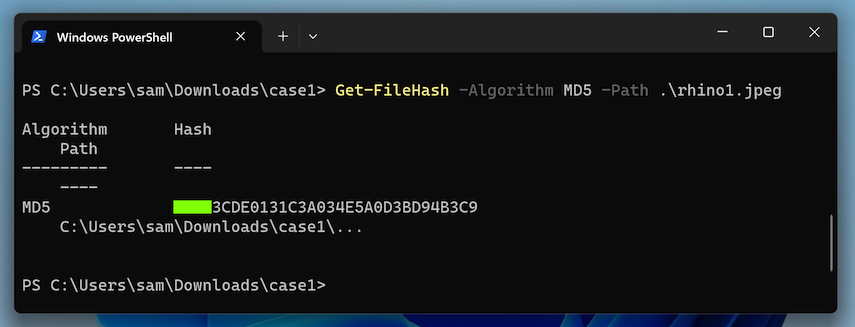
F 202.3: MD5 (5 pts)
Open a PowerShell window and execute these commands, as shown below.The flag is the first portion of the hash, covered by a green rectangle in the image below.
Posted: 8-19-22
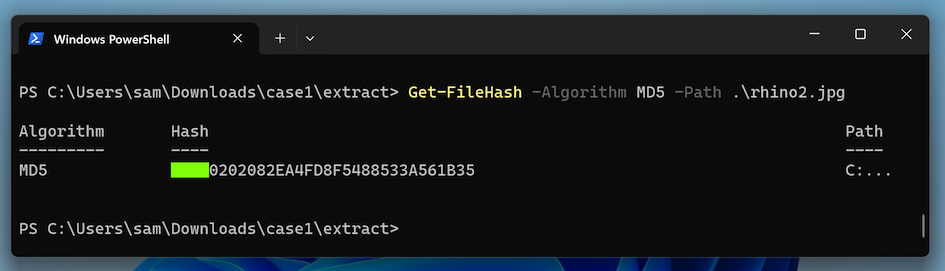
F 202.4: MD5 (15 pts extra)
In the FTP-DATA streams, find and extract the ZIP archive, indicated by the PK header.Unzip the archive. To crack the password, use Kali and fcrackzip. The rockyou word list works.
Open a PowerShell window and execute these commands, as shown below.
The flag is the first portion of the hash, covered by a green rectangle in the image below.