http://sleuthkit.org/autopsy/docs/user-docs/4.19.3/installation_page.html
Troubleshooting
If a box pops up saying "Windows protected your PC", right-click the Autopsy installer file, click Properties, and check Unblock. Then run the installer again.
Troubleshooting
If the font is tiny when launching Autopsy, right-click the its desktop shortcut, and click Properties.On the Compatibility tab, click "Change high DPI settings".
Try various settings. On my system, I got the best appearance by checking the "Override high DPI scaling behavior" box and selecting "System" below it.
Make these selections:
Posted: 8-19-22
F 200.1: Flag 1 (15 pts)
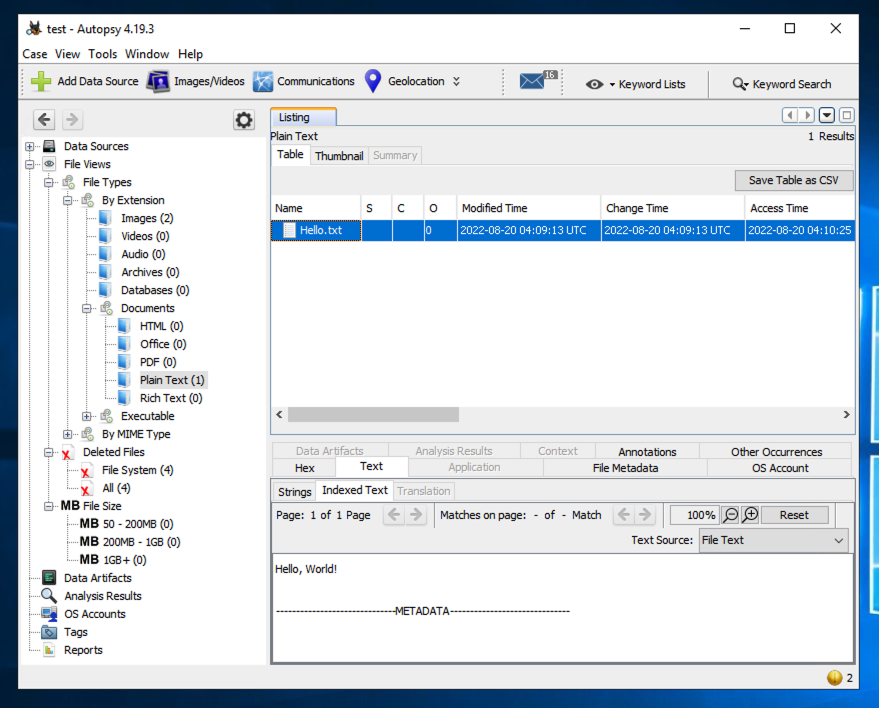
Use the left pane to explore the data Autopsy found, as shown below.Do not turn in the image shown below. Instead, examine all the files Autopsy found.
There's a file containing a message beginning with "The flag is".
Find it and capture an image showing the flag.