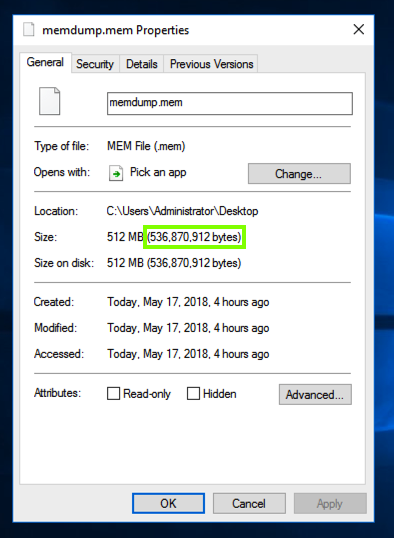
Find the memdump.mem file on your Windows server's desktop. Right-click it and click Properties. Make a note of its exact size in bytes, as shown in the image below.

On your Windows server, in a Web browser, go to this URL, as shown below.
Click the green "Download Filezilla Server" button. https://filezilla-project.org/download.php?type=server
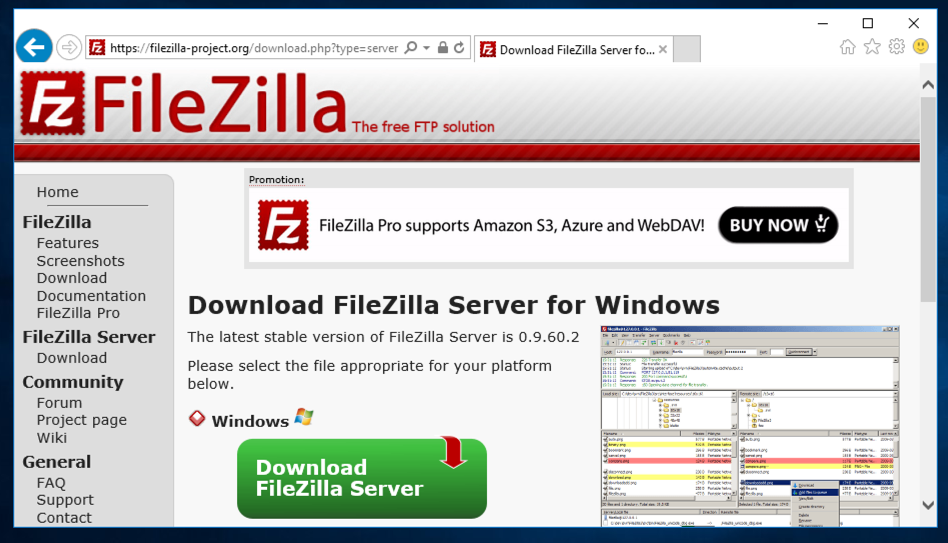
Run the file. Install the software with the default options.
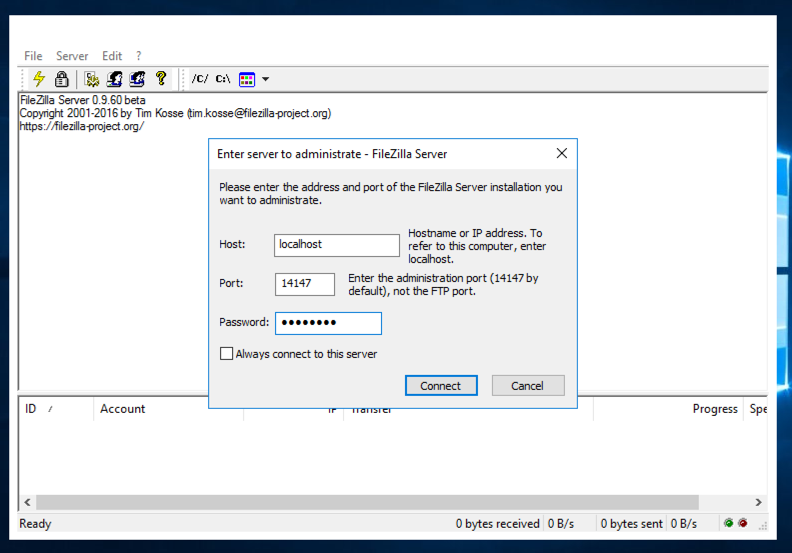
When the software launches, a box asks you for a password, as shown below. Enter any password, such as P@ssw0rd and click the Connect button.
In Users, on the left side, click "Shared folders", as shown below.
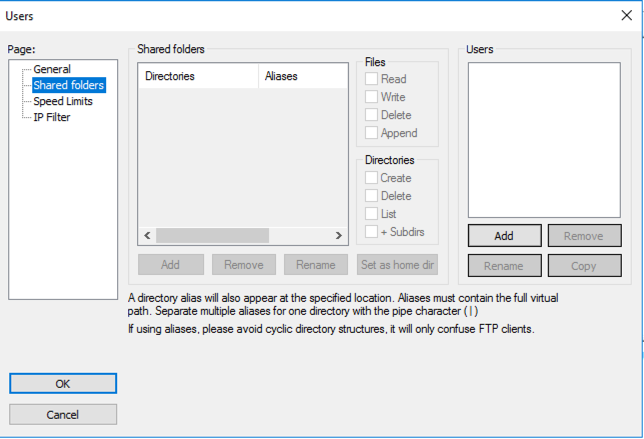
In Users, on the right side, in the Users section, click the Addbutton.
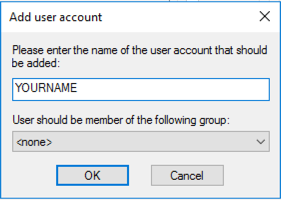
In the "Add user account" box, enter a name of YOURNAME, as shown below.
Click the OK button.
In Users, in the "Shared folders" pane, click the Addbutton.
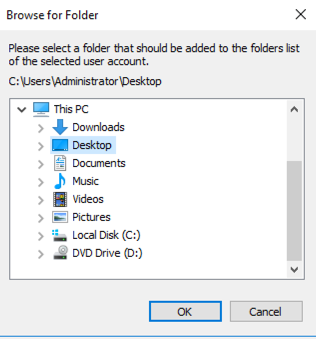
In the "Browse for folder" box, click Desktop, as shown below.
Click the OK button.
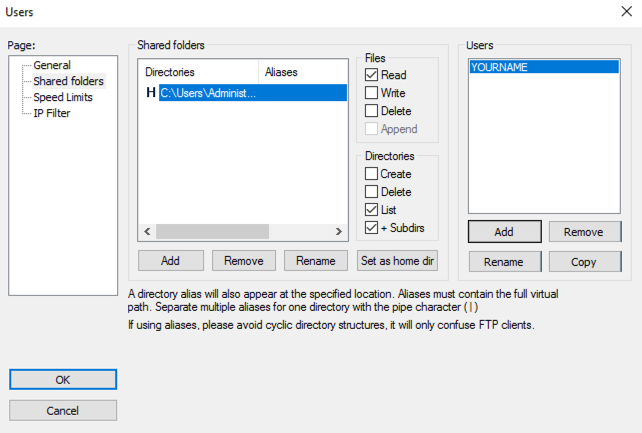
The Users box should look like the image below.
In the lower center, click the "Set as home dir" button.
On the lower left, click the OK button.
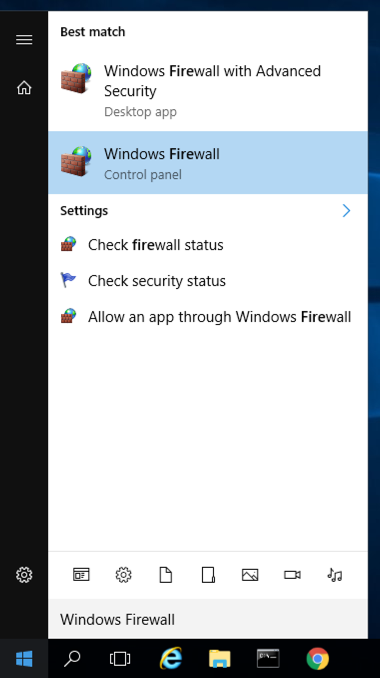
In the results, click "Windows Firewall", as shown below.
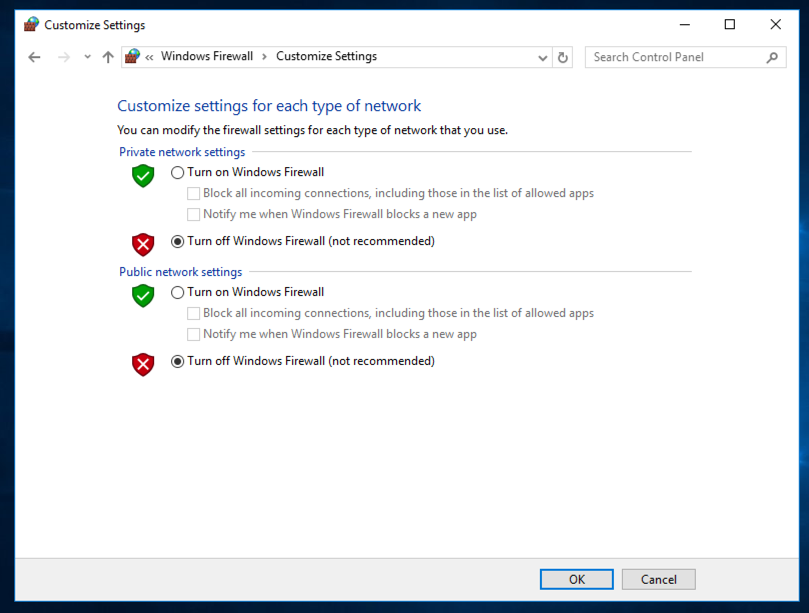
In the Windows Firewall box, on the left, click "Turn Windows Firewall on or off".
Click both the "Turn off Windows Firewall (not recommended)" buttons, as shown below.
Then click OK.
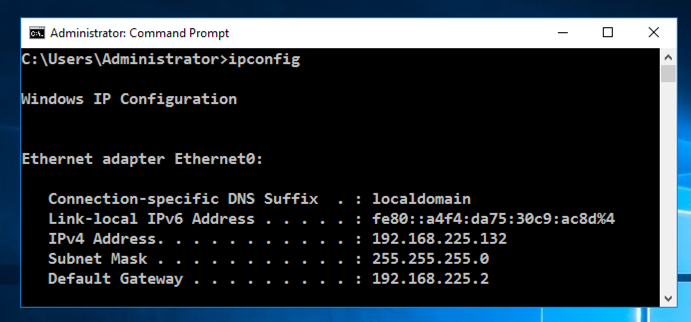
Launch your Kali Linux machine. If necessary, log in as root with the password toor
In Firefox, enter this address, replacing the IP address with the IP address of your Windows machine:
ftp://192.168.225.132
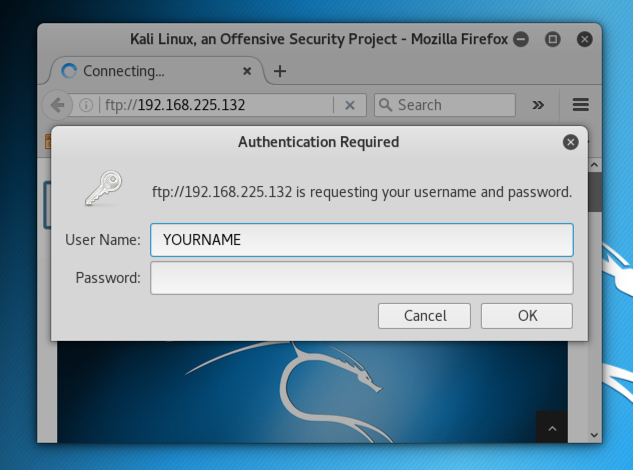
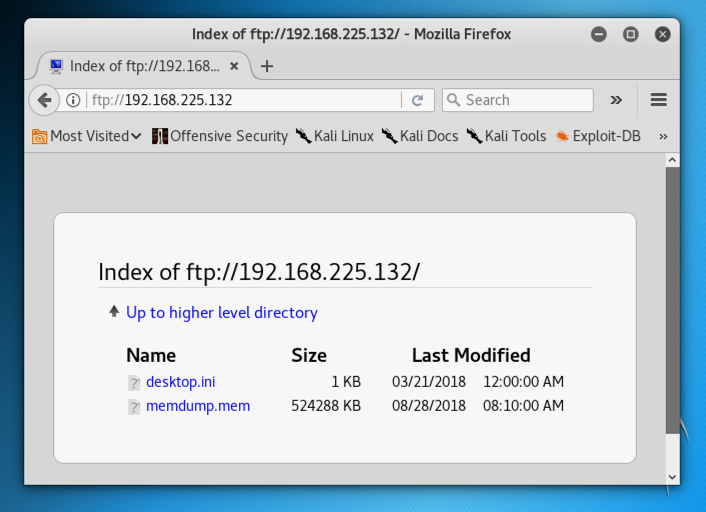
Click OK. Click OK again. A list of files appears, as shown below.
Click memdump.mem. Click the "Save File" button.
cd
cd Desktop
ls -l mem*
You should see the memdump.mem file as shown below.
Notice that the size exactly matches the size of the original file on the Windows machine.

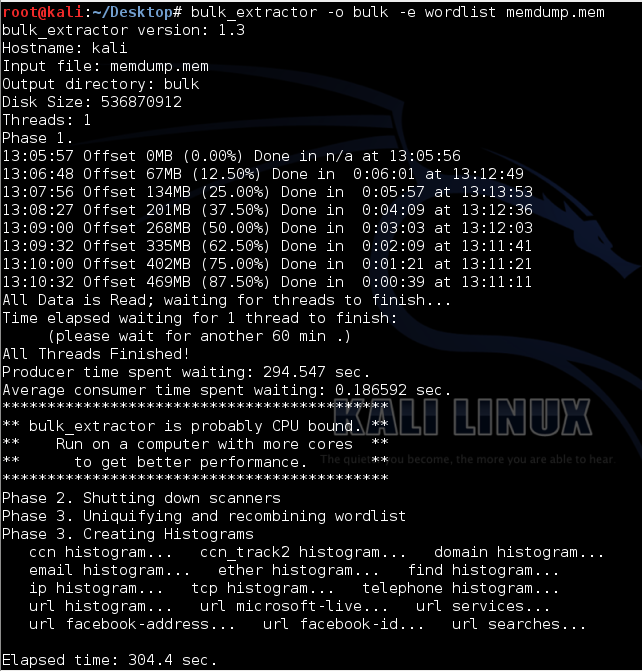
In your Kali Linux machine, in the Terminal window, execute this command:
bulk_extractor -o bulk -e wordlist memdump.mem
To fix it, replace "-o bulk" with "-o bulk2".
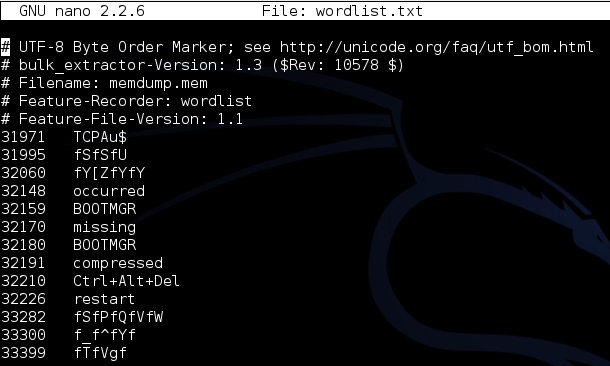
This tells Bulk Extractor to gather data from the memdump file, put the results in a folder named "bulk", and compile a wordlist of all readable strings.
Bulk Extractor will take several minutes to run and output progress messages, as shown below:
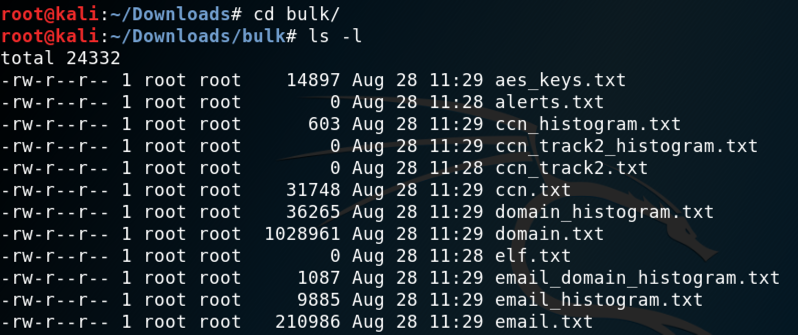
cd bulk
ls -l
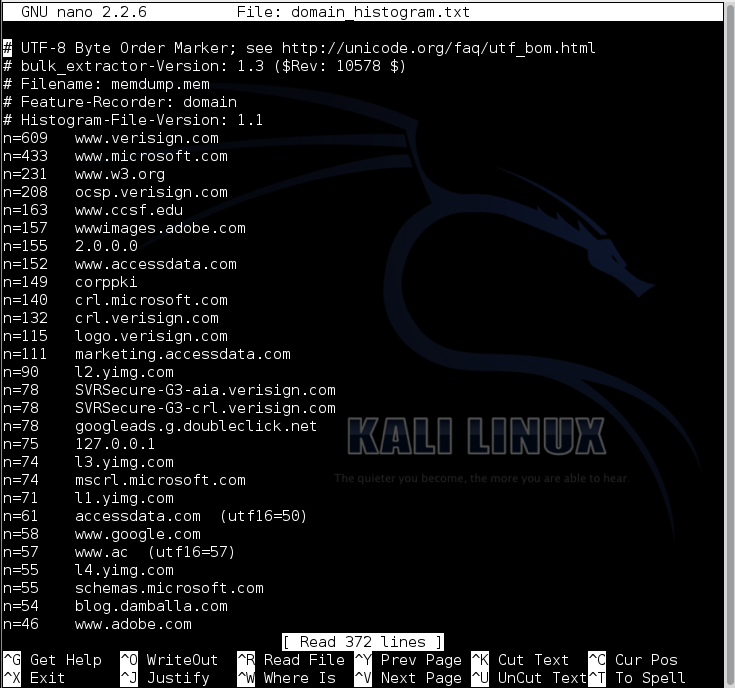
nano domain_histogram.txt
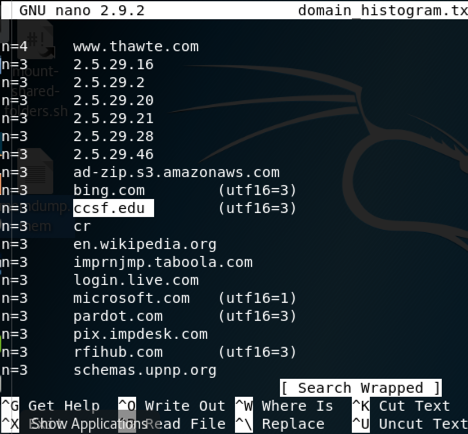
Press Ctrl+W, enter the search term ccsf, and press Enter.
ccsf.edu is found, as shown below:
Press Ctrl+X to close nano.
nano ccn_histogram.txt
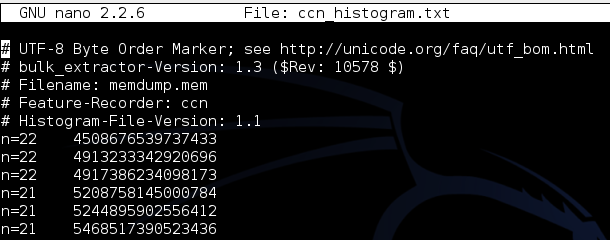
nano wordlist.txt
cut -f 2 domain_histogram.txt | grep ^samsclass.info$ | md5sum

Use the form below to record your score in Canvas.
If you don't have a Canvas account, see the instructions here.
The file is 151,799,629 bytes in size, and its MD5 hash is aa1095f89a2992adeb6b5d2bb519e1ee.
That memory dump contains an email address ending in "@wazuh.com". Find it and use the form below to record your score in Canvas.
If you don't have a Canvas account, see the instructions here.
The file is 130,398,701 bytes in size, and its MD5 hash is 364fed484bcdd1a1f81a3538a4b1cd9a.
To unzip a .7z file in Kali, use "7z x filename"
That memory dump contains a credit card number beginning with 3728. Find it and use the form below to record your score in Canvas.
If you don't have a Canvas account, see the instructions here.