In Chrome, go to
http://google-gruyere.appspot.com/
This brings you to the "Web Application Exploits and Defenses" page.
Scroll to the bottom of this page, and click Continue.
This brings you to the "Web Application Exploits and Defenses (Part 1)" page.
Read the "Setup" section. Open your own instance of Gruyere in a second browser window.
At the bottom of this page, read the "Using Gruyere" section. Perform the tasks listed there.
At the bottom of the page, click Continue.
This brings you to the "Web Application Exploits and Defenses (Part 2)" page.
Scroll to the bottom of this page, and click Continue. This brings you to the "Web Application Exploits and Defenses (Part 2)" page.
Scroll to the bottom of this page, and click Continue. This brings you to the "Web Application Exploits and Defenses (Part 3)" page.
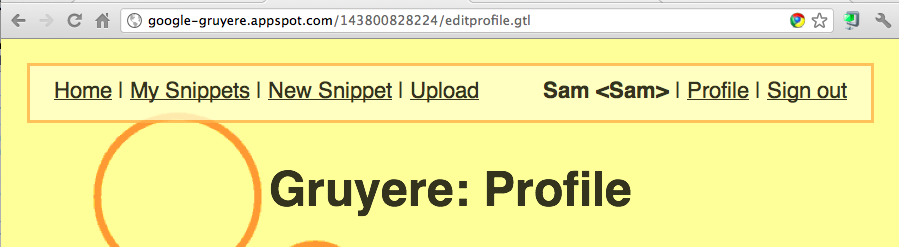
The Gruyere Profile page opens, as shown below.
Notice the URL: it ends in the filename editprofile.gtl.
Scroll to the bottom of the page and click the Update button.
This returns you to the home page.
But how did Gruyere collect the data from the Profile form and send it to the Web server?
To see that, in your Gruyere window, on the upper right, click "Profile" again.
At the upper right corner of the Chrome window, click the wrench icon. In the pop-up menu, click Tools, and then click "Developer Tools", as shown below:

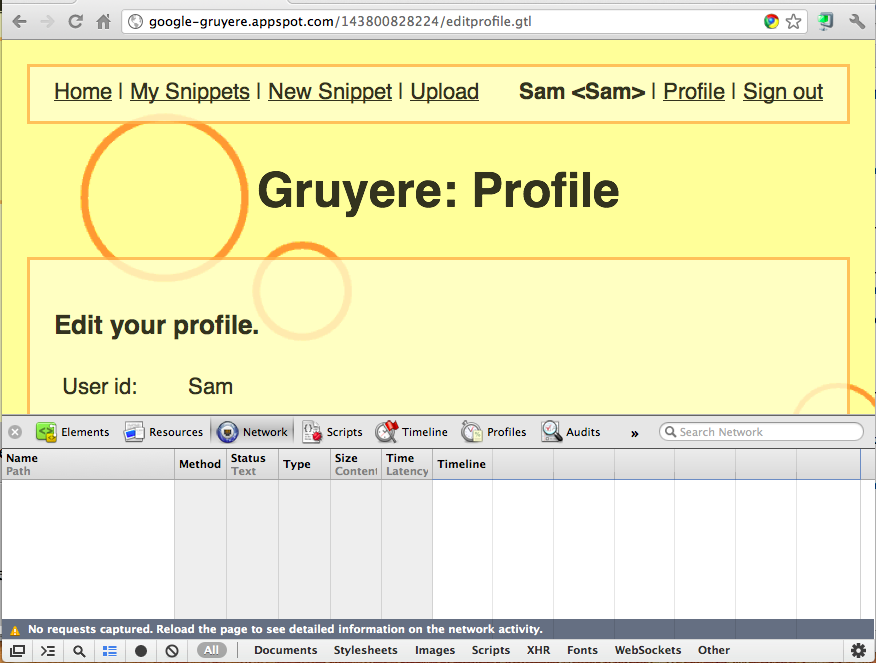
A pane opens at the bottom of the browser showing the Developer Tools.
In the "Developer Tools" pane, click the Network tab.
Your screen should look like the image below:
In the upper pane, showing the Gruyere Profile page, scroll to the bottom. Click the Update button.
In the "Developer Tools" pane, scroll to the first line, which starts with the name saveprofile.
Hover the mouse over the name saveprofile.
The complete URL used to update your profile appears in the pop-up box, as shown below:
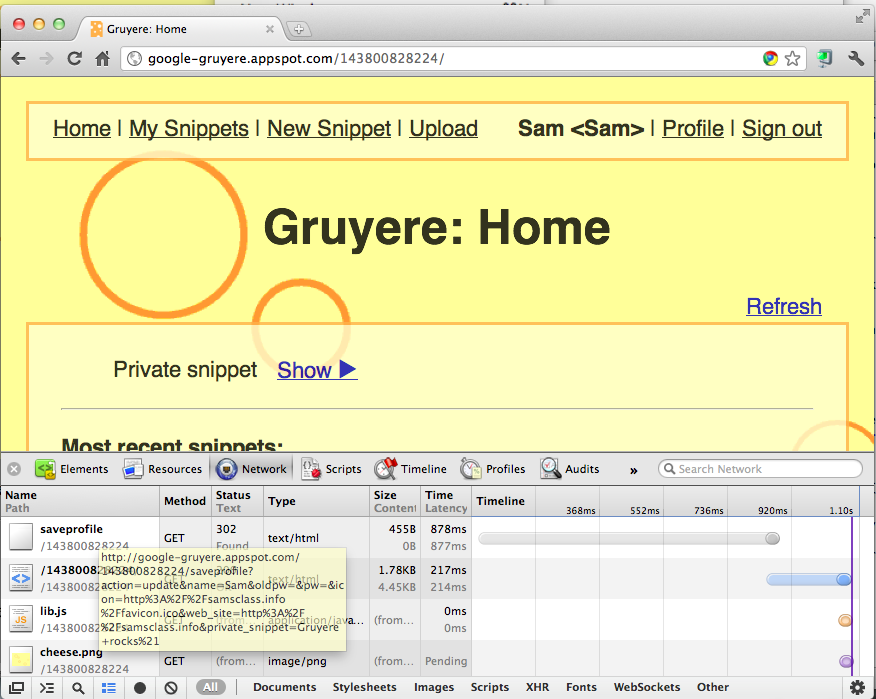
As you can see, Gruyere sends all the data up in the URL, such as your name. You don't need to use the form!
http://google-gruyere.appspot.com/143800828224/saveprofile?action=update&name=YOURNAME2
Press Enter to go to that URL.
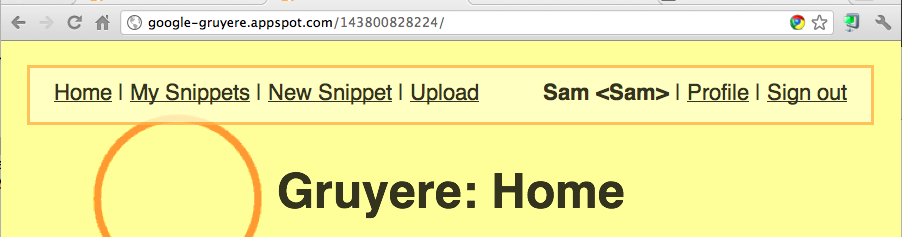
The Gruyere home page opens, showing your modified name in the upper right, as shown below:
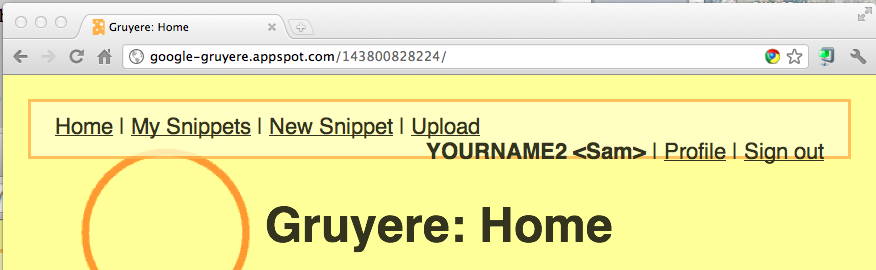
In any case, this is the vulnerability we will exploit.
Type the URL below into the Chrome URL bar, replacing the number with your own Gruyere instance number.
http://google-gruyere.appspot.com/143800828224/saveprofile?action=update&is_admin=True
Press Enter to go to that URL.
After visiting this URL, your account is now marked as an administrator but your cookie still says you're not. So sign out and back in to get a new cookie.
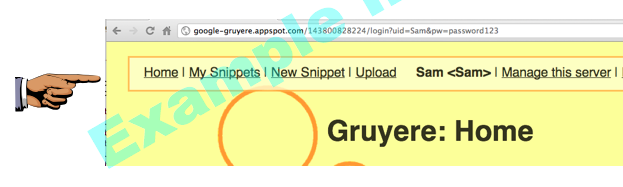
After logging in, notice the "Manage this server" link on the top right, as shown below. This shows that you have elevated yourself to Administrator!
The Gruyere home page opens, showing your modified name in the upper right, as shown below:
Save an image with the name "Project 3x from YOUR NAME"