
These commands enable the SSL module, activate the default SSL configuration, including a self-signed SSL certificate, and open the SSL configuration file for editing.
a2enmod ssl

ln -s /etc/apache2/sites-available/default-ssl.conf /etc/apache2/sites-enabled/000-default-ssl.conf

nano /etc/apache2/sites-available/default-ssl.conf
In nano, change
<VirtualHost _Default_:443>
<VirtualHost *:443>
Save the file with Ctrl+X, Y, Enter.
echo > /var/www/html/index.html

nano /var/www/html/index.html
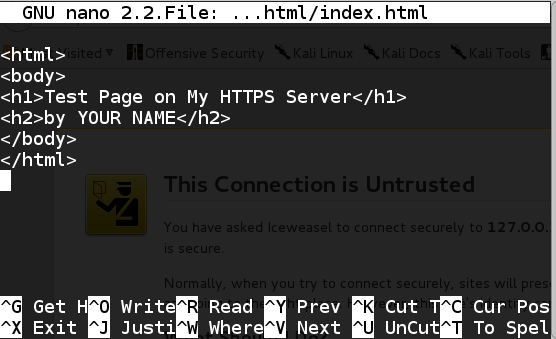
In the text editor, enter this code, replacing "YOUR NAME" with your own name:
<html>
<body>
<h1>Test Page on My HTTPS Server</h1>
<h2>by YOUR NAME</h2>
</body>
</html>
Your file should look like the image below:
Press Ctrl+X, Y, Enter to save the file.
service apache2 restart
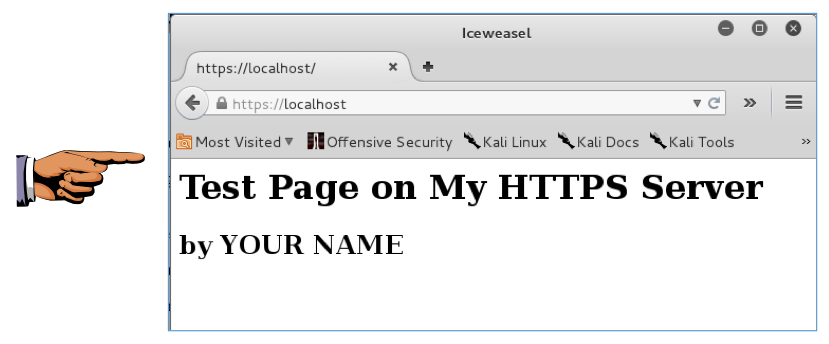
In IceWeasel, enter this URL, and then press Enter:
https://localhost
A warning page appears, saying "This Connection is Untrusted". That's happening because your SSL certificate is self-signed, rather than purchased from a real Certificate Authority like Verisign.
Click "I Understand the Risks".
Click the "Add Exception" button.
Click the "Confirm Security Exception" button.
Your secure web page opens, as shown below:
Press Ctrl+X, Y, Enter to save the file.