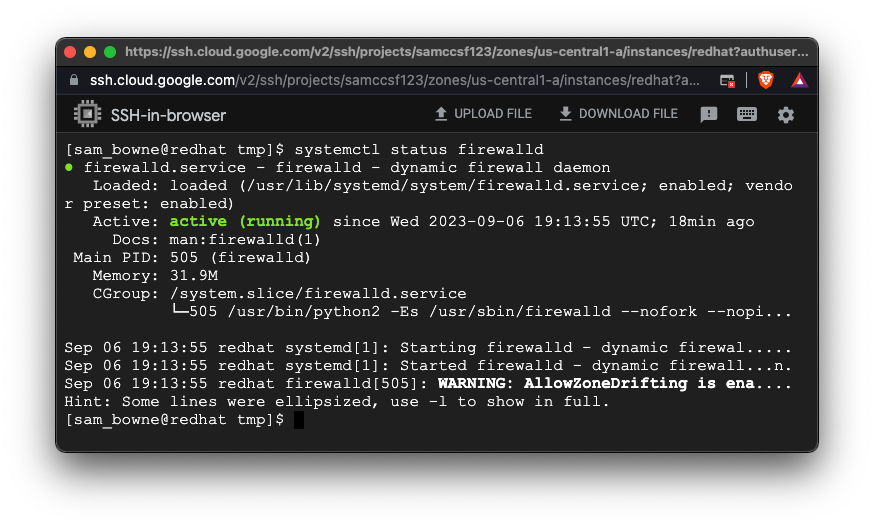
systemctl status firewalld
Press Ctrl+C to exit the status report.
If the firewall is not running, see these instructions
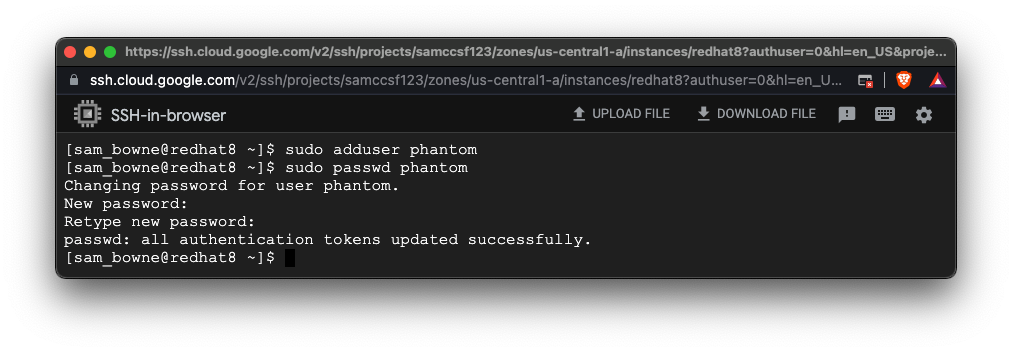
sudo adduser phantom
sudo passwd phantom
sudo mkdir /opt/phantom
sudo chown phantom:phantom /opt/phantom
cd /tmp
wget https://download.splunk.com/products/splunk_soar-unpriv/releases/6.1.0/linux/splunk_soar-unpriv-6.1.0.131-3ed6d0e6-el8-x86_64.tgz
tar -xzvf ./splunk_soar*.tgz
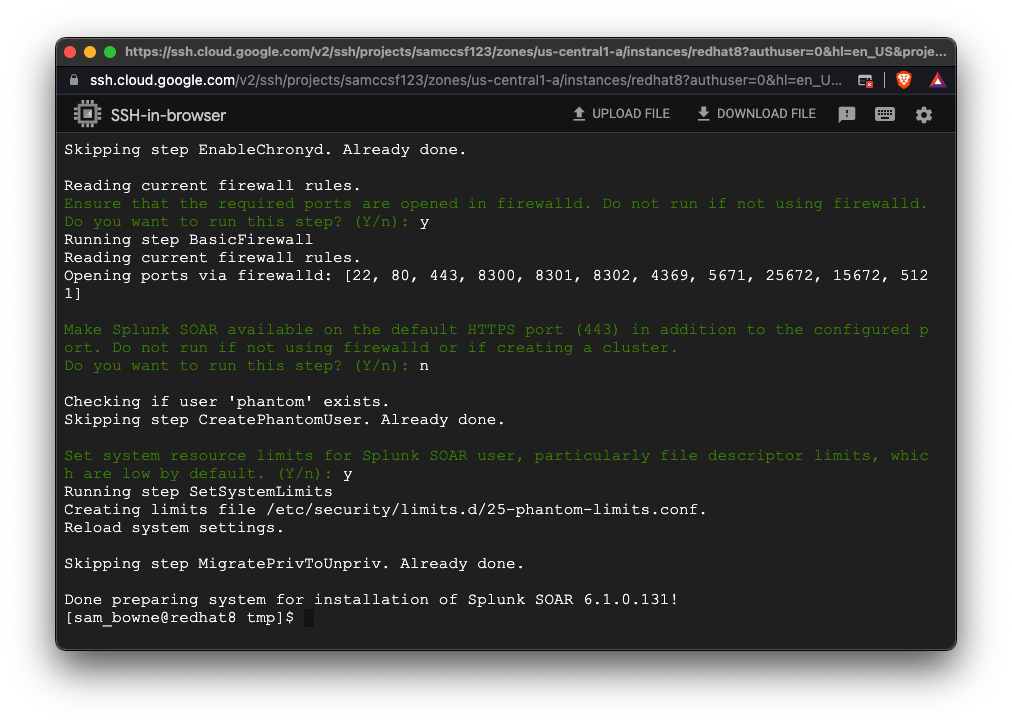
sudo ./splunk-soar/soar-prepare-system --splunk-soar-home /opt/phantom --https-port 8443
Execute the commands below to adjust permissions on the installation folder, and switch to the "phantom" user:
sudo chown -R phantom:phantom splunk-soar
su phantom
Execute the command below to install Splunk SOAR:
./splunk-soar/soar-install --splunk-soar-home /opt/phantom --https-port 8443 --ignore-warnings
When it asks if you want to proceed, answer y
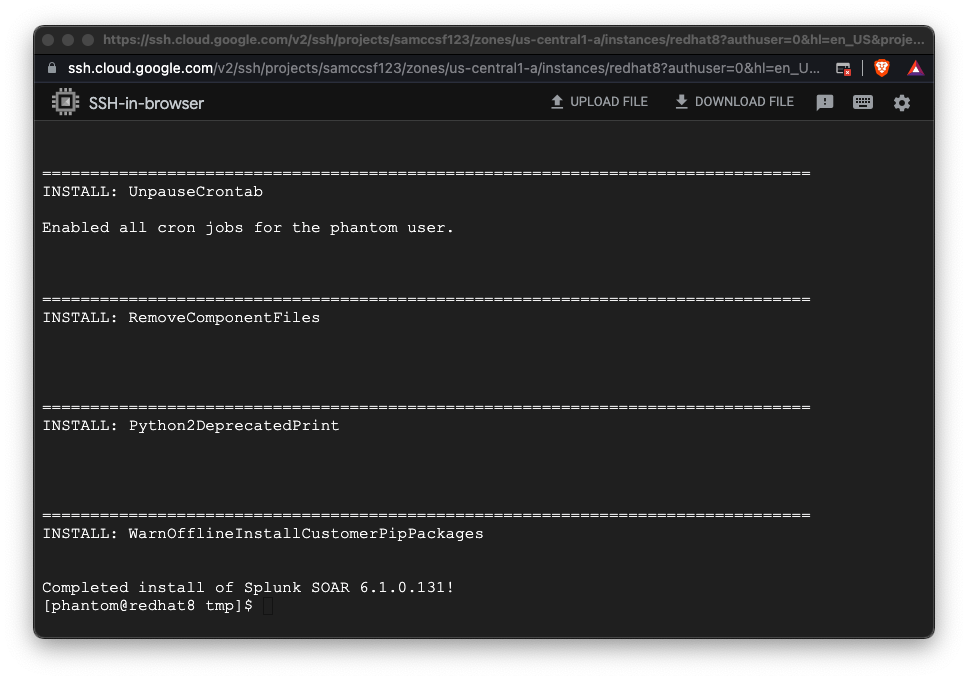
Wait while the installation proceeds. It will take about seven minutes.
When the installation is done, you see a message saying as shown below.
On the left side, point to "VPC network" and click Firewall, as shown below.
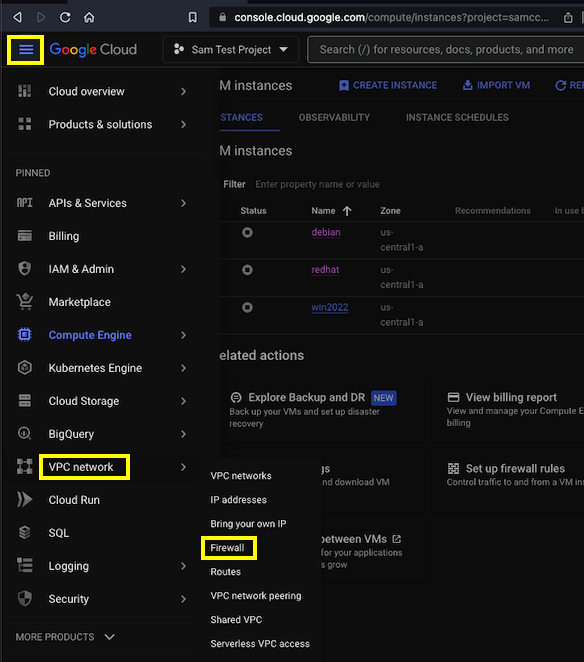
At the top center of the next page, click "CREATE FIREWALL RULE".
Enter these fields, as shown below:
Find the External IP of your Red Hat server, outlined in yellow in the image below.

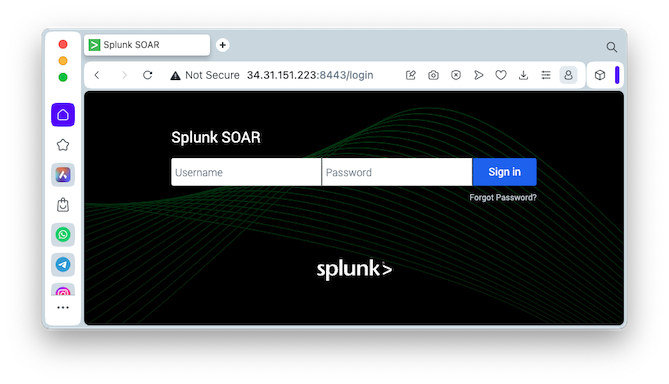
https://34.16.118.140:8443You see a warning that the page is not secure. Accept the risk and continue to the page.
The Splunk SOAR Web login page opens, as shown below.
Log in with a username of soar_local_admin and a password of password
Click the "Terms & Conditions" link. Click the I ACCEPT" button.
A page appears saying "Helping You Get More Value...". Click "Got It!".
A "Welcome to Splunk SOAR" page appears, as shown below.
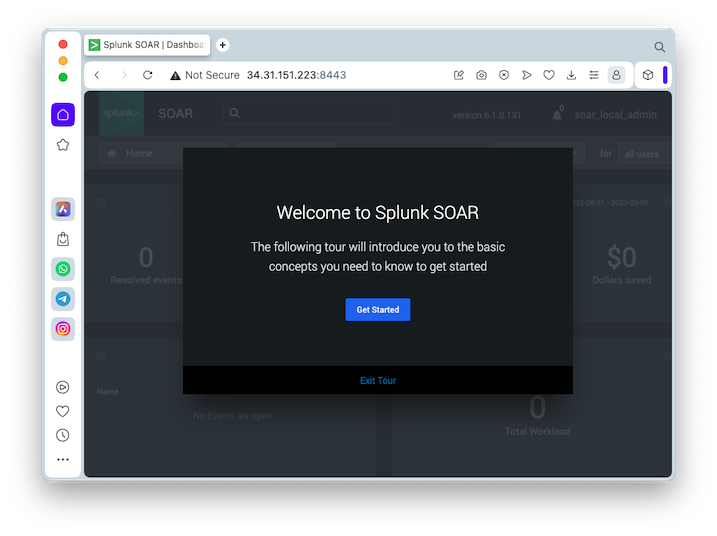
Click "Get Started".
In the "Generate Events" box, click 5.
Click "VIEW EVENT".
Click "RUN PLAYBOOK".
Click "VIEW PLAYBOOK".
Click "CONFIGURE SPLUNK SOAR".
On the "Let's configure a few administrative settings" page, enter these values:
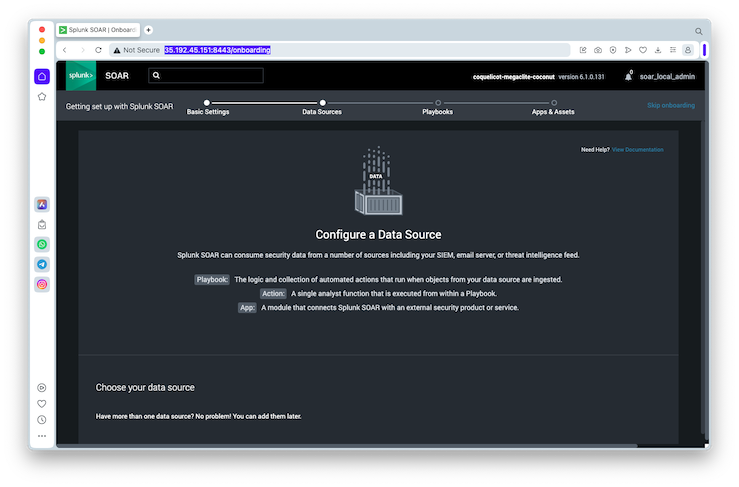
The next page is titled "Configure a Data Source", as shown below.
There seems to be no way to use this page to actually add a data source, however.
At the top right, click "Skip onboarding".
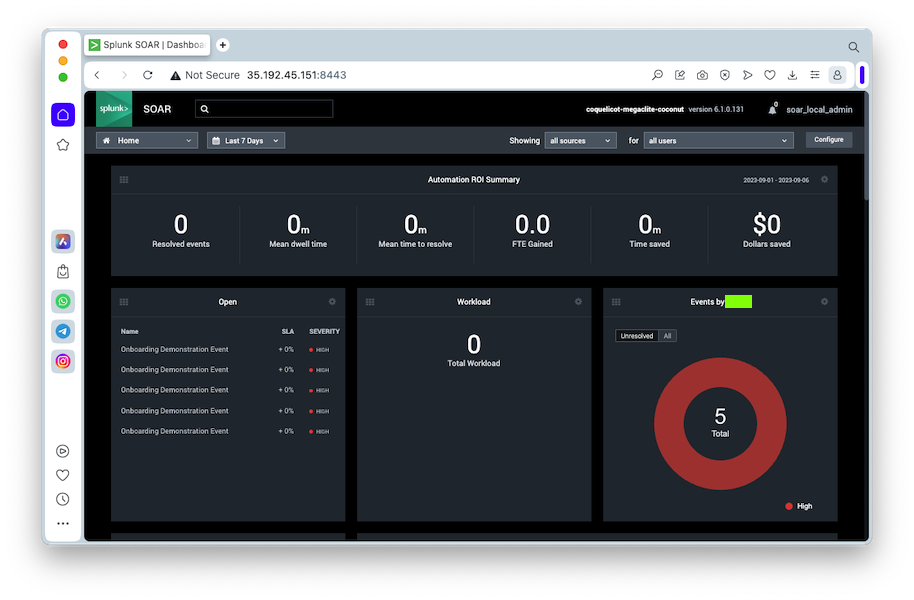
The SOAR home page opens, as shown below.
SPL 200.1: Splunk SOAR Home Page
The flag is covered by a green box in the image below.
Posted 9-6-23