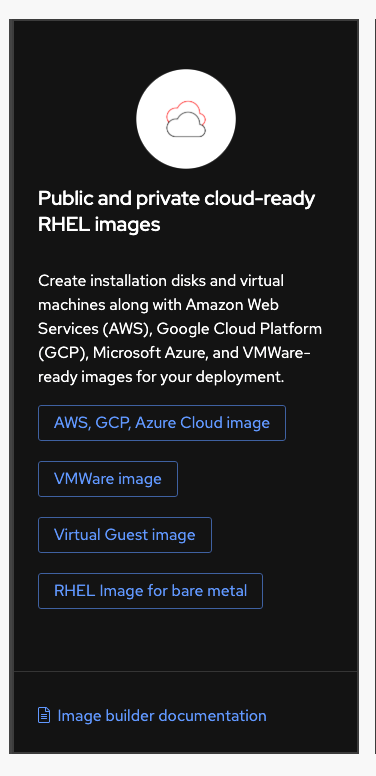
Make these selections, as shown below
- Release: Red Hat Enterprise Linux (RHEL) 8
- Bare metal - Installer (.iso)
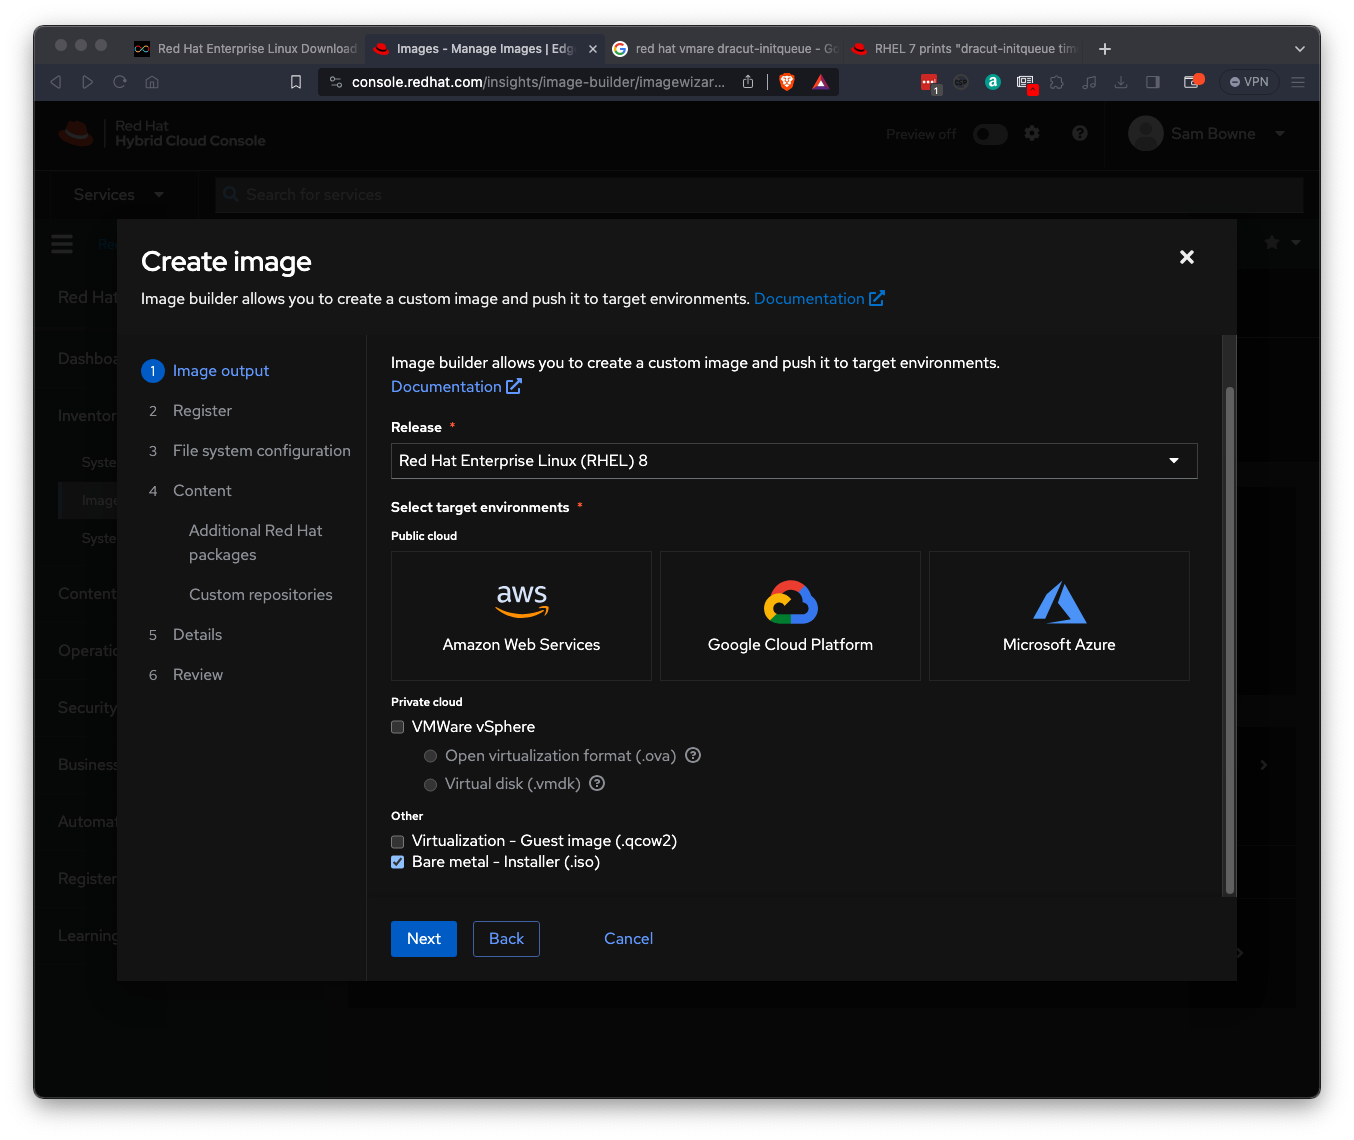
On the "Register" page, select "Register later" and click Next.
On the "File system configuration" page, accept the default selection of "Use automatic partitioning" and click Next.
On the "Additional Red Hat packages" page, click Next.
On the "Custom repositories" page, click Next.
On the "Image Name" page, enter a name of rhel8 and click Next.
On the "Create image" page, click "Create image".
On the "Image Builder" page, wait until the Instance shows "Download (.iso)" and click it.
Save the .iso file locally.
Creating a VM
Launch VMware. Create a new VM using the .vmdk file as the hard disk, with these settings:- Operating System: Red Hat Linux
- 100 GB Hard disk
- Virtual DVD pointing to the .iso you downloaded
- 4 processor cores
- 16 GB RAM
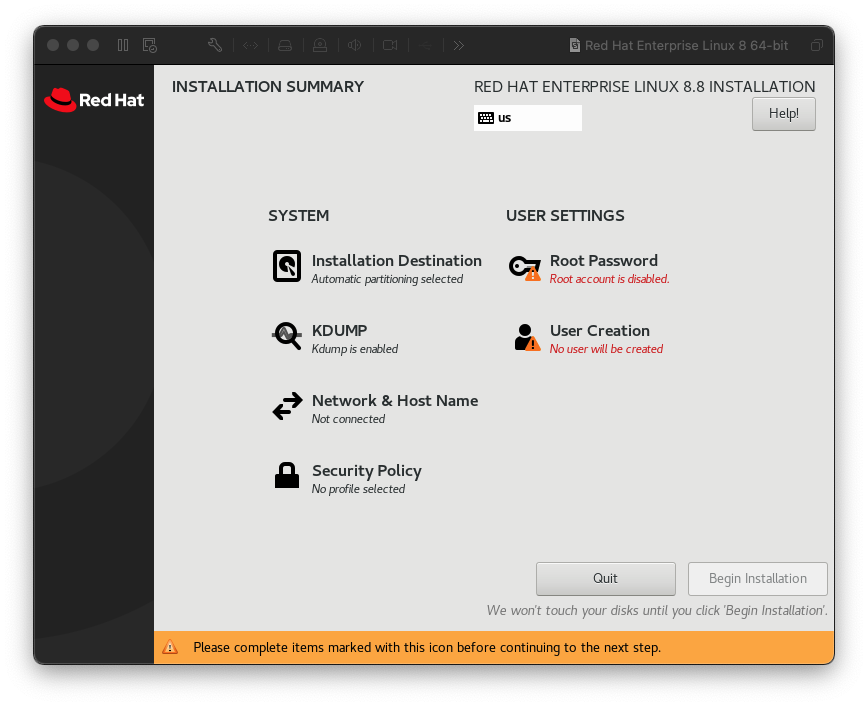
My "Installation Destination" said "kickstart insufficient" at first, so I clicked on that item and clicked on the 100 GB partition to select it. Then returning to the INSTALLATION SUMMARY screen showed me the image below.
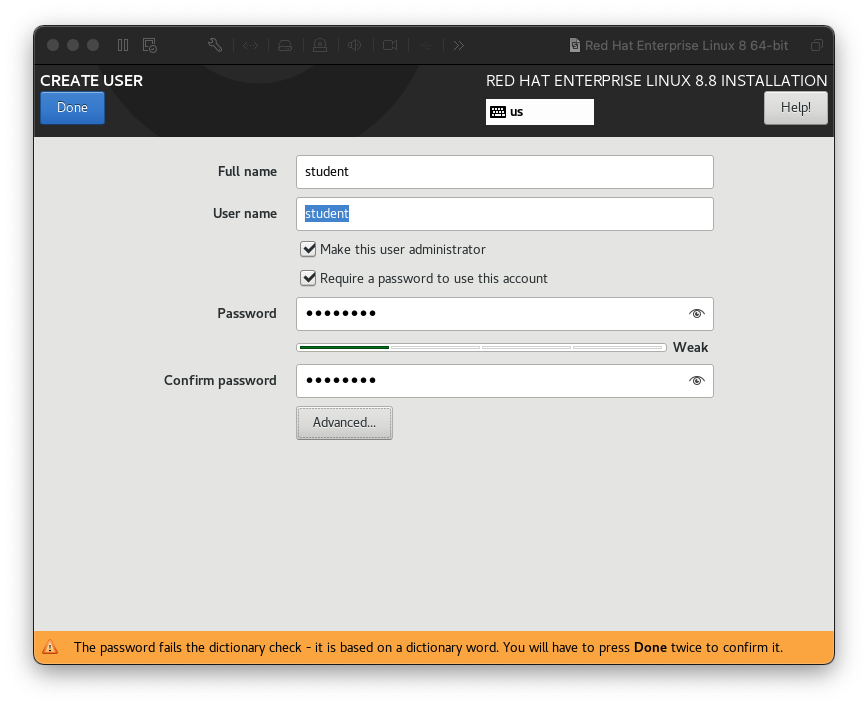
Click on Root Password and set a root password.
Click on User Creation and assign a user account name and password. Check the box to make this user administrator, as shown below.
Click the "Begin installation" button.
When the installation completes, power down the system and disconnect the DVD drive.
Networking and SSH
Boot the system and log in as your normal user.Execute these commands to get an IP address and see what it is.
sudo dhclient -v
ip a
ssh username@ip-address
Registering with Red Hat
Execute this command on your Red Hat system, in an SSH session:
sudo subscription-manager register
Configuring DHCP on Startup
To make the server use DHCP each time it starts, execute this command:
sudo yum install nano
Then execute this command:
sudo nano /etc/sysconfig/network-scripts/ifcfg-ens160
ONBOOT=yes
Allowing Port 8000 Through the Firewall
To allow access to the Splunk Web page, execute these commands:
sudo firewall-cmd --zone=public --add-port=8000/tcp
sudo firewall-cmd --reload
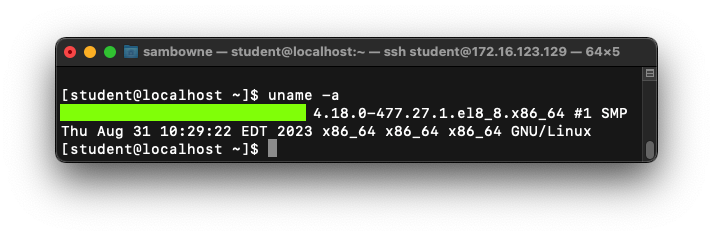
SPL 110.1: OS Version (10 pts)
Execute this command:The flag is covered by a green box in the image below.
Posted 9-25-23