Installing SSH Secure Shell Client on Your Home Machine
The Secure Shell Client is a more secure alternative to Telnet
Do not install software on campus lab machines! If you are
working in the ICL-1 or Cloud 218 or another lab on campus, SSH Secure Shell
Client is already installed.
If you are using your own machine at home, do all the steps below.
1. Download the SSH Installer from CCSF's Sol Server
Start a browser, such as Internet Explorer, and type in this address:
ftp://sol.ccsf.org/pub/TCP/SSH
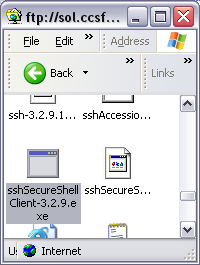
Press Enter. The screen should show a list of files as shown in the
figure to the right on this page. Scroll to the file
sshSecureShellClient-3.2.9.exe, drag it onto your desktop, and drop it there.
That will start the file transfer from the sol server to your C drive.
It is a 5 MB file so it might take as long as half an hour with a 56 K modem
connection.
2. Run the Installer Program
You should see an icon labeled sshSecureShellClient-3.2.9.exe
on your desktop as shown in the figure to the right on this page. Double-click
the icon.
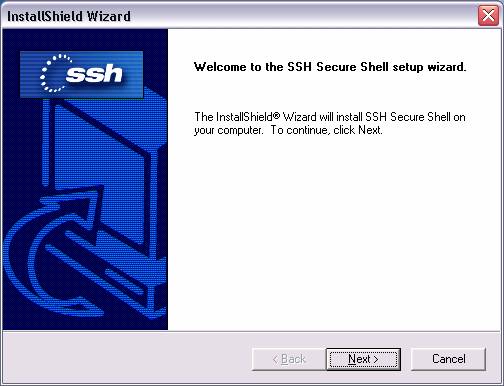
3. Using the InstallShield Wizard
An InstallShield Wizard window opens. Press the Enter key
each time it asks you for a response, accepting the default choices.
4. Discard the Installer
Drag the sshSecureShellClient-3.2.9.exe file to the
Recycle Bin and drop it there.
Last modified 8-15-04