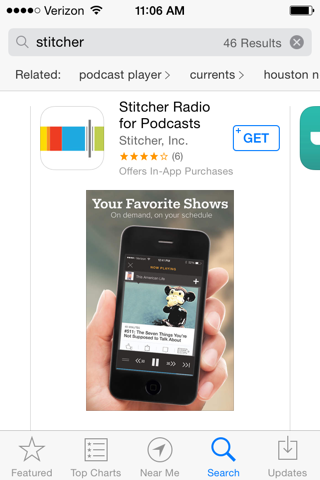
On your iPad or iPhone, go to the App Store and install "Stitcher Radio for Podcasts", as shown below, by tapping GET and tapping INSTALL.
If you need to log in to install the app, use these credentials:
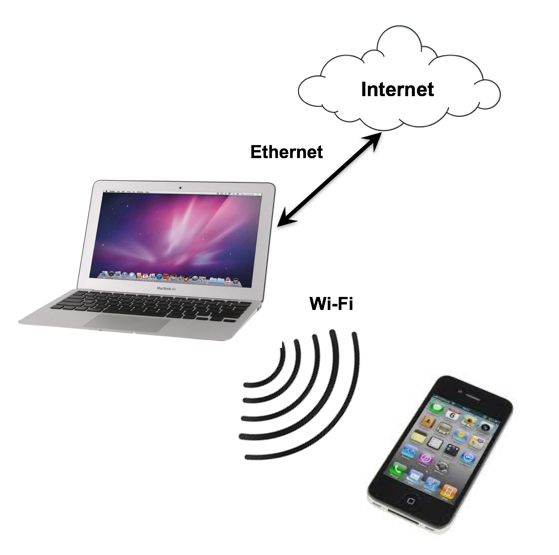
On the Mac, connect to the Internet via an Ethernet cable.
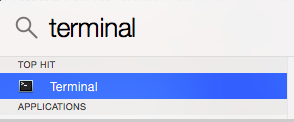
In the top right of the Mac desktop, click the magnifying glass. In the search box, type terminal
Double-click Terminal, as shown below.
In the Terminal window, execute this command:
ifconfig
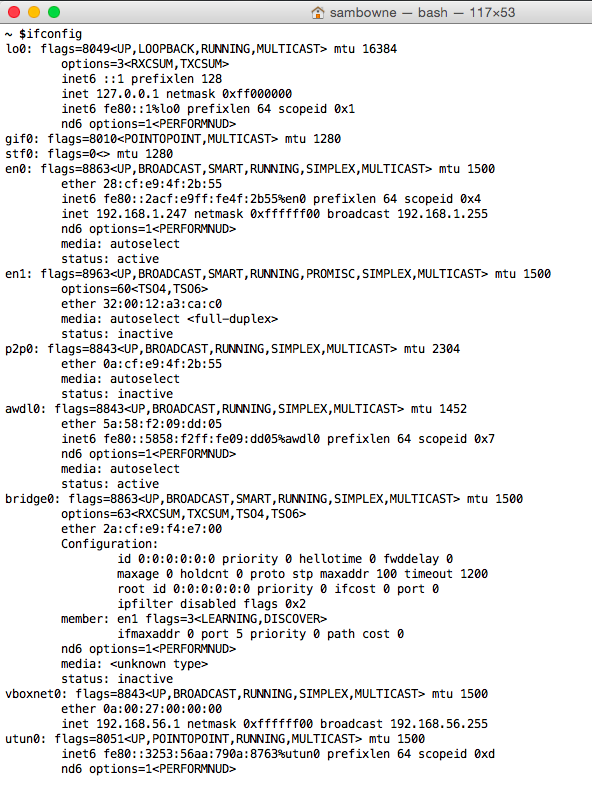
On the top left of the Mac desktop, click the Apple, "System Preferences".
In System Preferences, click Sharing.
On the left side, click the words (not the check box) "Internet Sharing".
On the right side, in the "Share your connection from" list, select your Ethernet adapter. I was using a USB dongle named "AX8178" when I made the image below.
In the "To computer using" list, check Wi-Fi, as shown below.
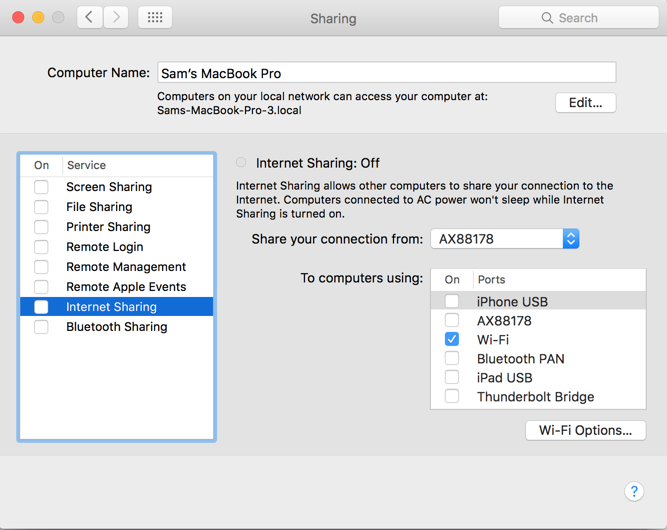
On the left side, click the check box next to "Internet Sharing". In the "Are you sure...?" box, click Start.
At the top right of your Mac, the little Wi-Fi icon changes to one-quarter of a circle with an upward arrow on it, as shown below. This indicates that your Mac is now acting like a router, providing a Wi-Fi signal other devices can use.

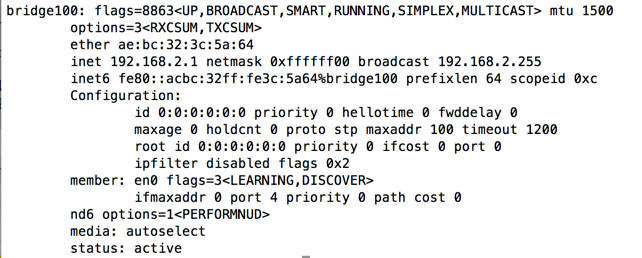
In the Terminal window, execute this command:
ifconfig
In my case the name was bridge100, as shown below.
Make a note of your bridge interface name. You will need it later, when you configure the "pf" firewall.
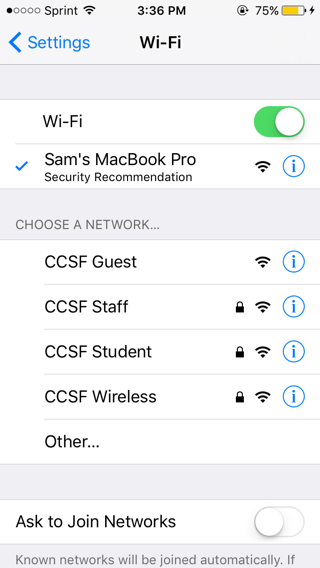
On the mobile device, turn on Wi-Fi and connect to the network from your Mac. It should have an obvious name, such as "Sam's Macbook Pro", as shown below.
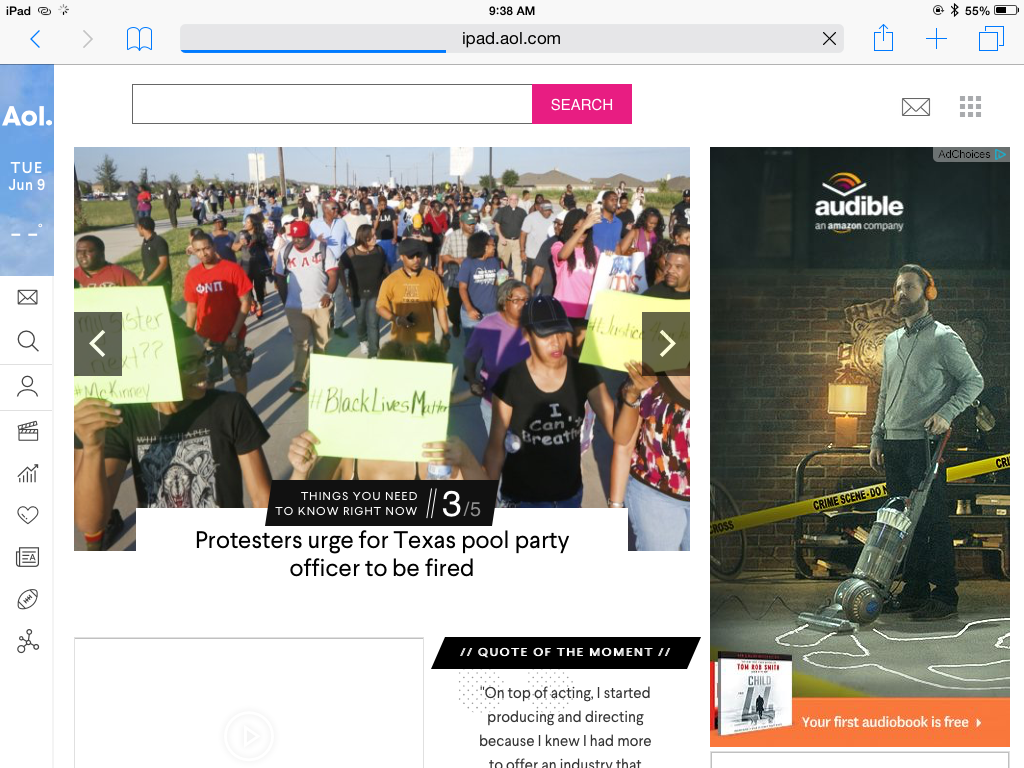
On your mobile device, open a Web browser and go to a website, such as aol.com
The page should load, although it may be slow.
At this point, the Mac is in the middle--all Internet traffic from the mobile device passes through it. All that remains is to configure Burp and pf on the Mac to intercept and examine that traffic.
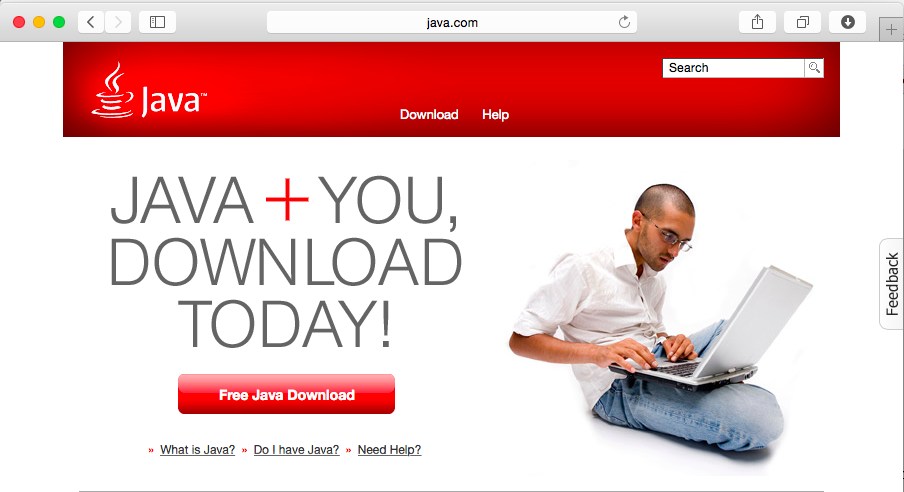
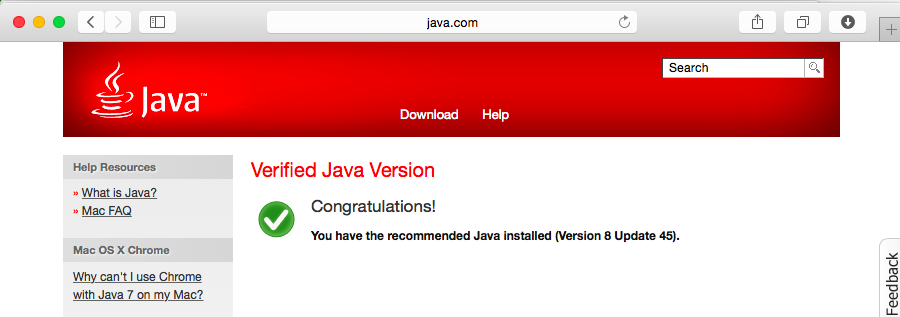
On the Mac, open a Web browser and go to java.com
Click "Do I have Java?", as shown below.
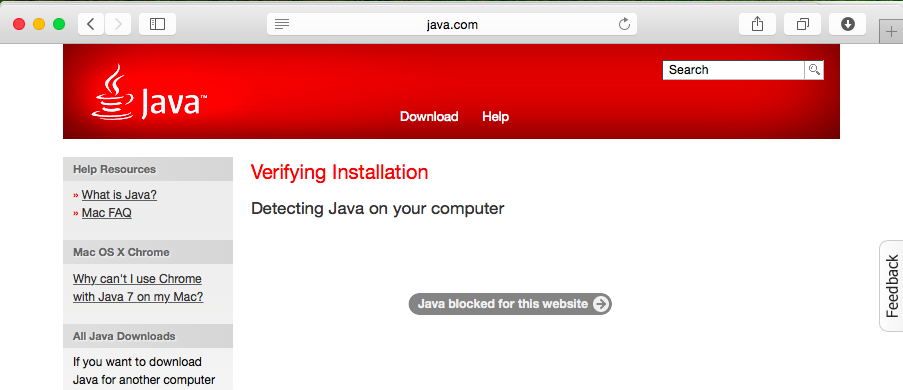
On the next page, click the "Verify Java Version" button.
If you see a "Java blocked for this website" message, as shown below, click that message, and click Trust. Then click Run.
You should see the "Congratulations!" message shown below. If you don't, follow the instructions on the page to download and install Java.

In the search box, type burpsuite. If Burp is already on your Mac, it will be found, as shown below.
If you don't have Burp, open a Web browser, go to
http://portswigger.net/burp/download.html
and download the free version. Then repeat the search.
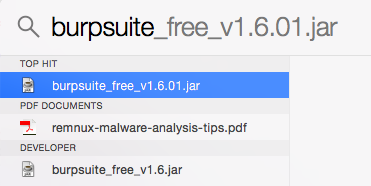
In the search box, double-click burpsuite_free.
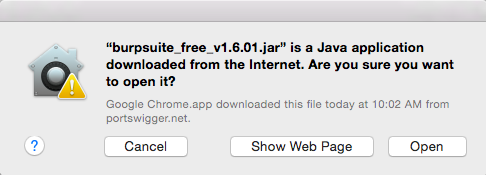
If a box appears saying "Are you sure...", as shown below, click Open.
Burp opens a page saying "Temporary Project". Click Next.
Troubleshooting
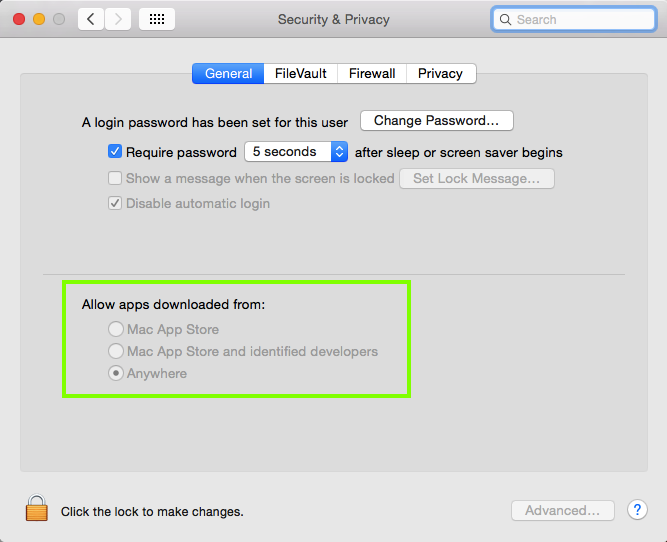
If error messages appear, saying you cannot run software from unknown sources, open "System Preferences", click "Security & Privacy", and configure your Mac to Allow apps downloaded from Anywhere, as shown below.
Burp opens a page saying "Use Burp defaults". Click "Start Burp".
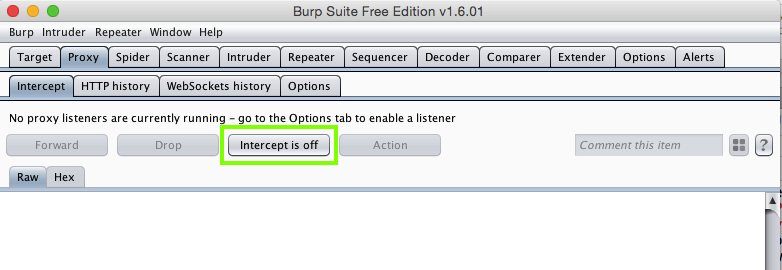
In Burp, click the Proxy tab. Click the Intercept sub-tab.
If the Intercept button reads "Intercept is on", click it, so the message reads "Intercept is off", as shown below.
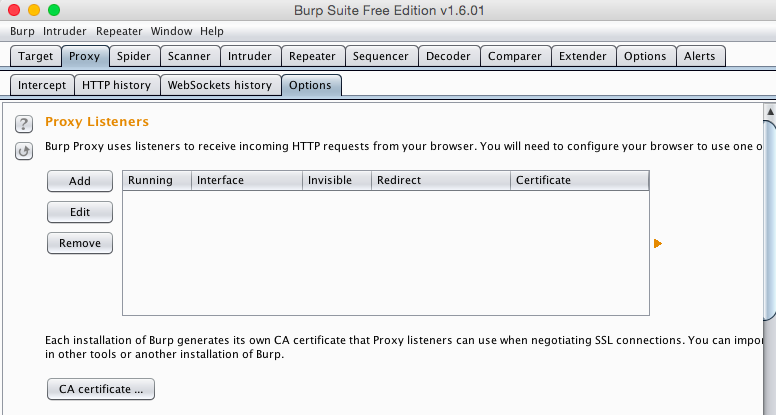
Click the Options sub-tab. At the top, in the "Proxy Listeners" section, see if there are any entries on the box shown to the right.
If there are, click each entry to highlight it, and then click Remove to remove them all, as shown below.
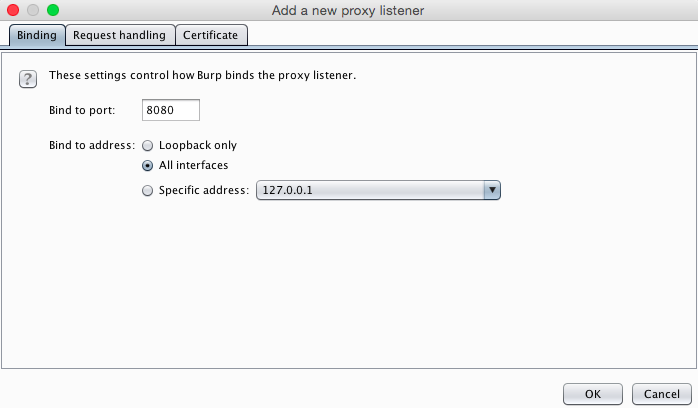
In Burp, Aat the top, in the "Proxy Listeners" section, click the Add button.
On the Binding tab, enter a "Bind to port" of 8080
Click the "All interfaces" button, as shown below.
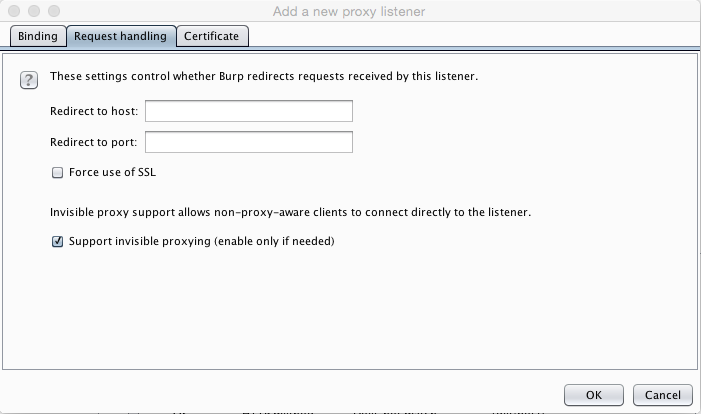
Click the "Request handling" tab.
Click the "Support invisible proxying" box, as shown below.
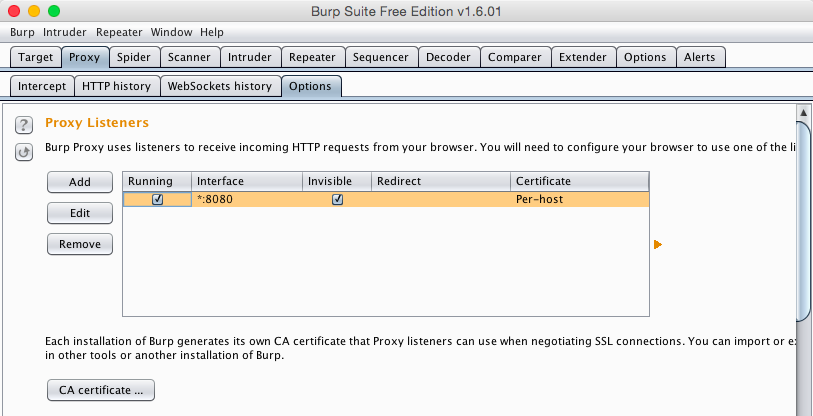
At the lower right of the box, click OK. A box pops up, asking "Are you sure...?". Click Yes.
Burp should now show a Listener on "*:8080" with the Invisible box checked, and the Running box checked, as shown below.
It is possible to configure the mobile device to use a proxy, but not all apps will respect that setting. Some apps will just send traffic past the proxy, defeating our goal of auditing the network traffic. A much better way to audit apps is to use the Mac firewall "pf" to send all traffic from the Bluetooth adapter through the proxy, so the mobile device won't know it's using a proxy.
To use the "pf" firewall, we need to create two files: "pf.rules" and "pf.conf". For our purposes these files can be very simple.
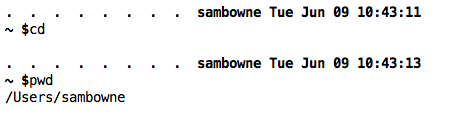
In the Terminal window, execute these commands.
cd

pwd
In my case, the directory was /Users/sambowne
Your directory will be different.
In the Terminal window, execute this command:
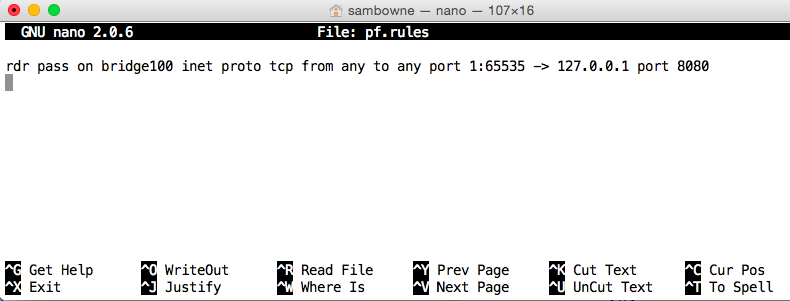
nano pf.rules
This rule redirects all TCP traffic from the Bluetooth connection to Burp, at 127.0.0.1:8080.
rdr pass on bridge0 inet proto tcp from any to any port 1:65535 -> 127.0.0.1 port 8080
Press Ctrl+X, Y, Enter to save the file.
In the Terminal window, execute this command:
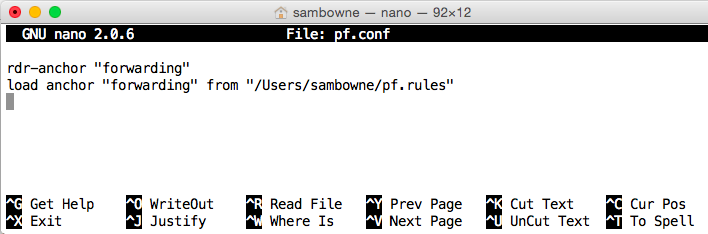
nano pf.conf
In the second line, change /Users/sambowne to the correct directory you found above.
This configuration file tells pf where to find the rules file.
rdr-anchor "forwarding"

load anchor "forwarding" from "/Users/sambowne/pf.rules"
Press Ctrl+X, Y, Enter to save the file.
The next step is to test the files.
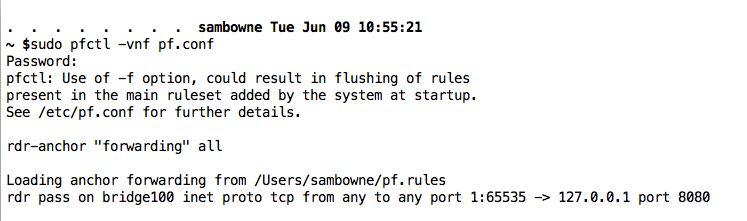
In the Terminal window, execute this command:
sudo pfctl -vnf pf.conf
If your files are correct, you'll see a "Loading anchor forwarding..." message, followed by the line beginning with "rdr pass on bridge", as shown below.
If there are errors in your files, you'll see error messages here. If that happens, use nano to edit the files and correct the errors.
When your files pass this test without errors, execute this command to start pf:
sudo pfctl -evf pf.conf
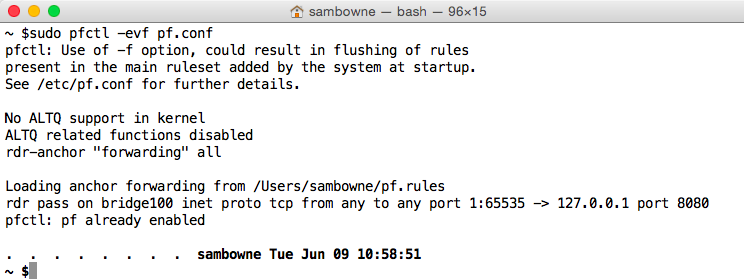
The page should load, as shown below.
On your Mac, in Burp, click the "HTTP History" sub-tab.
You should see traffic to http://ad.samsclass.info, as shown below.
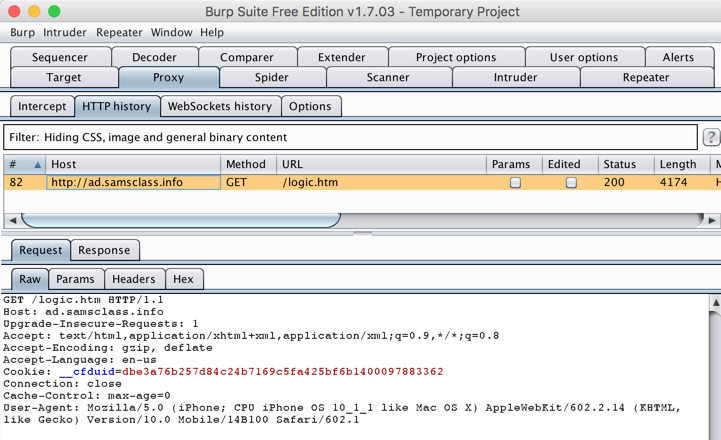
Burp is now intercepting and examining your mobile device's Internet traffic. There's no way for your mobile device to detect this man-in-the-middle attack for the HTTP protocol, which is one of the reasons it's an insecure protocol. However, Burp won't be able to get away with that with a properly-implemented HTTPS protocol.
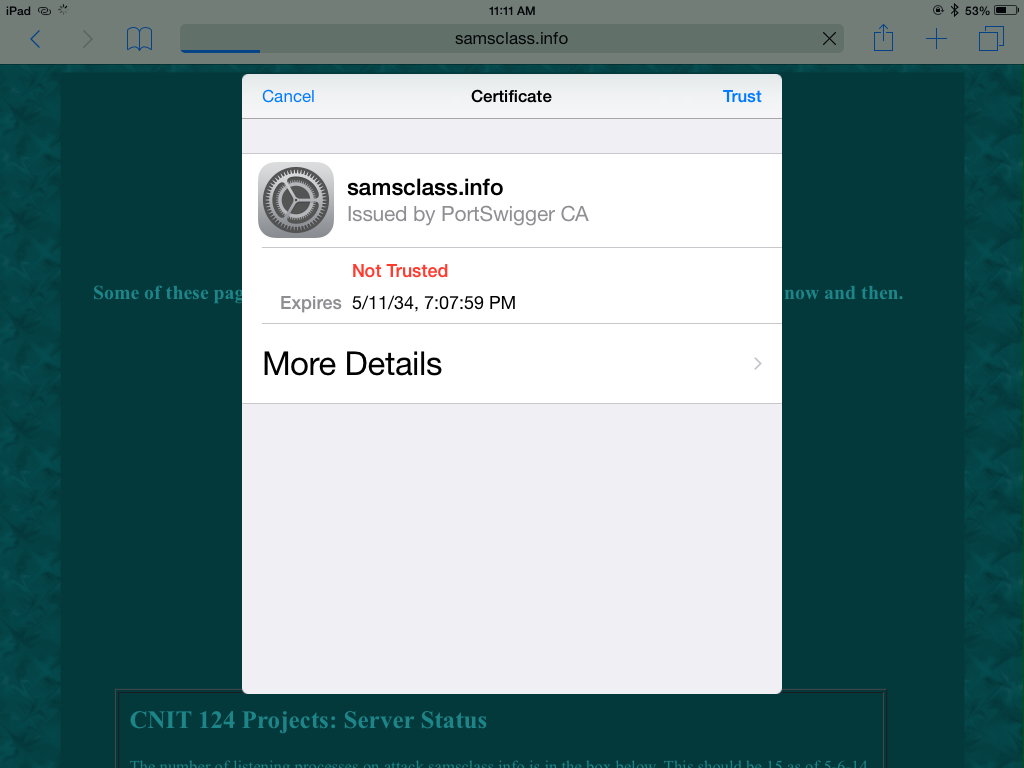
On your mobile device, in the browser, go to samsclass.info --this is a secure page.
You should see a "Cannot Verify Server Identity" message, as shown below.

Click Details.
A "Certificate" box opens, showing that this certificate was "Issued by PortSwigger CA", as shown below.
PortSwigger is the company that made Burp, and Burp is creating fake certificates for every website and signing them. The browser on your mobile device is correctly notifying you that PortSwigger is not a trusted CA, indicating that a possible man-in-the-middle attack is in progress,
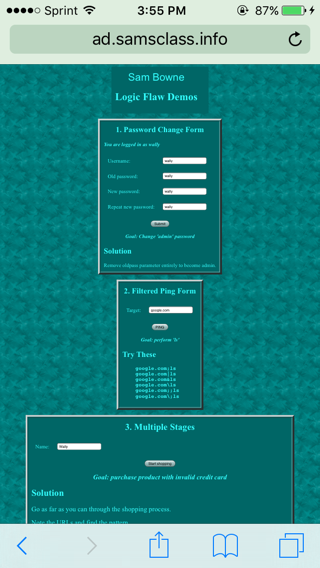
At the bottom, tap "Log in".
Try to log in with these credentials, replacing "YOURNAME" with your own name:

As we did in class, trying a series of simple passwords like a, b, c, aa, ab, ac, reveals how this poor attempt at encryption works.
Capture a full-screen image.
YOU MUST SUBMIT A FULL-SCREEN IMAGE FOR FULL CREDIT!
Save the image with the filename "YOUR NAME Proj 7", replacing "YOUR NAME" with your real name.