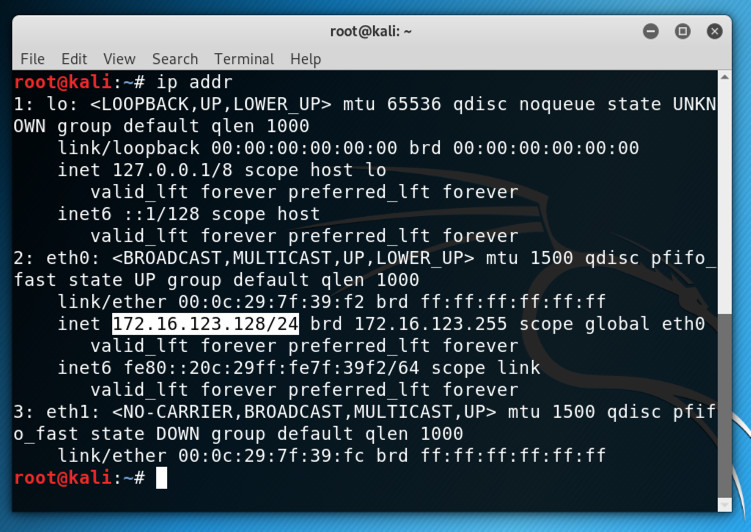
On Kali, in a Terminal, execute this command:
ip addr
If you are using Mac OS, execute this command:
ifconfig
On my system, it was vmnet8, as highlighted in the image below.


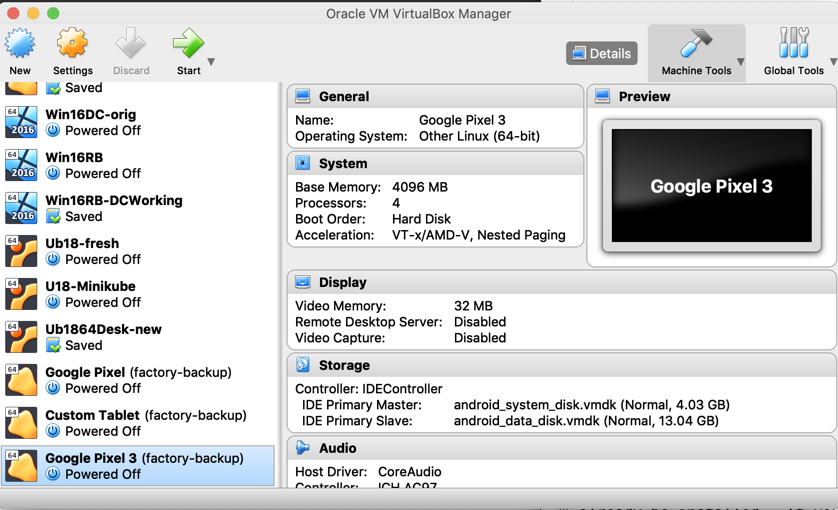
Launch VirtualBox. If you are using a Mac, you may have to intall VirtualBox first from:
https://www.virtualbox.org/wiki/Downloads
In VirtualBox, click to select your "Google Pixel 3" device, as shown below. Click Settings.
On the Network tab, the first Adapter is set to "Host-only", as shown below. Don't change anything here--this adapter is reuired for Genymotion.
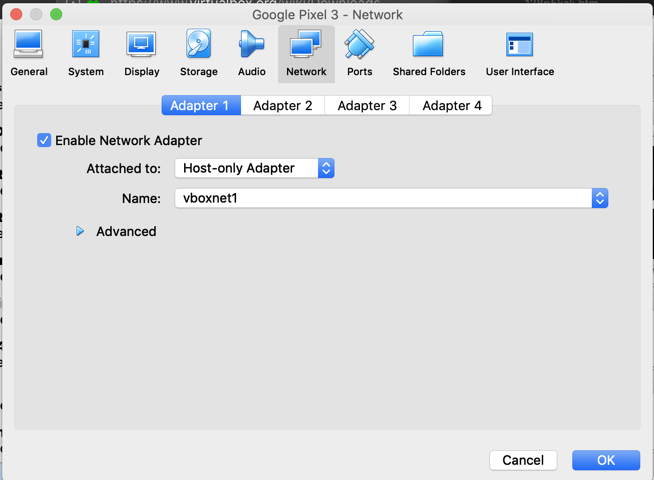
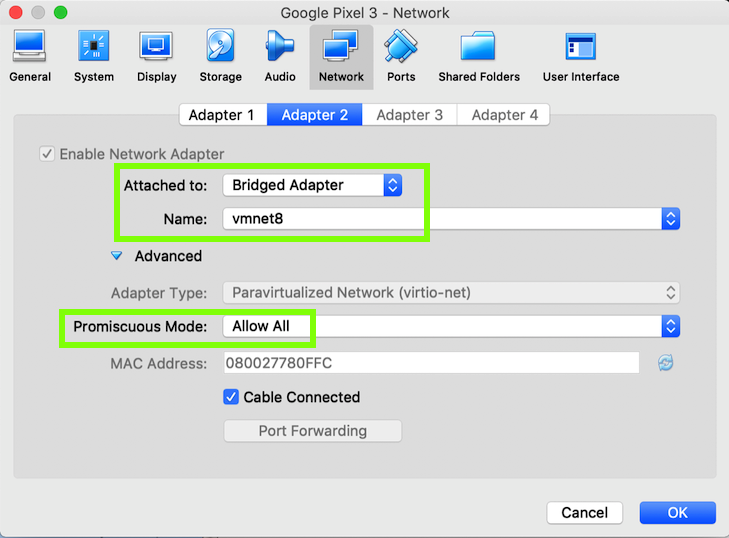
Click the "Adapter 2" tab. Set this adapter to Bridged and connect it to the host adapter Kali is using, as shown below.
Click Advanced and allow "Promiscuous Mode", as shown below.
Click OK.
Troubleshooting
After this networking adjustment, you must always start VMware before Genymotion. Otherwise Genymotion will give an error and tell you to open Virtualbox to adjust the networking.
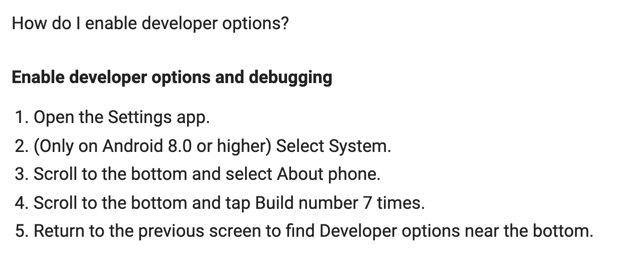
Open Settings.
In Settings, click "Network & internet".
Click Wi-Fi.
Click AndroidWiFi.
Click Advanced.
In the "Network details" screen, at the top right, click the Pencil icon.
In the "Proxy" field, click the down-arrow.
Click None.
Then click Save.
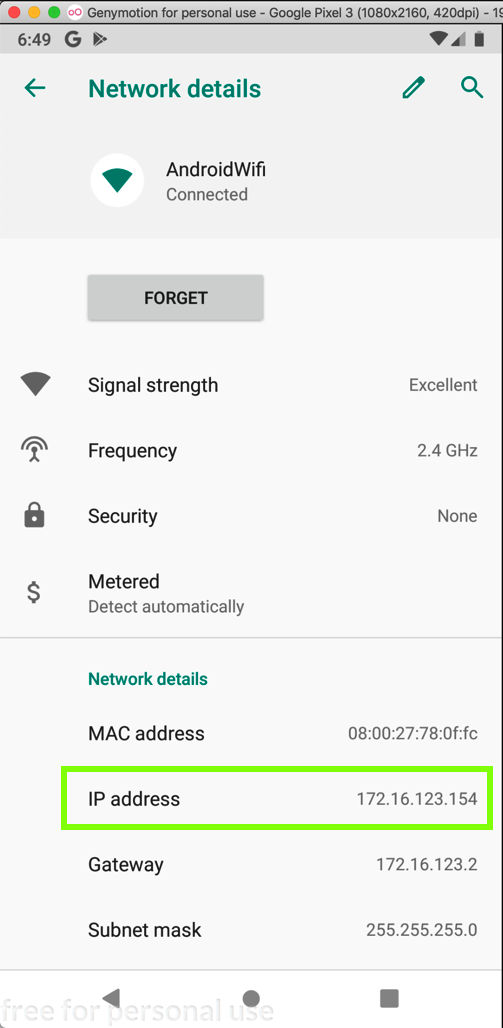
Find your IP address, as shown below. It should be on the same subnet as Kali.
Make a note of it--you will need it below.
Scroll to the bottom and click System. Click Advanced, "Developer Options"
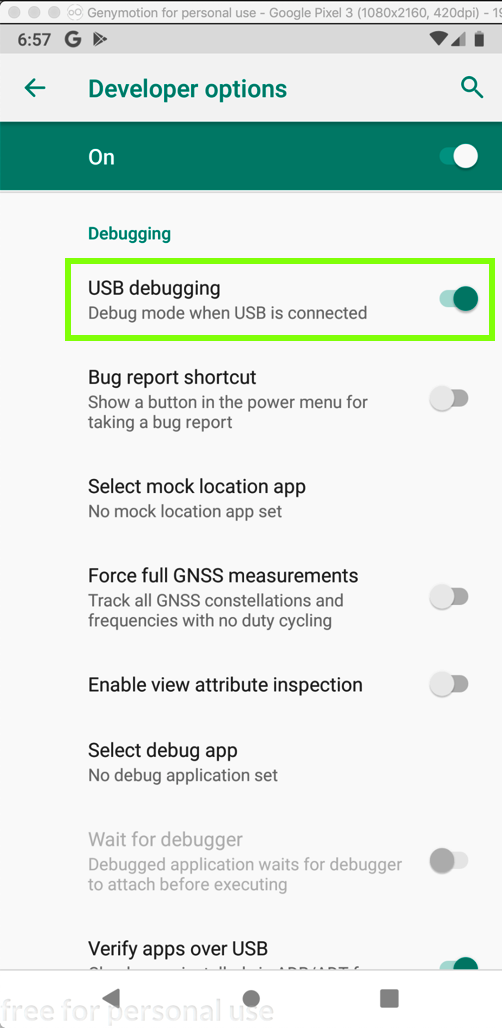
Scroll down slowly to find the "USB Debugging" option, as shown below.
Enabling Developer Options
On the Nexus 5, you need to enable Developer Options first, as shown below.
Click the "USB Debugging" and click OK. The slider should turn green, as shown below.
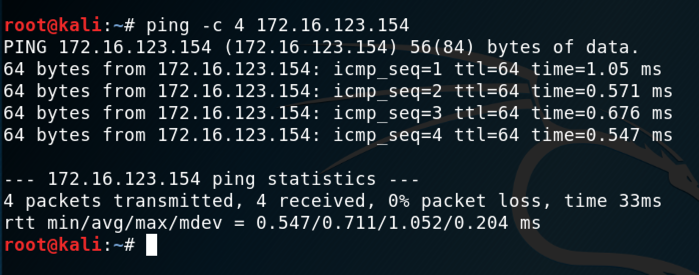
ping -c 4 172.16.123.154
If you don't, you need to troubleshoot your networking before proceeding.
apt update
apt install android-tools-adb -y
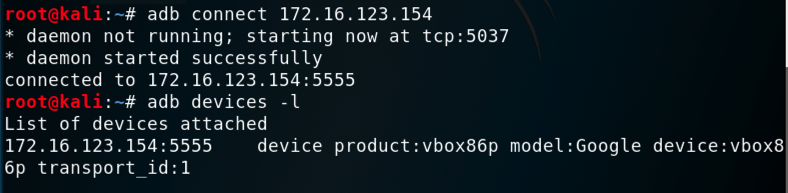
adb connect 172.16.123.154
adb devices -l
You should see your Genymotion device in the "List of devices attached", as shown below.
Troubleshooting
If you see an error message saying "E: Could not get lock /var/lib/dpkg/lock-frontend - open (11: Resource temporarily unavailable)", restart your Kali machine.
adb shell
uname -a
exit
Find the text covered by a green box in the image below.

Posted 1-14-19
Troubleshooting tip added 1-16-19
Mention of Windows removed 2-20-29
Converted to a CTF 2-28-19
Developer options image added 1-29-2020