
Click the blue "Apply now" button.
Follow the on-screen instructions to make your account, using your Live account as your username.
You'll need your .edu email address and a phone, but no credit card.
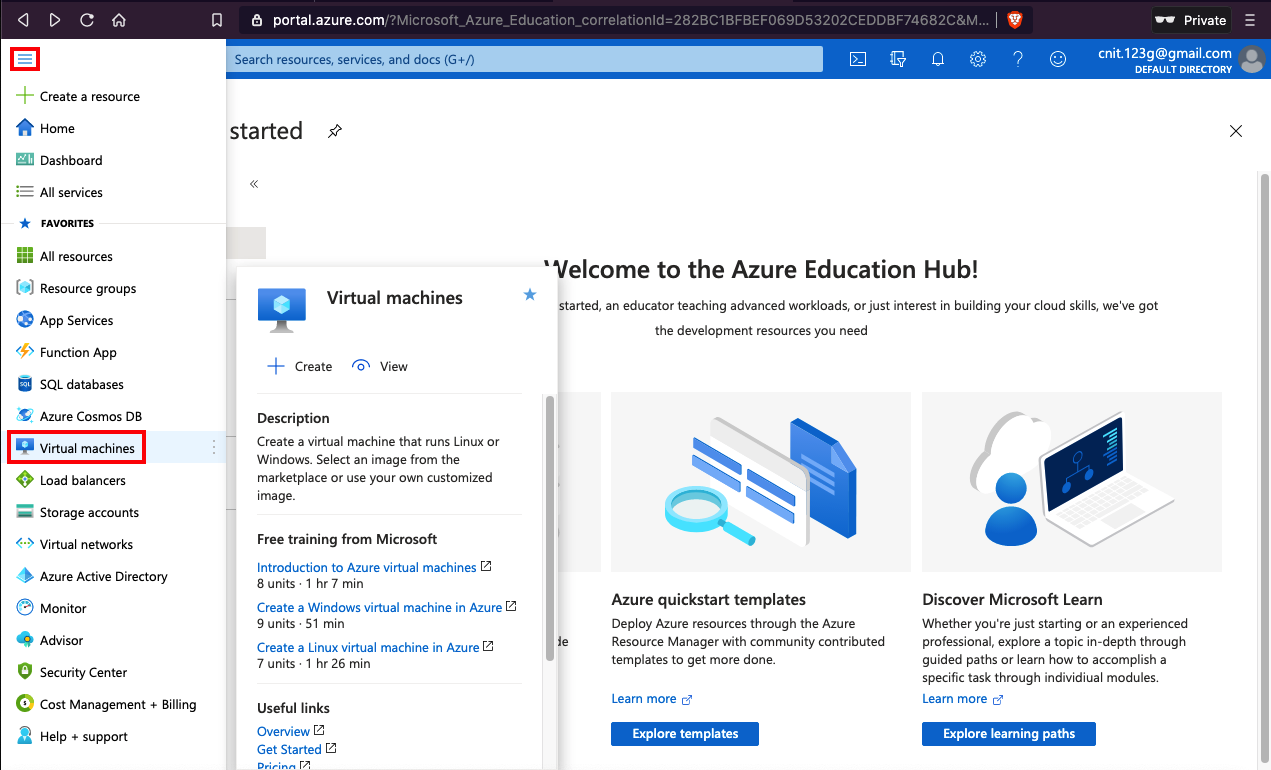
You'll end up at the Azure Education Hub, as shown below.
Click "Virtual Machines", as shown below.
On the "Virtual machines" page, at the top left, click Add, "Virtual machine".
In the "Create a virtual machine" page, on the Basics tab, enter these values, as shown below.
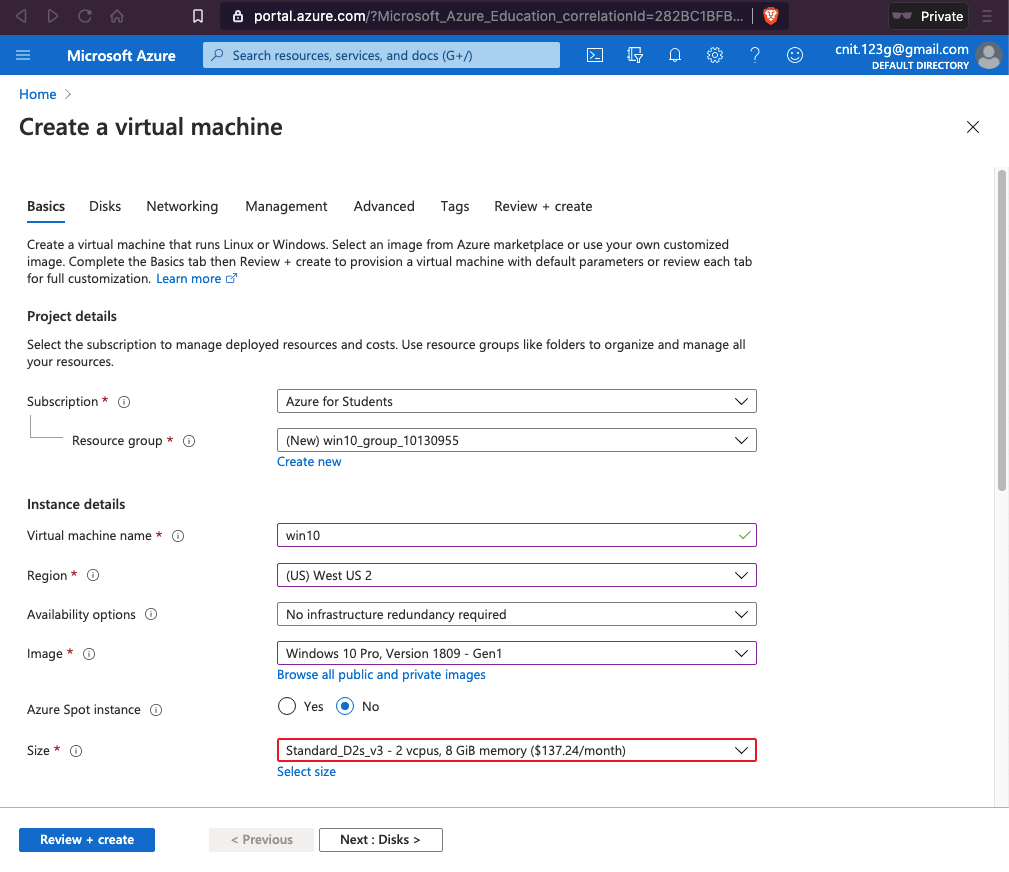
At the bottom, click the blue "Review + create" button.
A warning appears, saying "You have set RDP port(s) open to the internet."
At the bottom, click the blue Create button.
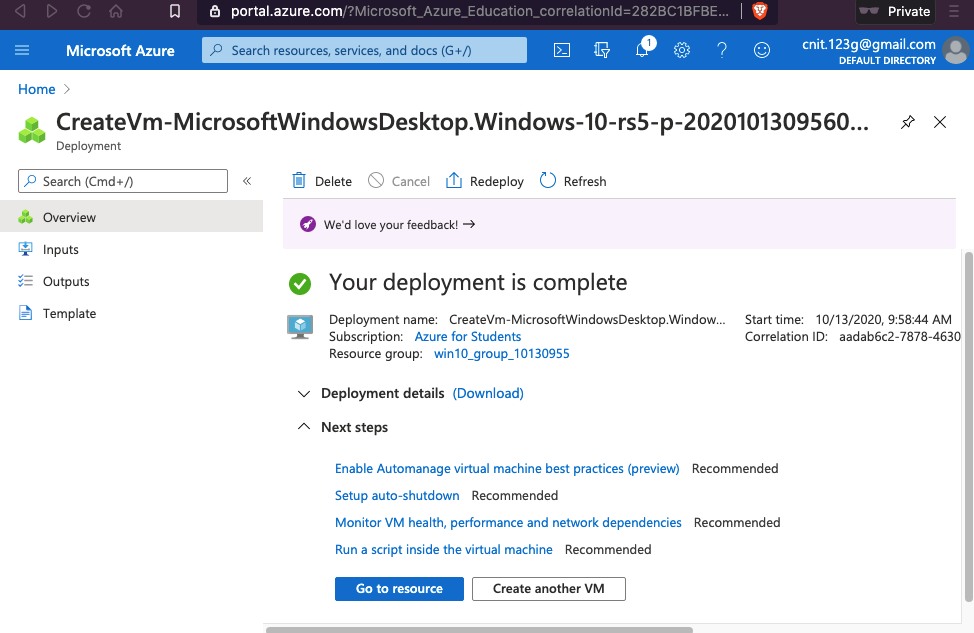
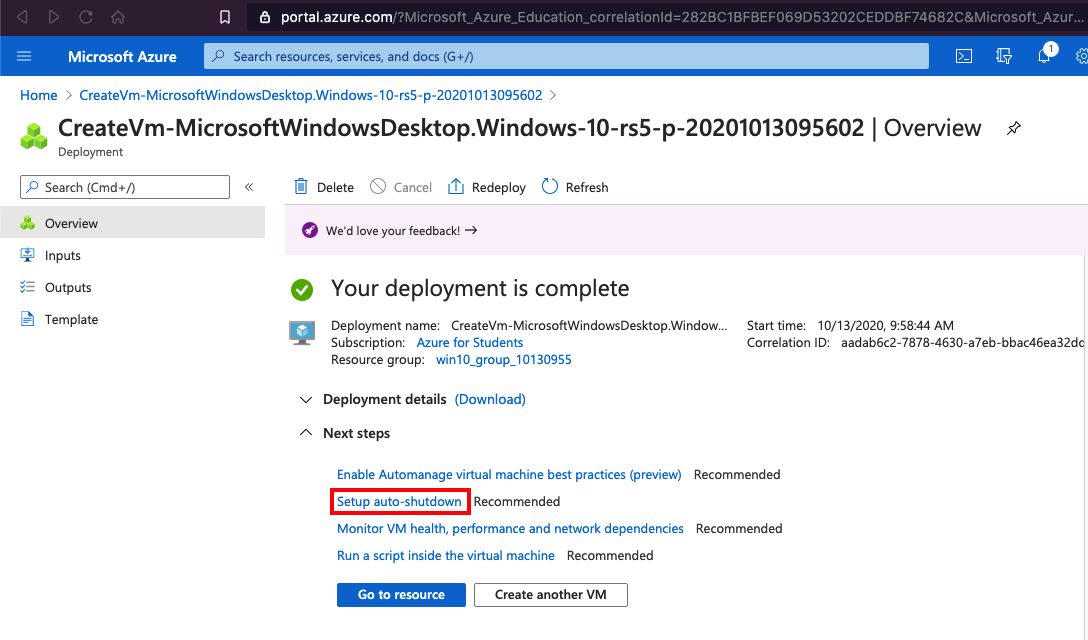
After a few minutes, the deployment completes, as shown below.
At the bottom, click the blue "Go to resource" button.
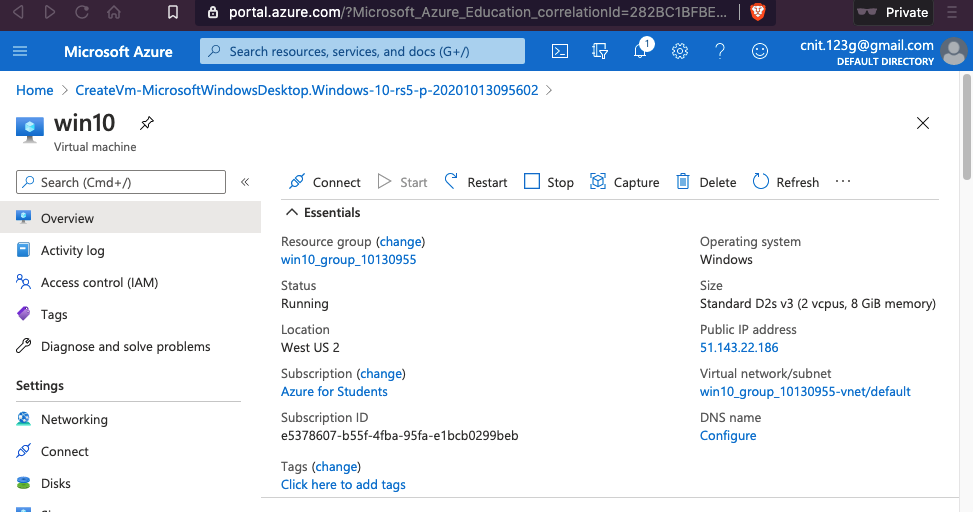
You can see your IP address, as shown below.
In the "Microsoft Azure" web portal, scroll to the left to see the "CreateVM..." page, as shown below.
Click "Setup auto-shutdown", outlined in red in the image below. Turn the feature on. Click Save.
PMA 60.1: Network Card (15 pts)
In your Windows 10 Azure machine, open a Command Prompt and execute this command:The flag is the name of the Network Card, covered by a green box in the image below.
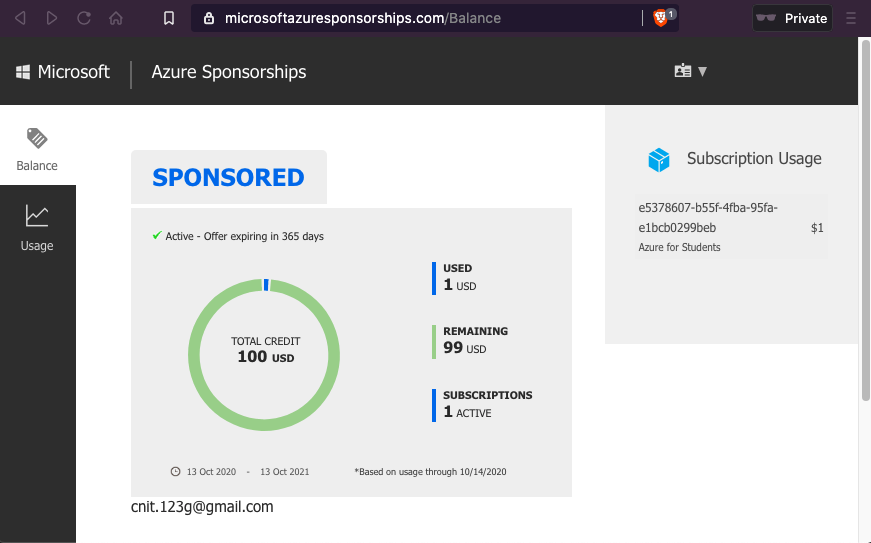
https://www.microsoftazuresponsorships.com/
One day after I made my cloud server, I checked my balance and saw that only one dollar had been expended, as shown below.

Posted 10-13-20
Expense image added 10-14-20
Minor updates 8-19-22
Explanation of the two email accounts improved 10-12-22
"Windows" added to title 1-31-23
