Install the Immunity Debugger from here:
https://www.immunityinc.com/products/debugger/
We don't need Immunity, but we need Python, which it installs.
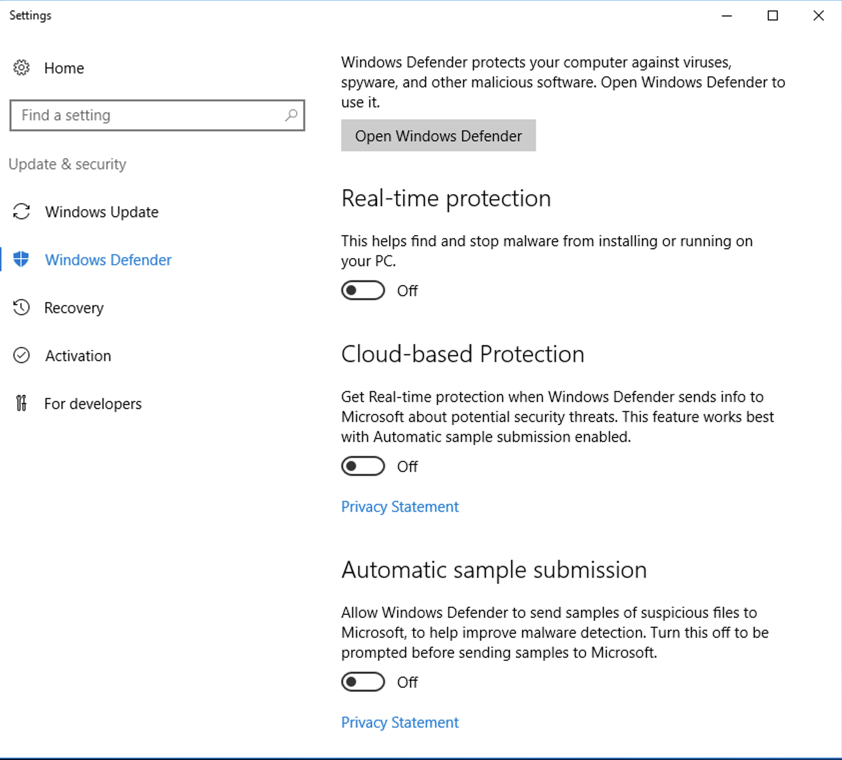
Click Start and type DEFENDER.
In the search results, click "Windows Defender settings".
Turn off the first three options, as shown below.
Rootkits and Bootkits: Reversing Modern Malware and Next Generation Threats
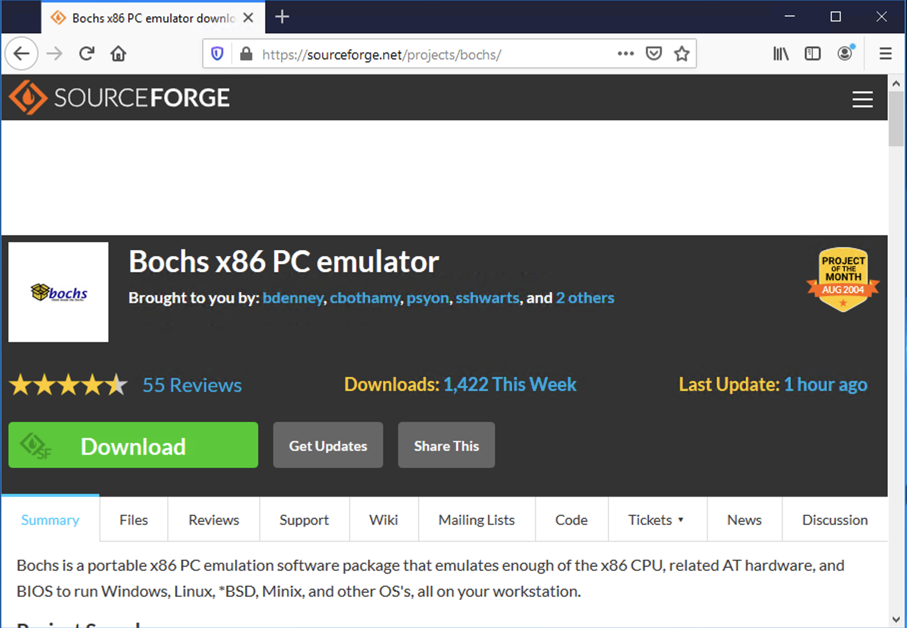
https://sourceforge.net/projects/bochs/
Click Download, as shown below.
The download froze on my machine, with a "5" just sitting there in a green circle. If that happens, click the "Problems Downloading" button.
Then click "direct link". Click the "Save File button.
In your Downoads folder, double-click the Bochs-2.6.9.exe file.
Install the software with the default options.
If you don't have it, install 7-Zip from 7-Zip.org
Unzip the archive with 7-Zip. Use the password malware.
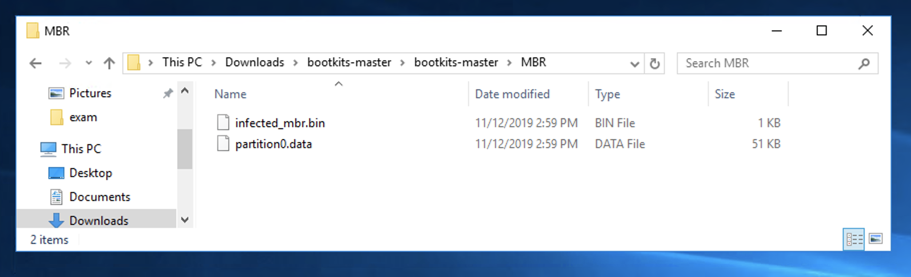
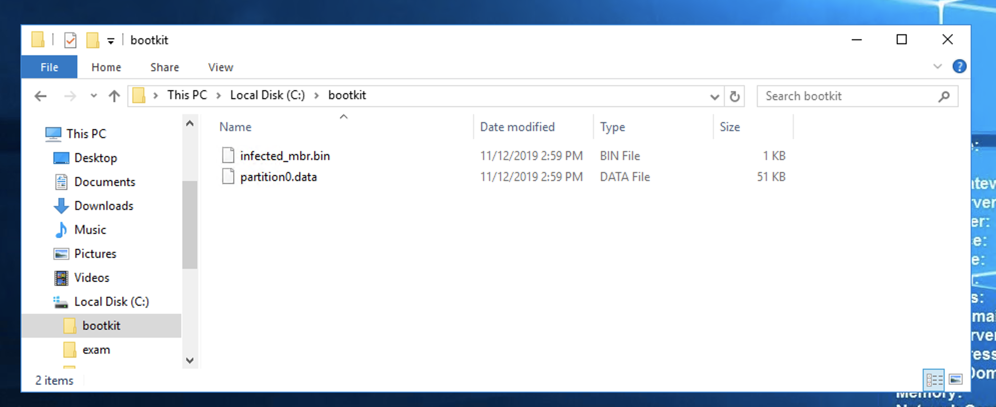
Double-click the bootkits-master folder and double-click the MBR folder to find the two files you need, as shown below.
In the User Account Control box, click Yes.
In the Administrator Command Prompt window, execute this command:
setx path "%path%;C:\Program Files (x86)\Bochs-2.6.9"
Open a new Administrator Command Prompt window.
In the Administrator Command Prompt window, execute these commands:
cd C:\Program Files\Bochs-2.6.11
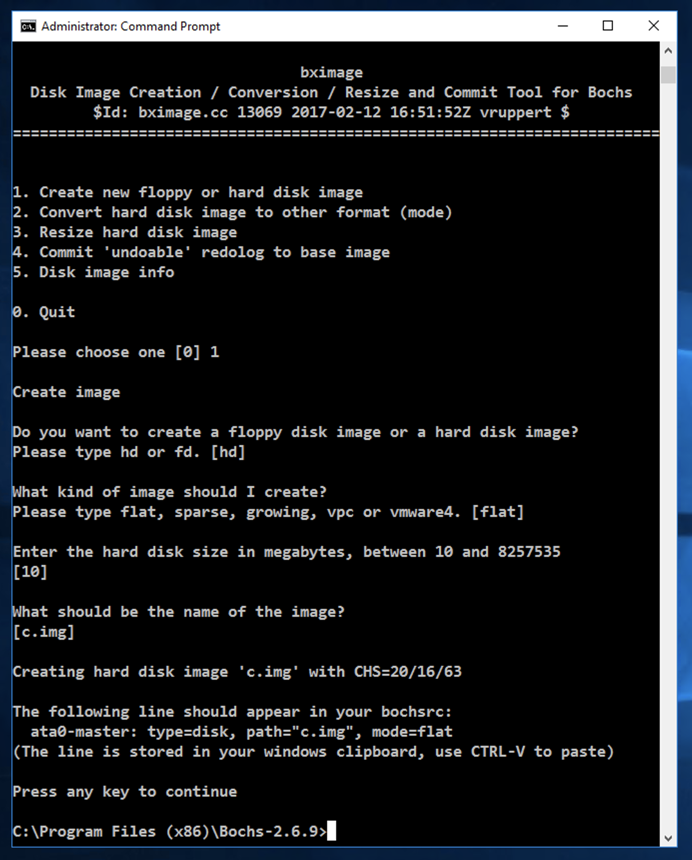
bximage.exe
Enter these items:
notepad bochsrc.bxrc
Click Yes.
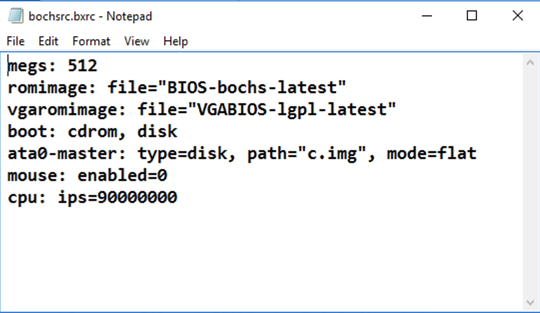
Enter this text into Notepad, as shown below.
megs: 512
romimage: file="BIOS-bochs-latest"
vgaromimage: file="VGABIOS-lgpl-latest"
boot: cdrom, disk
ata0-master: type=disk, path="c.img", mode=flat
mouse: enabled=0
cpu: ips=90000000
In Notepad, click File, Save.
Close Notepad.
Right-click the Start button and click "Command Prompt (Admin)".
In the User Account Control box, click Yes.
In the Administrator Command Prompt window, execute this command:
setx path "%path%;C:\Python27"
Open a new Administrator Command Prompt window.
In the Administrator Command Prompt window, execute these commands:
cd C:\Program Files\Bochs-2.6.11
copy C:\bootkit\infected_mbr.bin .
copy C:\bootkit\partition0.data .
notepad infect.py
Click Yes.
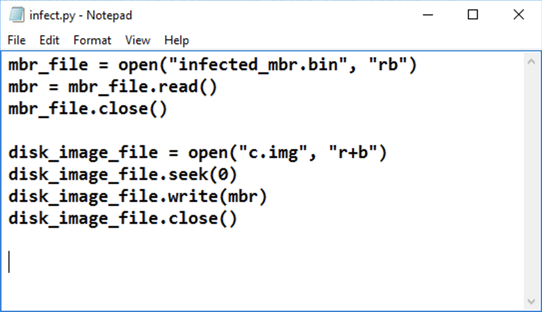
Enter this text into Notepad, as shown below.
mbr_file = open("infected_mbr.bin", "rb")
mbr = mbr_file.read()
mbr_file.close()

disk_image_file = open("c.img", "r+b")
disk_image_file.seek(0)
disk_image_file.write(mbr)
disk_image_file.close()
In Notepad, click File, Save.
Close Notepad.
In the Administrator Command Prompt window, execute this command:
python infect.py
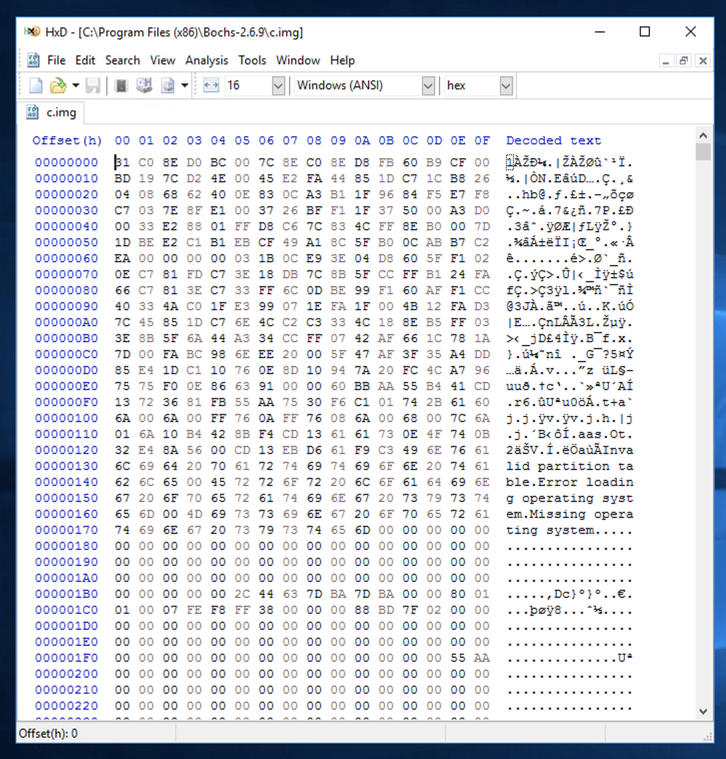
Launch HxD and open this file: C:\Program Files\Bochs-2.6.11\c.img The file contains some binary data, and some readable text, as shown below.
In the Administrator Command Prompt window, execute these commands:
cd C:\Program Files\Bochs-2.6.11
notepad vbr.py
Click Yes.
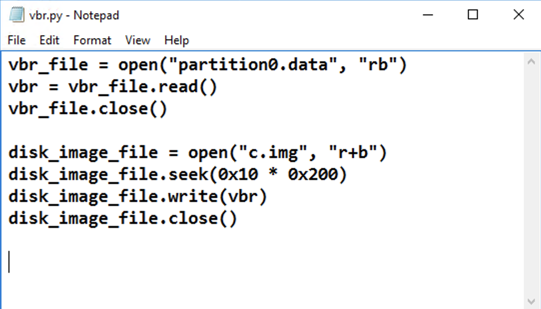
Enter this text into Notepad, as shown below.
vbr_file = open("partition0.data", "rb")
vbr = vbr_file.read()
vbr_file.close()

disk_image_file = open("c.img", "r+b")
disk_image_file.seek(0x10 * 0x200)
disk_image_file.write(vbr)
disk_image_file.close()
In Notepad, click File, Save.
Close Notepad.
In the Administrator Command Prompt window, execute this command:
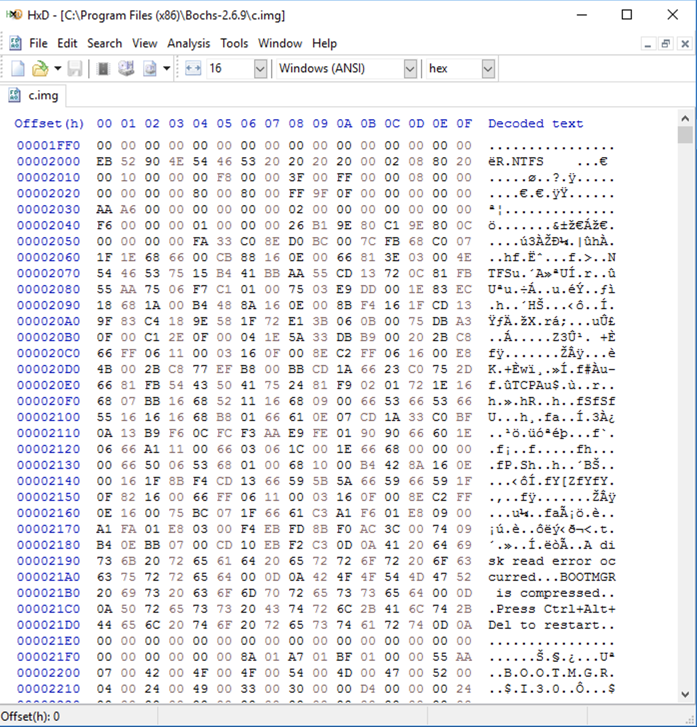
python vbr.py
cd C:\Program Files\Bochs-2.6.11
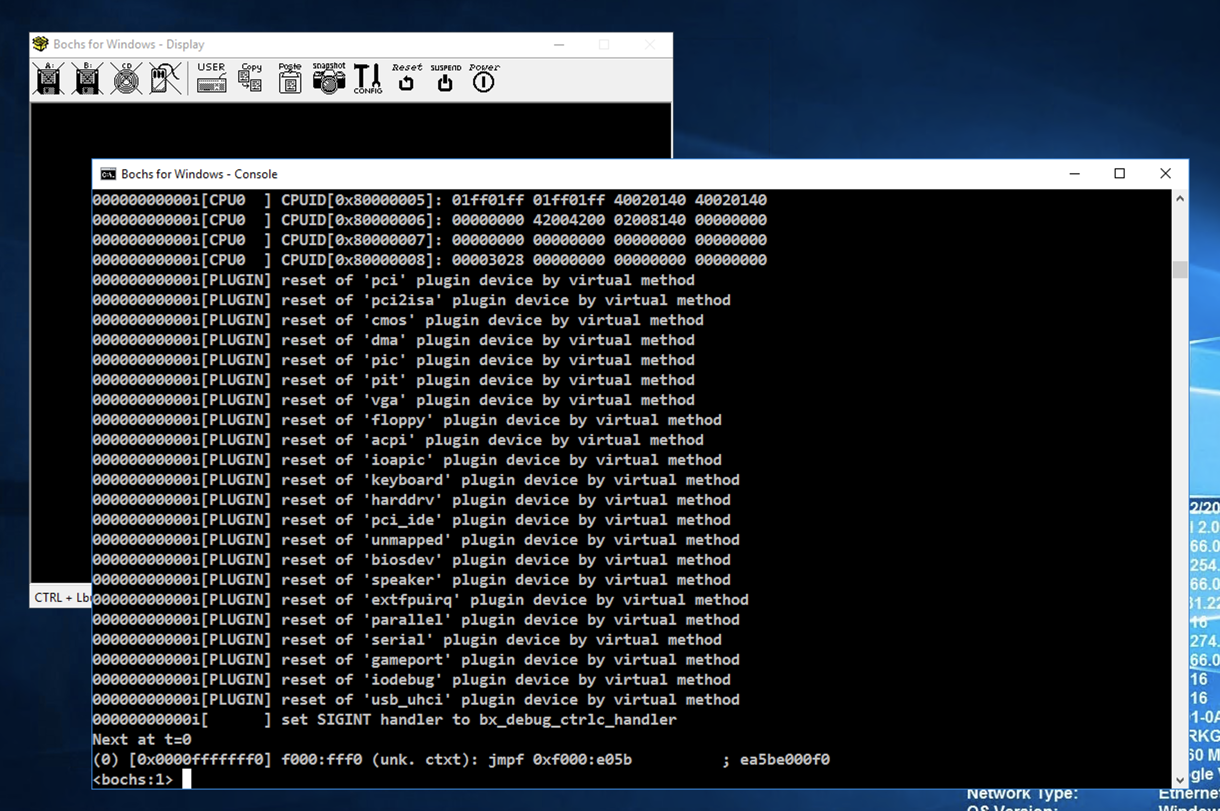
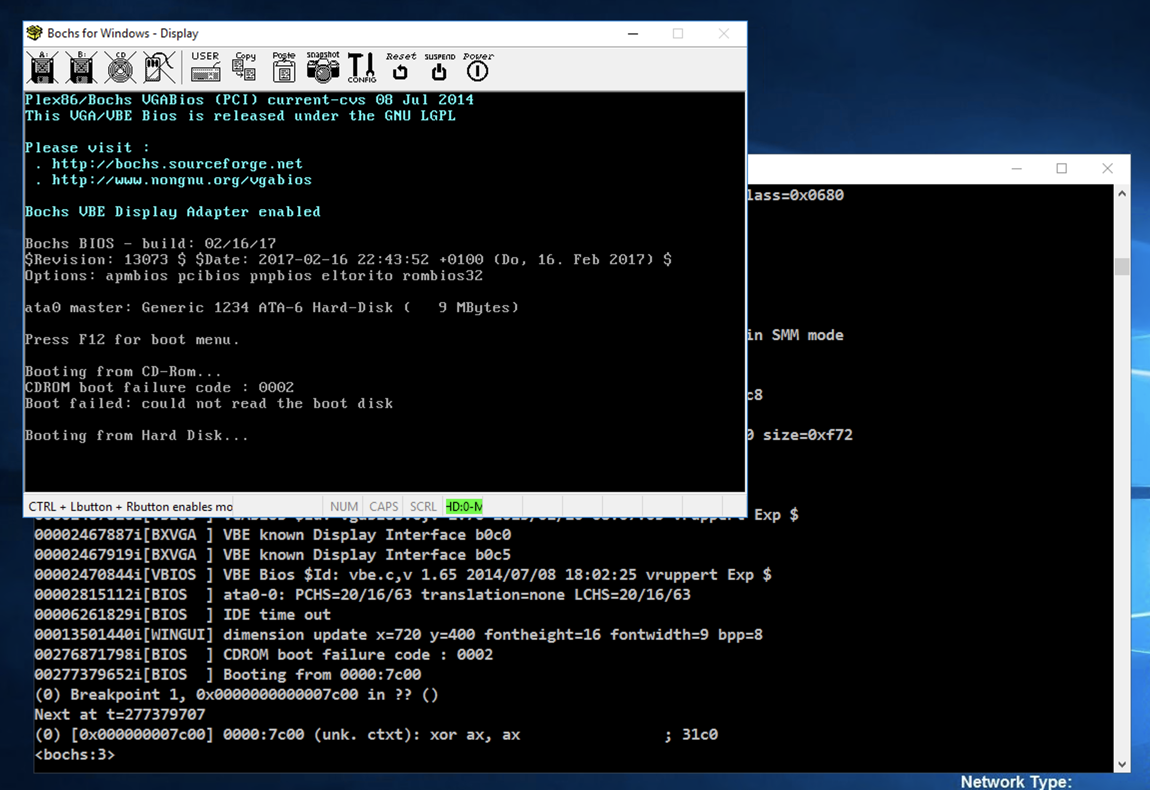
bochsdbg.exe -q -f bochsrc.bxrc
At the *lt;bochs:1> prompt, execute these commands to set a breakpoint at the start of the MBR code and commence execution:
lb 0x7c00
c
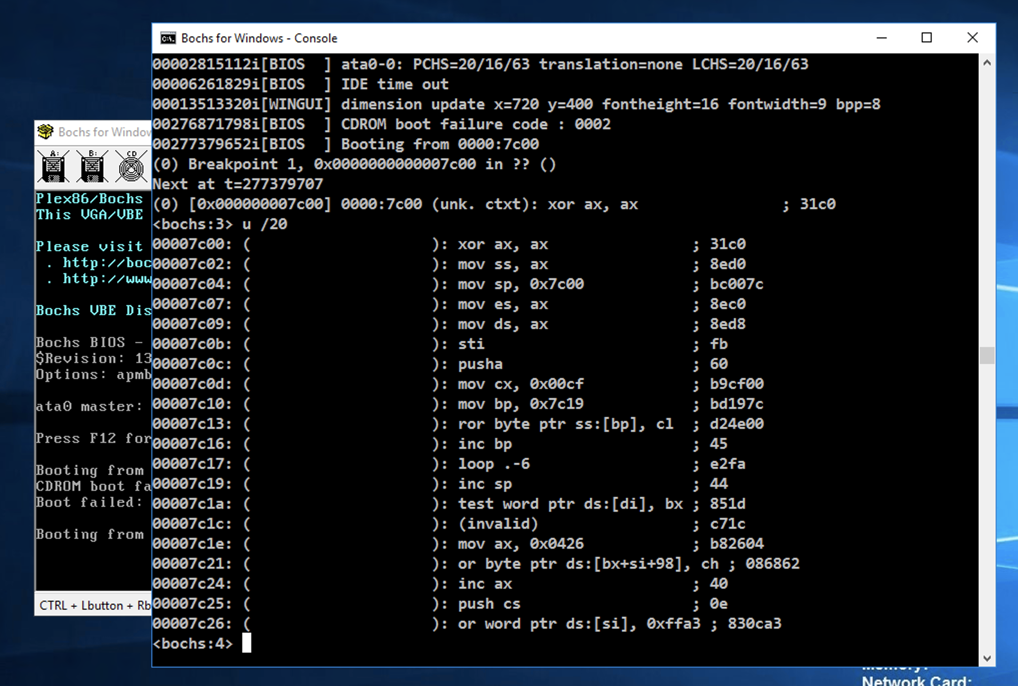
At the *lt;bochs:1> prompt, execute this command to unassemble the first 20 commands:
u /20
This is a decryptor that unscrambles the data starting at 0x7c19.
notice the invalid data at address 0x7c1c.
lb 0x7c19
c
u /10

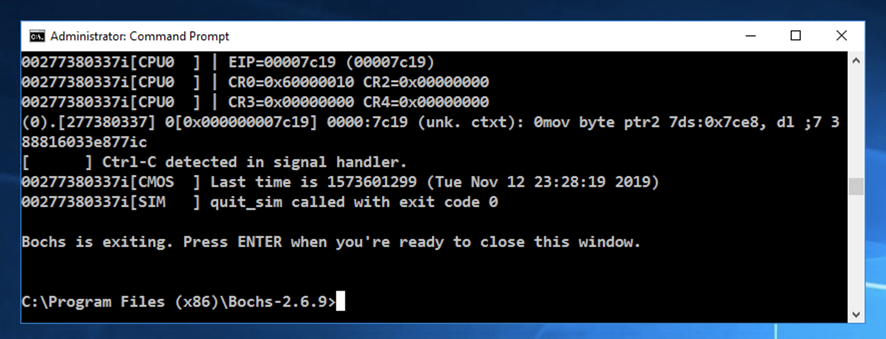
After a few seconds, the virtual machine closes. Press Enter to return to the normal Windows prompt, as shown below.