
This is your Target.
Use this command to find your Target IP address:
ifconfig
Use this command to start scapy:
scapy

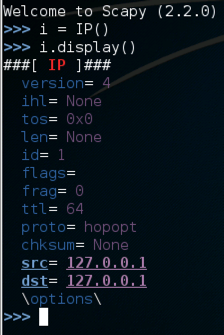
i = IP()
i.display()
If the colors are difficult to see, adjust them by clicking Edit, "Profile Preferences", Colors. I used "Black on light yellow".
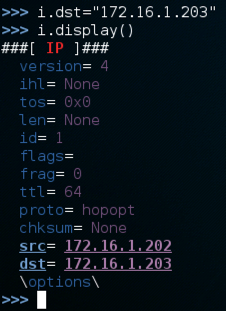
Use these commands to set the destination IP address and display the properties of the i object again.
i.dst="172.16.1.203"

i.display()
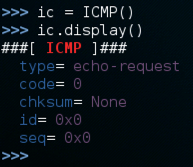
Use these commands to create an object named ic of type ICMP and display its properties:
ic = ICMP()

ic.display()
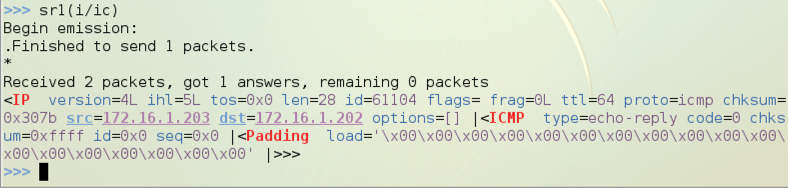
Use this command to send the packet onto the network and listen to a single packet in response. Note that the third character is the numeral 1, not a lowercase L:
sr1(i/ic)
The Padding section shows the portion of the packet that carries higher-level data. In this case it contains only zeroes as padding, as shown below.
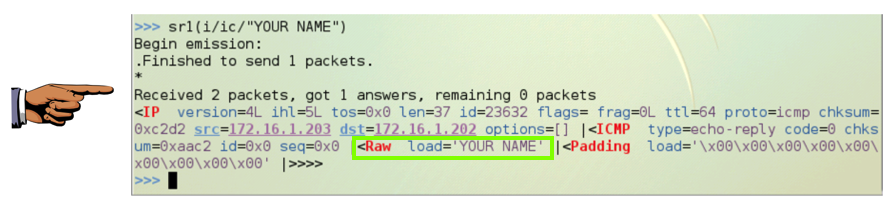
Use this command to send a packet that is IP at layer 3, ICMP at layer 4, and that contains data with your name in it (replace YOUR NAME with your own name):
sr1(i/ic/"YOUR NAME")
Note that the second switch in the nc commmand is a lowercase L, not the numeral 1.
nc -ulp 4444
In the Terminal window, at the top, click File, "Open Terminal" to open a second Terminal window. In the second window, execute this command:
netstat -aun

u = UDP()

u.display()

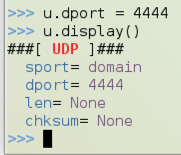
Execute these commands to change the destination port to 4444 and display the properties again:
u.dport = 4444

u.display()
Execute this command to send the packet to the Target machine:
send(i/u/"YOUR NAME SENT VIA UDP\n")

http://packetstorm.linuxsecurity.com/papers/general/blackmagic.txt
http://www.secdev.org/projects/scapy/