I am using Windows 7. I think the process is similar on other Windows versions.
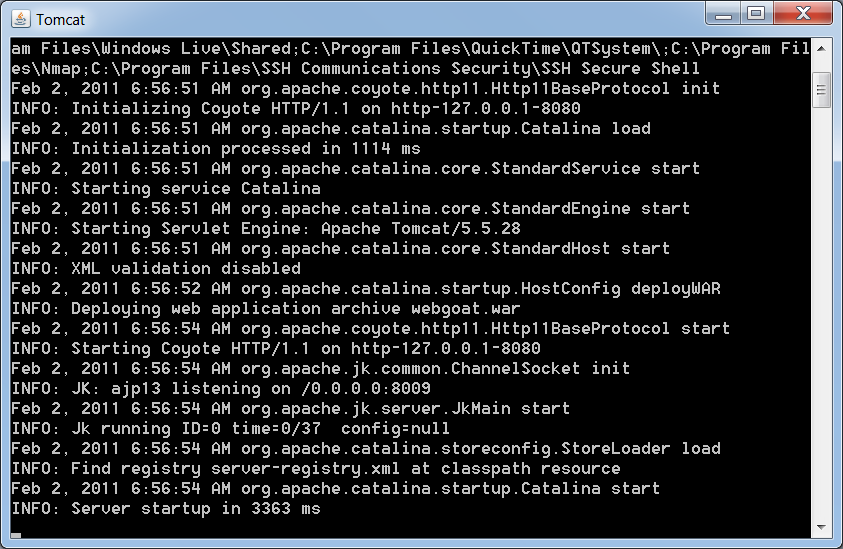
Extract the zip file. It's a 7-zip file, so you will need to download and install 7-zip if you don't already have it. A folder named WebGoat-OWASP_Standard-5.3_RC1 appears. Double-click the subfolder named WebGoat-5.3_RC1. Double-click the webgoat_8080.bat file. A Command Prompt opens and vanishes instantly, and another Command Prompt window opens titled "Tomcat". The Tomcat window fills with text and stays open, as shown below. This is the Apache Tomcat Web server listening on the localhost, port 8080. Leave that window open.
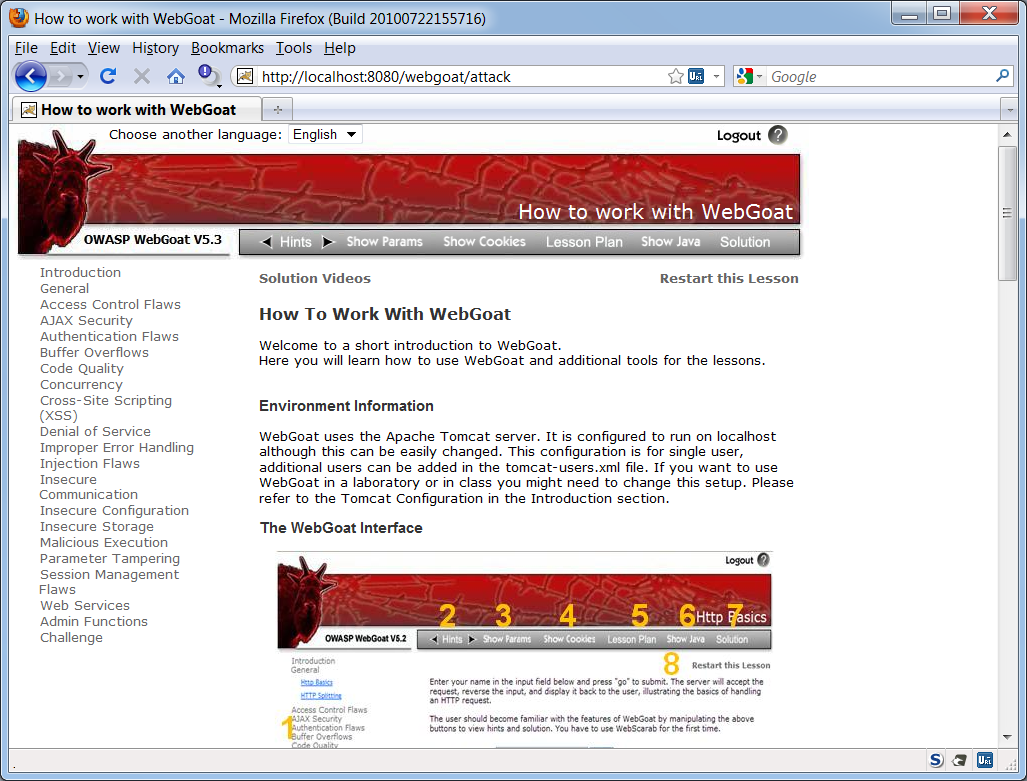
In Firefox, go to http://localhost:8080/webgoat/attack. A box pops up asking for a name and password. Use guest for both the name and the password.
The main WebGoat page opens. Click the "Start WebGoat" button. The "How to work with WebGoat" page opens, as shown below.
http://www.owasp.org/index.php/Category:OWASP_WebScarab_Project
On the left side, click the Download link. In the first sentence in the Download section, click the word "here". On the next page, in the "Snapshots" section, click the "the current development snapshot" link. When I did it, I got a file named webscarab-one-20100820-1632.jar.
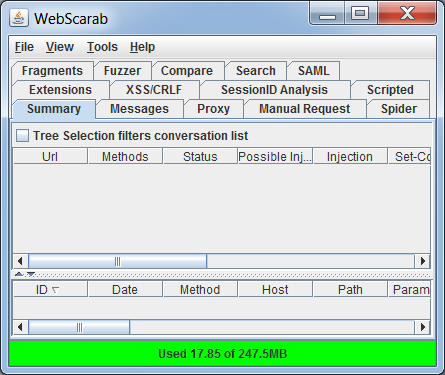
Double-click the webscarab-one-20100820-1632.jar file. A "Webscarab Lite" window opens. This is the Lite Interface. From the menu bar, click Tools, Use Full-Featured Interface. Close WebScarab and restart it. Now you should see many more options, as shown below.
Near the bottom of the "Connection Settings" window, empty the "No Proxy for:" box. This is very important! If you don't clear that box, WebScarab won't intercept traffic to and from WebGoat!
The "Connections Settings" box should look like the image below. Click OK. In the Options box, click OK.

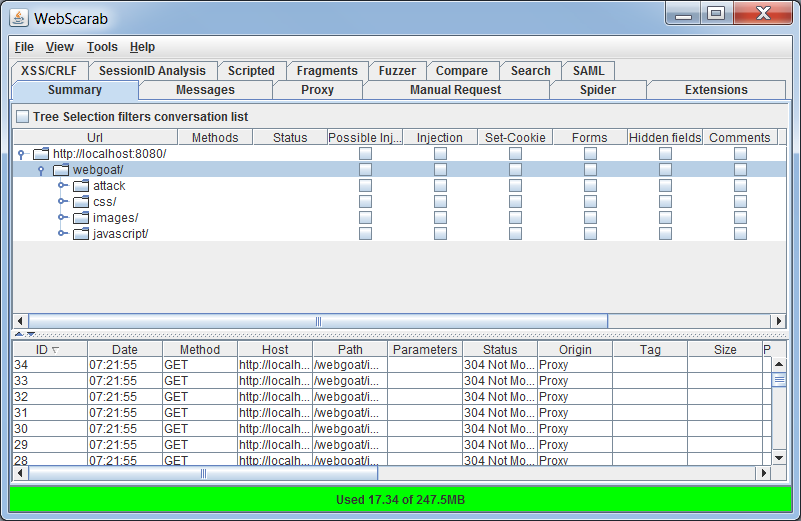
On the left side of the WebGoat page, click "Introduction". Click the "Tomcat Configuration" link. In the WebScarab window, on the "Summary" tab, you shoud see a list of each HTTP request and response, as shown below.