In a Terminal window, enter this commands, and then press Enter:
ping samsclass.info
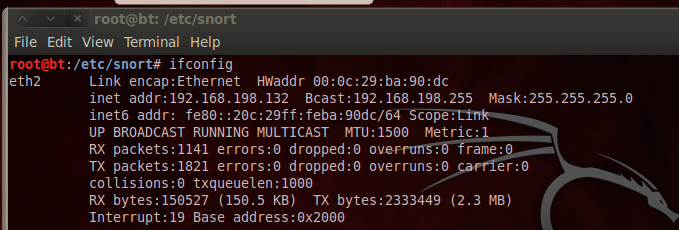
In a Terminal window, enter this commands, and then press Enter:
ifconfig
apt-get install honeyd
nano honeyd-winxp.conf
create default
set default default tcp action block
set default default udp action block
set default default icmp action block

create windows
set windows personality "Microsoft Windows XP Professional SP1"
set windows default tcp action reset
add windows tcp port 135 open
add windows tcp port 139 open
add windows tcp port 445 open

set windows ethernet "00:00:24:ab:8c:12"
dhcp windows on eth2
Save the file with Ctrl+X, Y, Enter.
honeyd -d -i eth2 -f honeyd-winxp.conf
The -i specifies which interface to use; yours may not be eth2.
The -f switch tells honeyd what config file to use.
Honeyd should start, with the usual unimportant warning messages, and get an IP address from DHCP, as shown below:
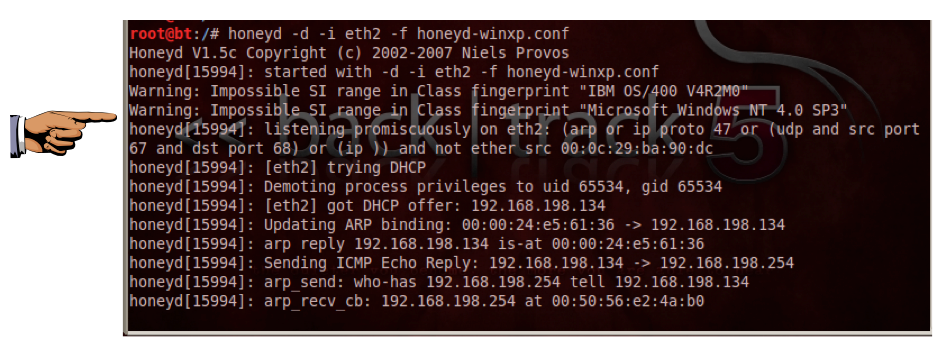
Save a screen capture with a filename of "Proj 12a from YOUR NAME".
You should see ports 135, 139, and 445 open, as shown below:
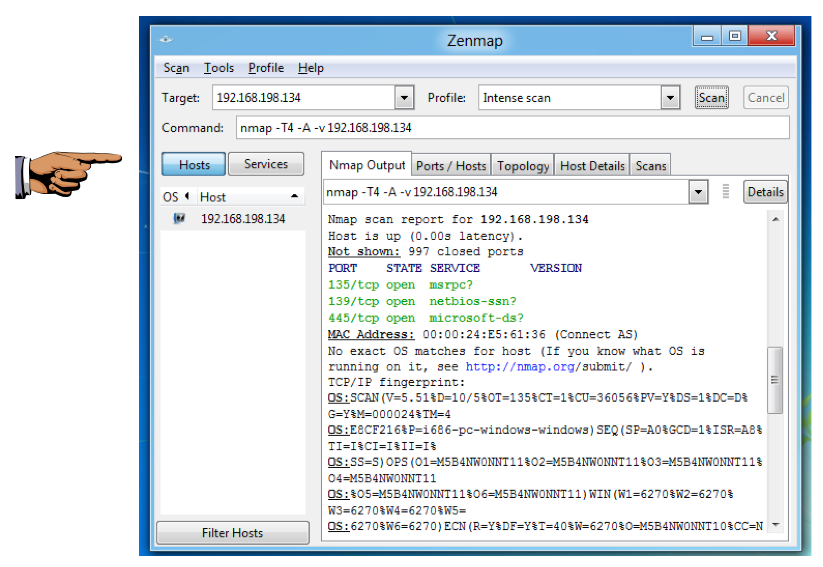
Save a screen capture with a filename of "Proj 12b from YOUR NAME".
Email the images to cnit.122sam@gmail.com with a subject of "Project 12 from YOUR NAME".
Last modified 10-7-11 3:01 pm