Click the "Sign Up Now" button.
Sign in with your existing Amazon.com account, or create a new account by following the on-screen directions.
Fill in your real contact information, and real credit card information (make sure you are using a trustworthy Internet connection, and NOT the machines in S214).
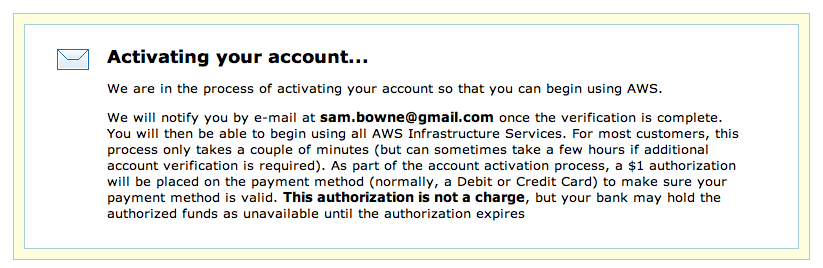
You will have to answer a phone call an verify your identity. After you complete that process, you will see the message below.
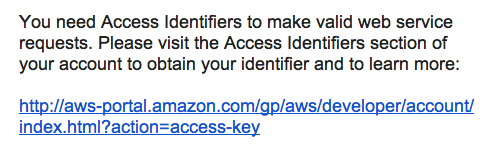
Check your email and find the message with a Subject of "Welcome to Amazon Web Services". Click the link in that message, as shown below, to configure your "access identifiers".
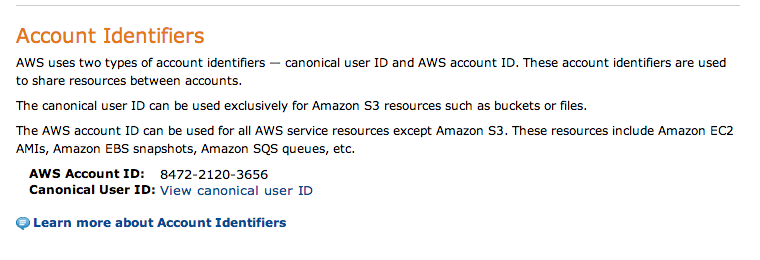
Sign in if you are prompted to. Scroll down and find your "Access Key ID" and "Secret Access Key", as shown below:

Click "Create a new Certificate".
When you see the screen below, download the private key and the certificate and save them. Then click Close.
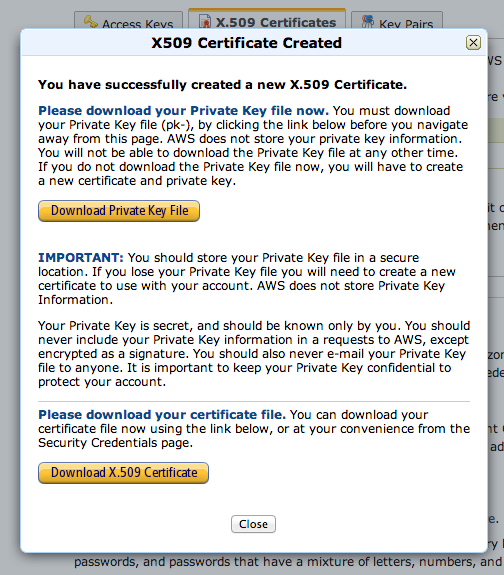
The private key file will have a name like pk-XXXXX.pem and the certificate will have a name like cert-XXXXXX.pem, where XXX is a long series of letters and numbers.

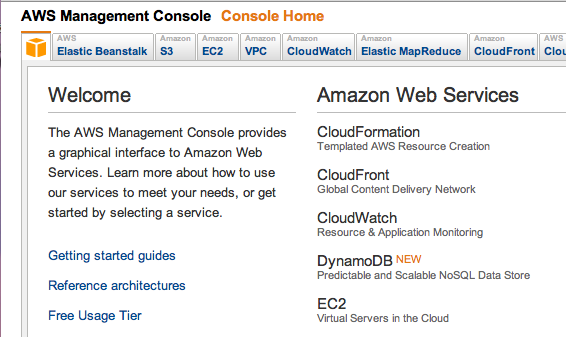
Click the "Sign in to the AWS Console" button.
Click EC2.
In the "Getting Started" box, click the "Launch Instance" button.
Accept the default selection of "Classic Wizard" and click the Continue button.
Find the "Ubuntu Server 12.04 LTS" line, as shown below:
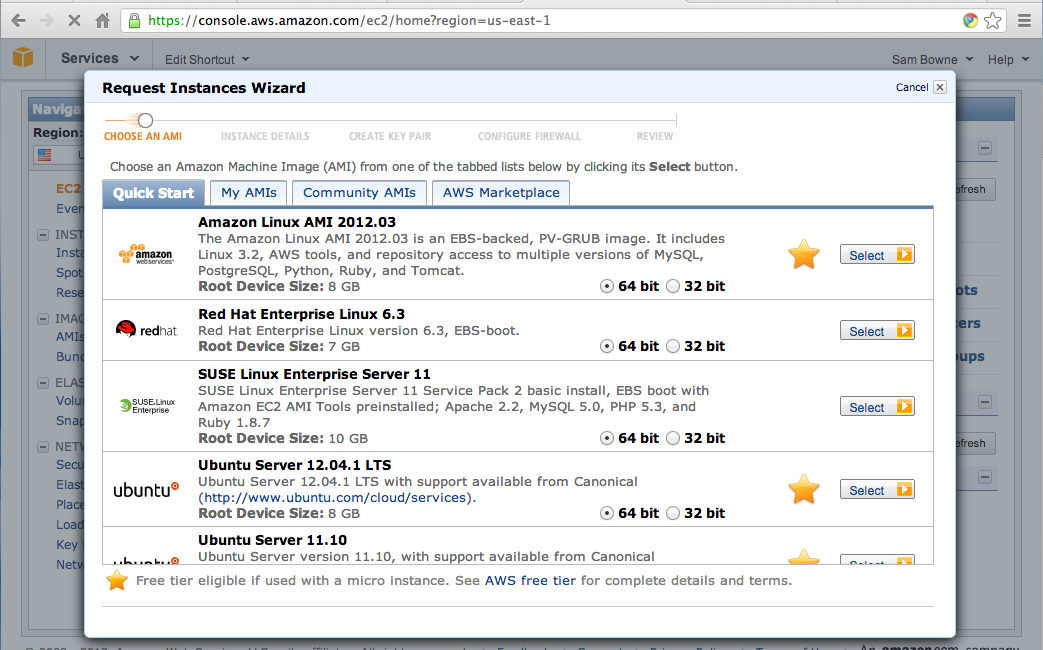
In the "Ubuntu Server 12.04 LTS" line, accept the default selection of 64 bit, and click the Select button.
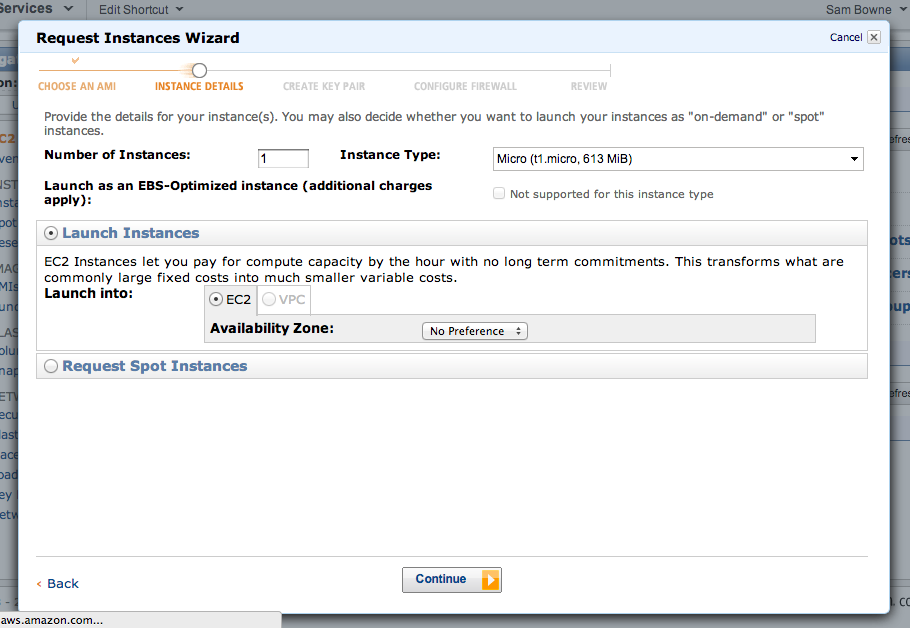
The Amazon Request Instances Wizard appears, as shown below. Click Continue.
The "Advanced Instance Options" screen appears. Accept the default options and click Continue.
The "Storage Device Configuration" screen appears. Accept the default options and click Continue.
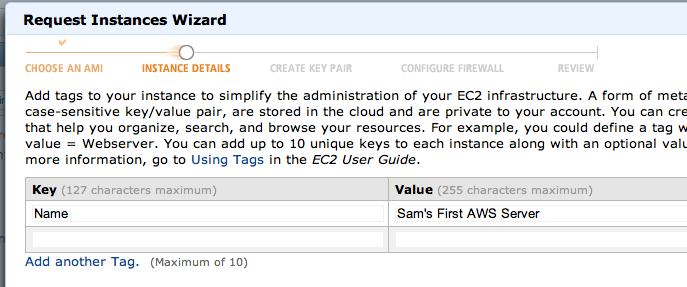
The next page asks for Key-Value Pairs.
The first row has "Name" filled in on the left. Click the "Value" field on the right and enter name and the type of server, as shown below. Click the "Continue" button.
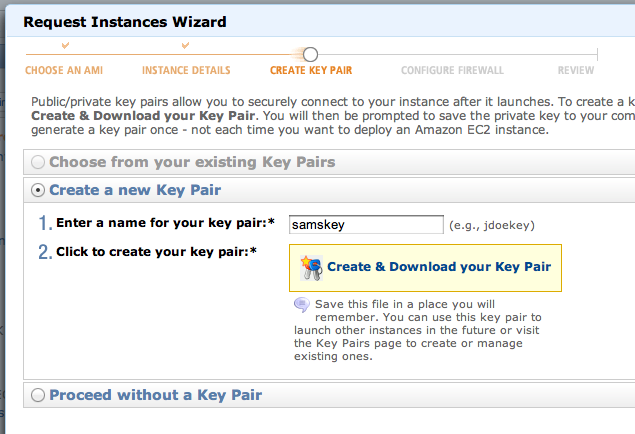
In the next page, enter an appropriate name for your key pair, as shown below. Click the "Create & Download your Key Pair" button.
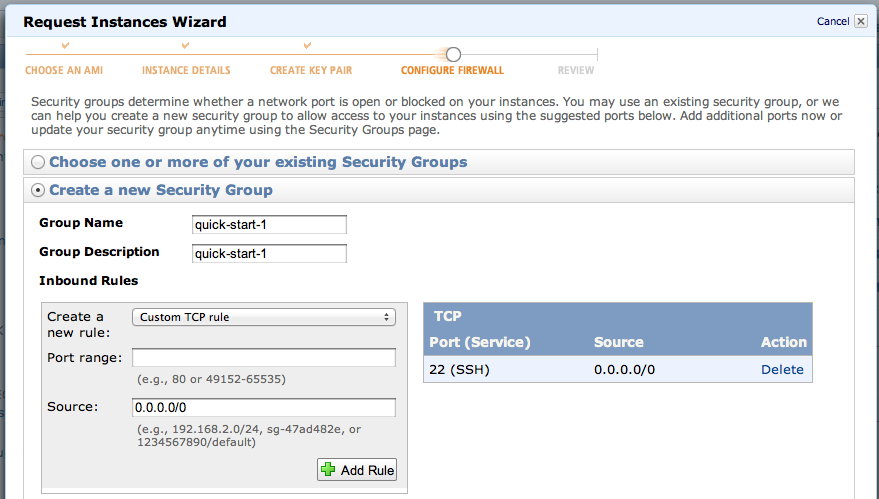
The next page allows you to create security groups. Just accept the default selections and click the "Continue" button.
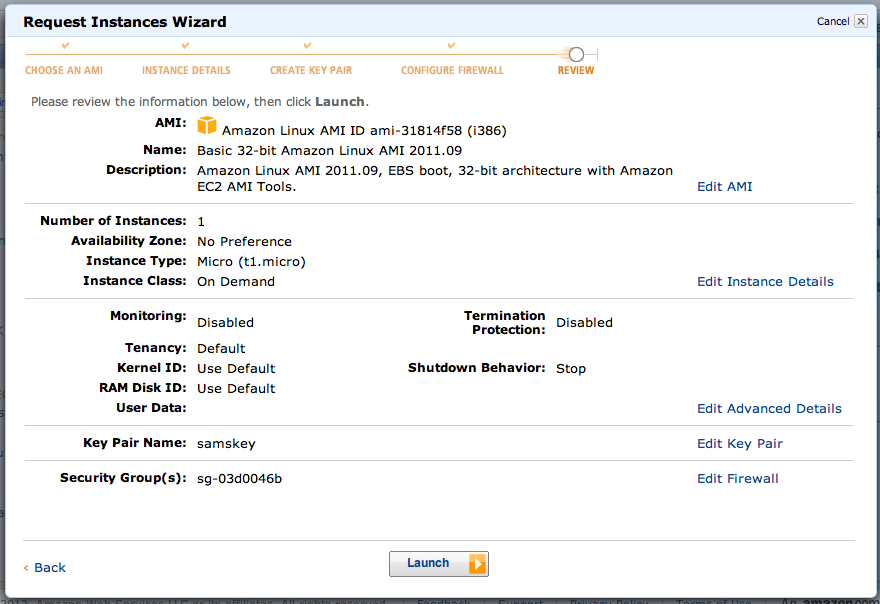
Click the "Launch" button.
The next page says "Your instances are now launching.". Click the "View your instances on the Instances page" link.
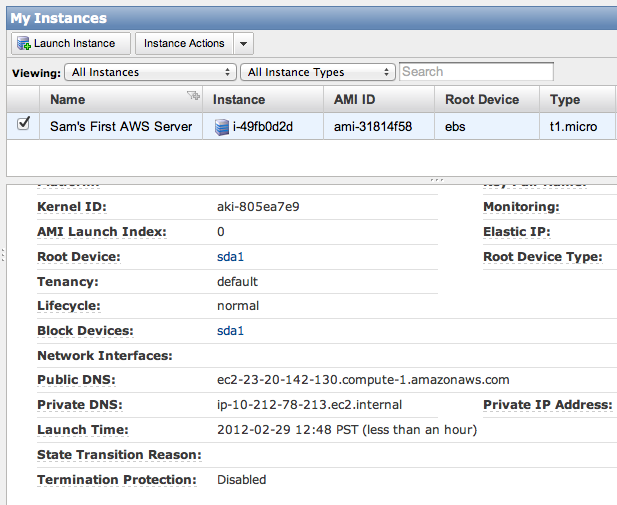
In the upper pane of the "My Instances" page, click the check box. In the lower pane, scroll down to find your "Public DNS" name, as shown below on this page.
On the Mac, in a Terminal window, enter this line, inserting the correct path to your keyfile, and your correct AWS Instance DNS name:
ssh -i Downloads/samskey.pem root@ec2-23-20-142-130.compute-1.amazonaws.com
When you see a question "Are you sure you want to continue connecting?", type "yes" and press the Enter key.
When I did it, I got an error because the permissions were incorrect on my keyfile.
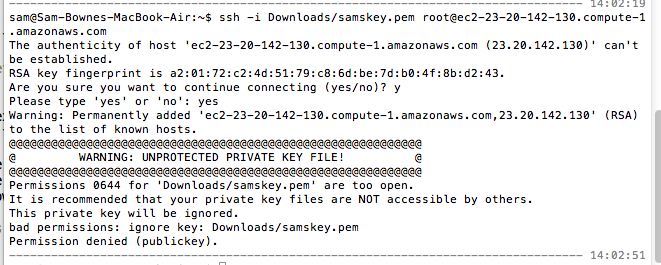
I fixed that with this command:
chmod 400 Downloads/samskey.pem
When I tried to get in again, I was denied because AWS no longer allows login as root.

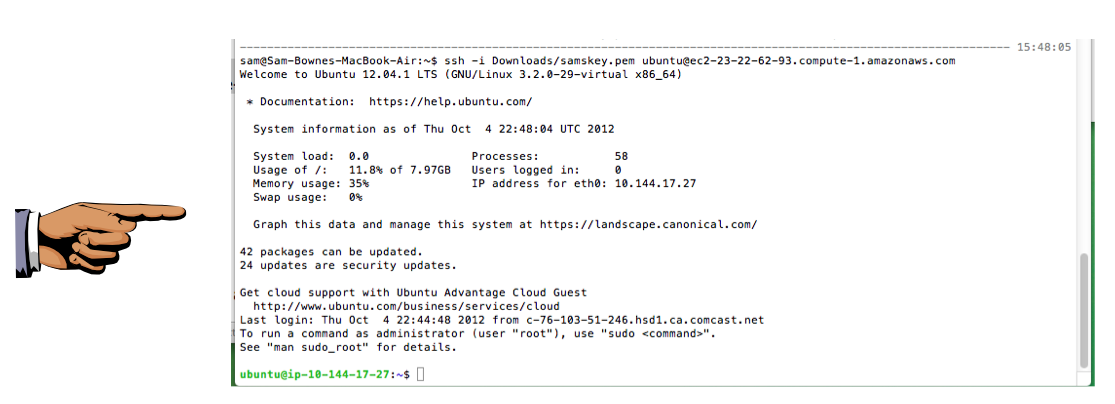
Use this command to get in, inserting the correct path to your keyfile, and your correct AWS Instance DNS name:
ssh -i Downloads/samskey.pem ubuntu@ec2-23-22-62-93.compute-1.amazonaws.com
You should now get a shell, as shown below:
Skip the PC instructions below and go to "Turning in Your Project".
Find the "For Windows on Intel x86" section, as shown below:
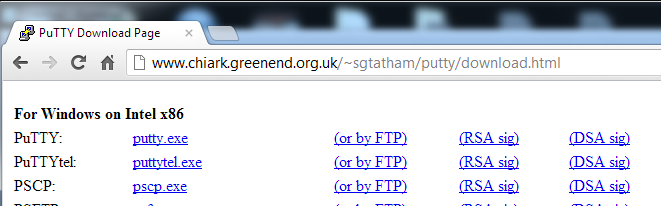
In the first row, starting "PuTTY", click the putty.exe link.
A file named "putty.exe" downloads.
Double-click the "putty.exe" file. If a security warning pops up, approve the file to run.
In the Web browser, scroll down to find "PuTTYgen", as shown below:
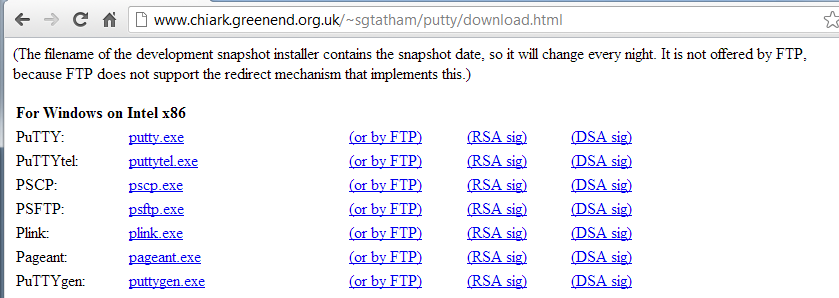
Download "PuTTYgen" and run it.
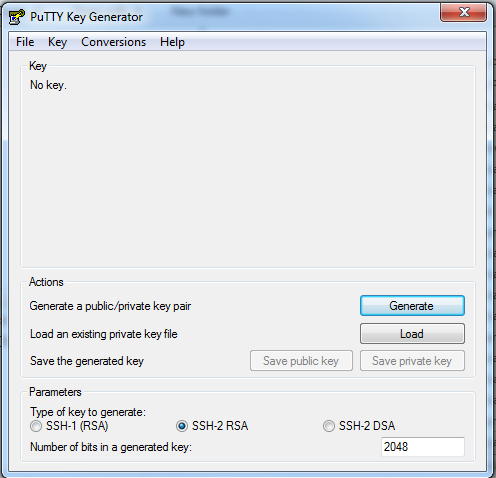
In PuTTYgen, click the Load button, as shown below:
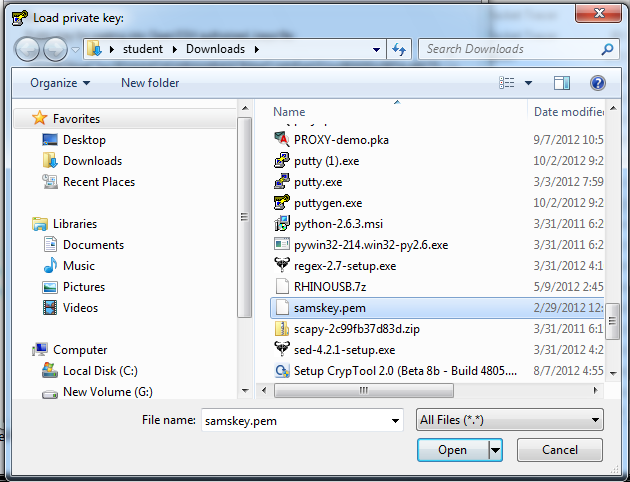
A "Load private key" box opens, as shown below.
In the lower right, adjust the file type to "All Files".
Navigate to the key you downloaded from Amazon. Click Open.
A message says "Successfully imported", as shown below. Click OK.
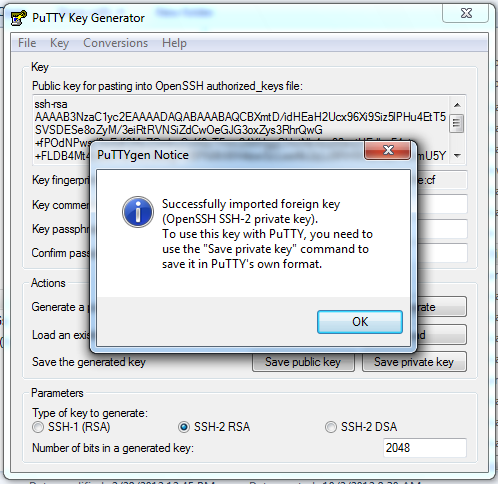
Click the "Save private key" button.
A box pops up saying "Are you sure you want to save this key without a passphrse to protect it?". Click Yes.
Save the file, in the default PPK format.
In the right pane, under Authentication parameters, click Browse...
Navigate to the PPK key you saved and open it.
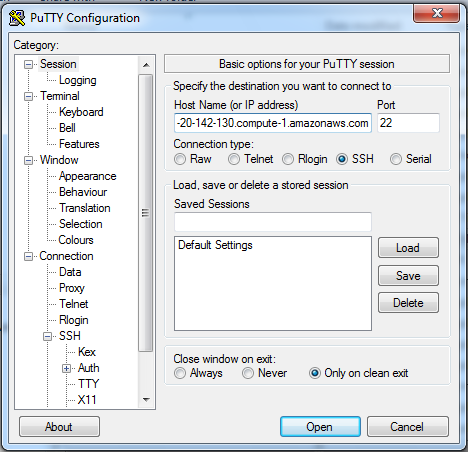
Your PuTTY Configuration screen should look like the image below:

In the left pane, click Session.
In the Host Name box, enter the EC2 URL, as shown below:
Click Open.
A warning about host certificates appears. Accept it.
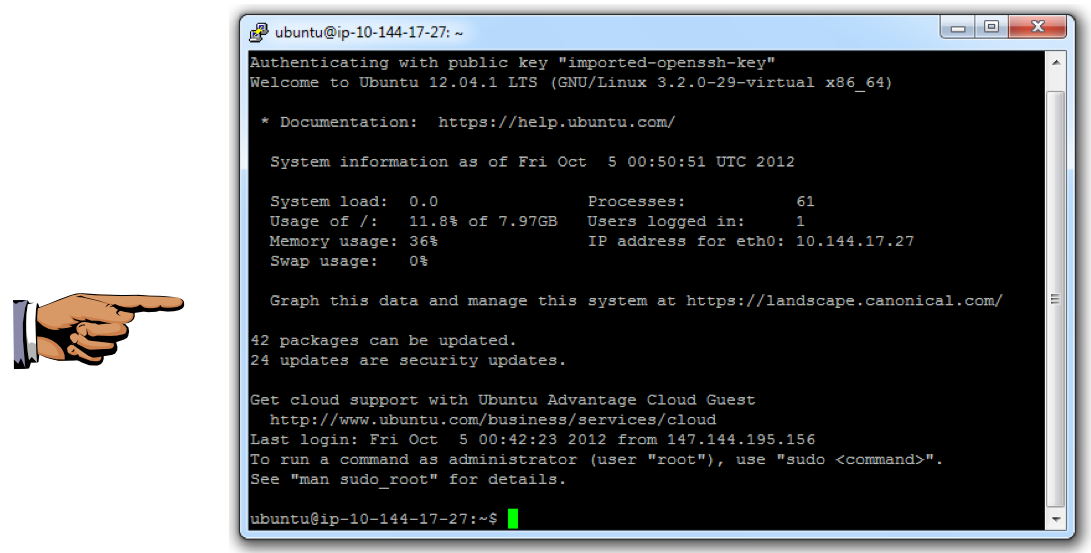
Log in as ubuntu
You should now get a shell, as shown below:
https://help.ubuntu.com/community/EC2StartersGuide
http://uec-images.ubuntu.com/releases/precise/release/